A beginner’s guide to smart sous vide

Sous vide cooking has been the province of professional chefs for decades, and for good reason: A temperature-controlled water bath ensures perfectly cooked food. Instead of worrying about whether a steak is medium rare or whether that chicken breast will be dry, simply dial in the desired temperature, dunk in your vacuum-sealed food (“sous vide” is French for “under vacuum”), wait a while and your food will be done to perfection, with little to no guesswork required.

If you haven’t tried this method yet, it’s not as complicated as you might think. Wand-like immersion circulators have been on the market for several years now, making sous vide cooking affordable and accessible to home chefs. Several Instant Pot models even have a sous vide mode that holds the water at a set temperature, though it’s not quite as accurate as dedicated machines. If you’re curious about giving sous vide a go, we’ll walk you through the process of choosing the right machine for you and share some of the tips and tricks we’ve learned through our own experiments.

How to pick a smart sous vide machine

Almost all of the immersion circulators on the market work the same way, so you really can’t go wrong whichever you choose. That said, there are a few criteria to keep in mind when comparison shopping. For one, you’ll want it to keep an accurate temperature and to maintain that temperature for an extended period of time, especially for foods that take over a day to cook. (This isn’t uncommon, especially for tough cuts of meat.) It’s better if it’s powerful enough to heat up water quickly, though you could always help it along by using hot tap water to start.
Anova

Engadget picks

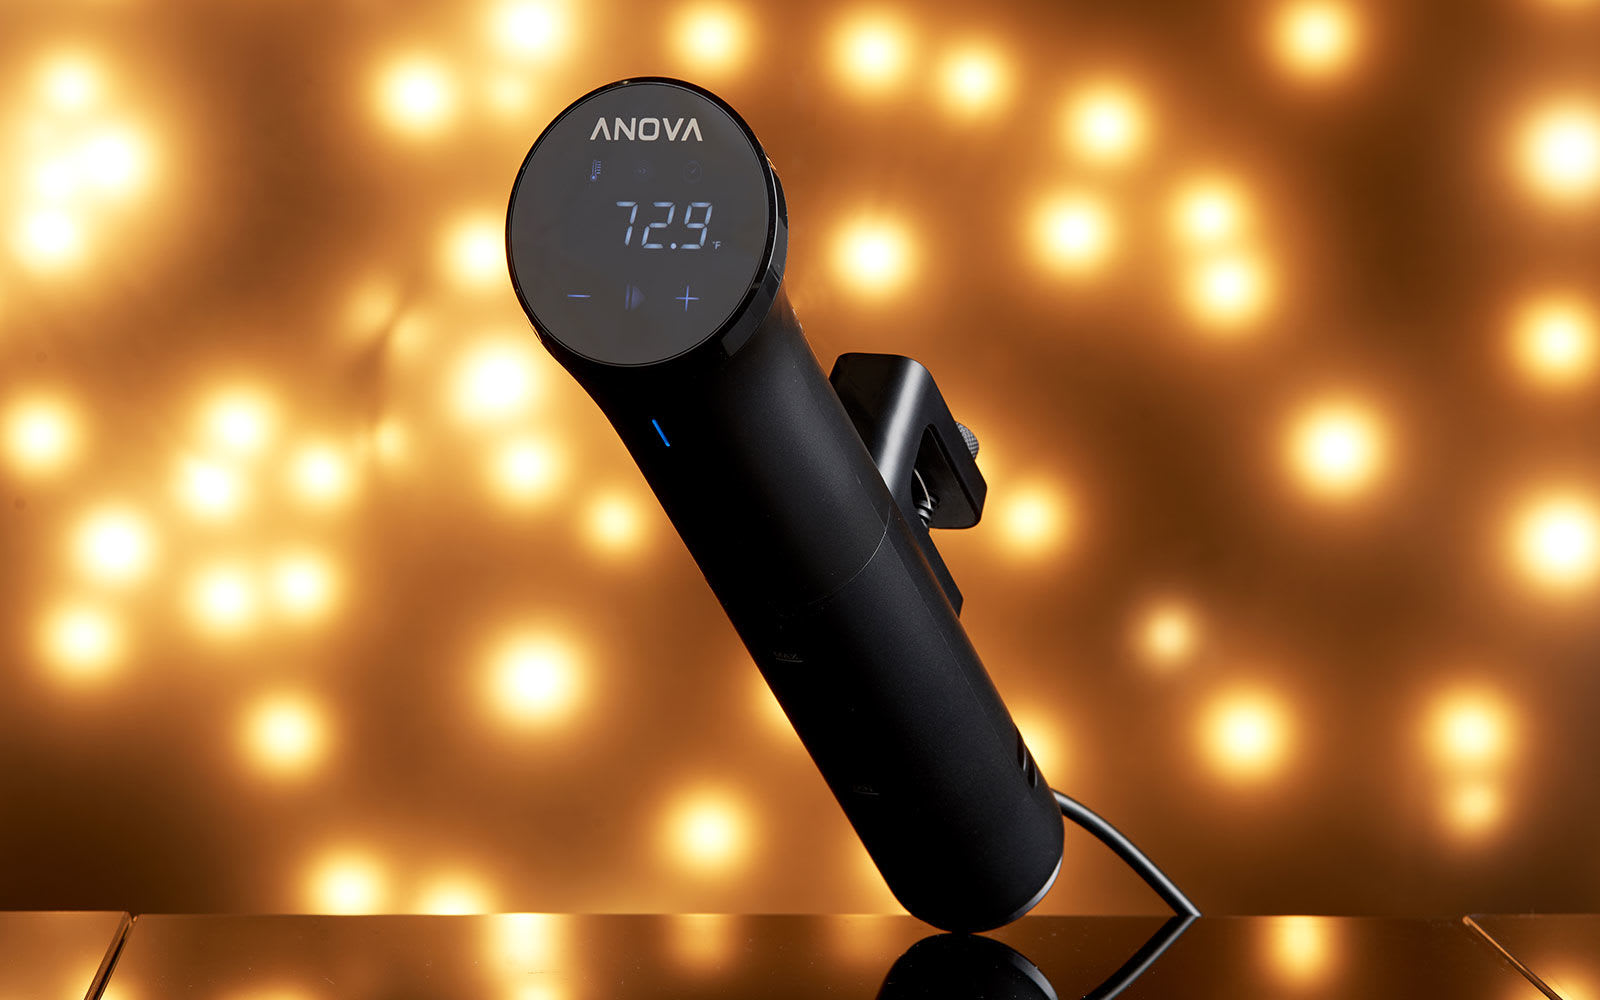
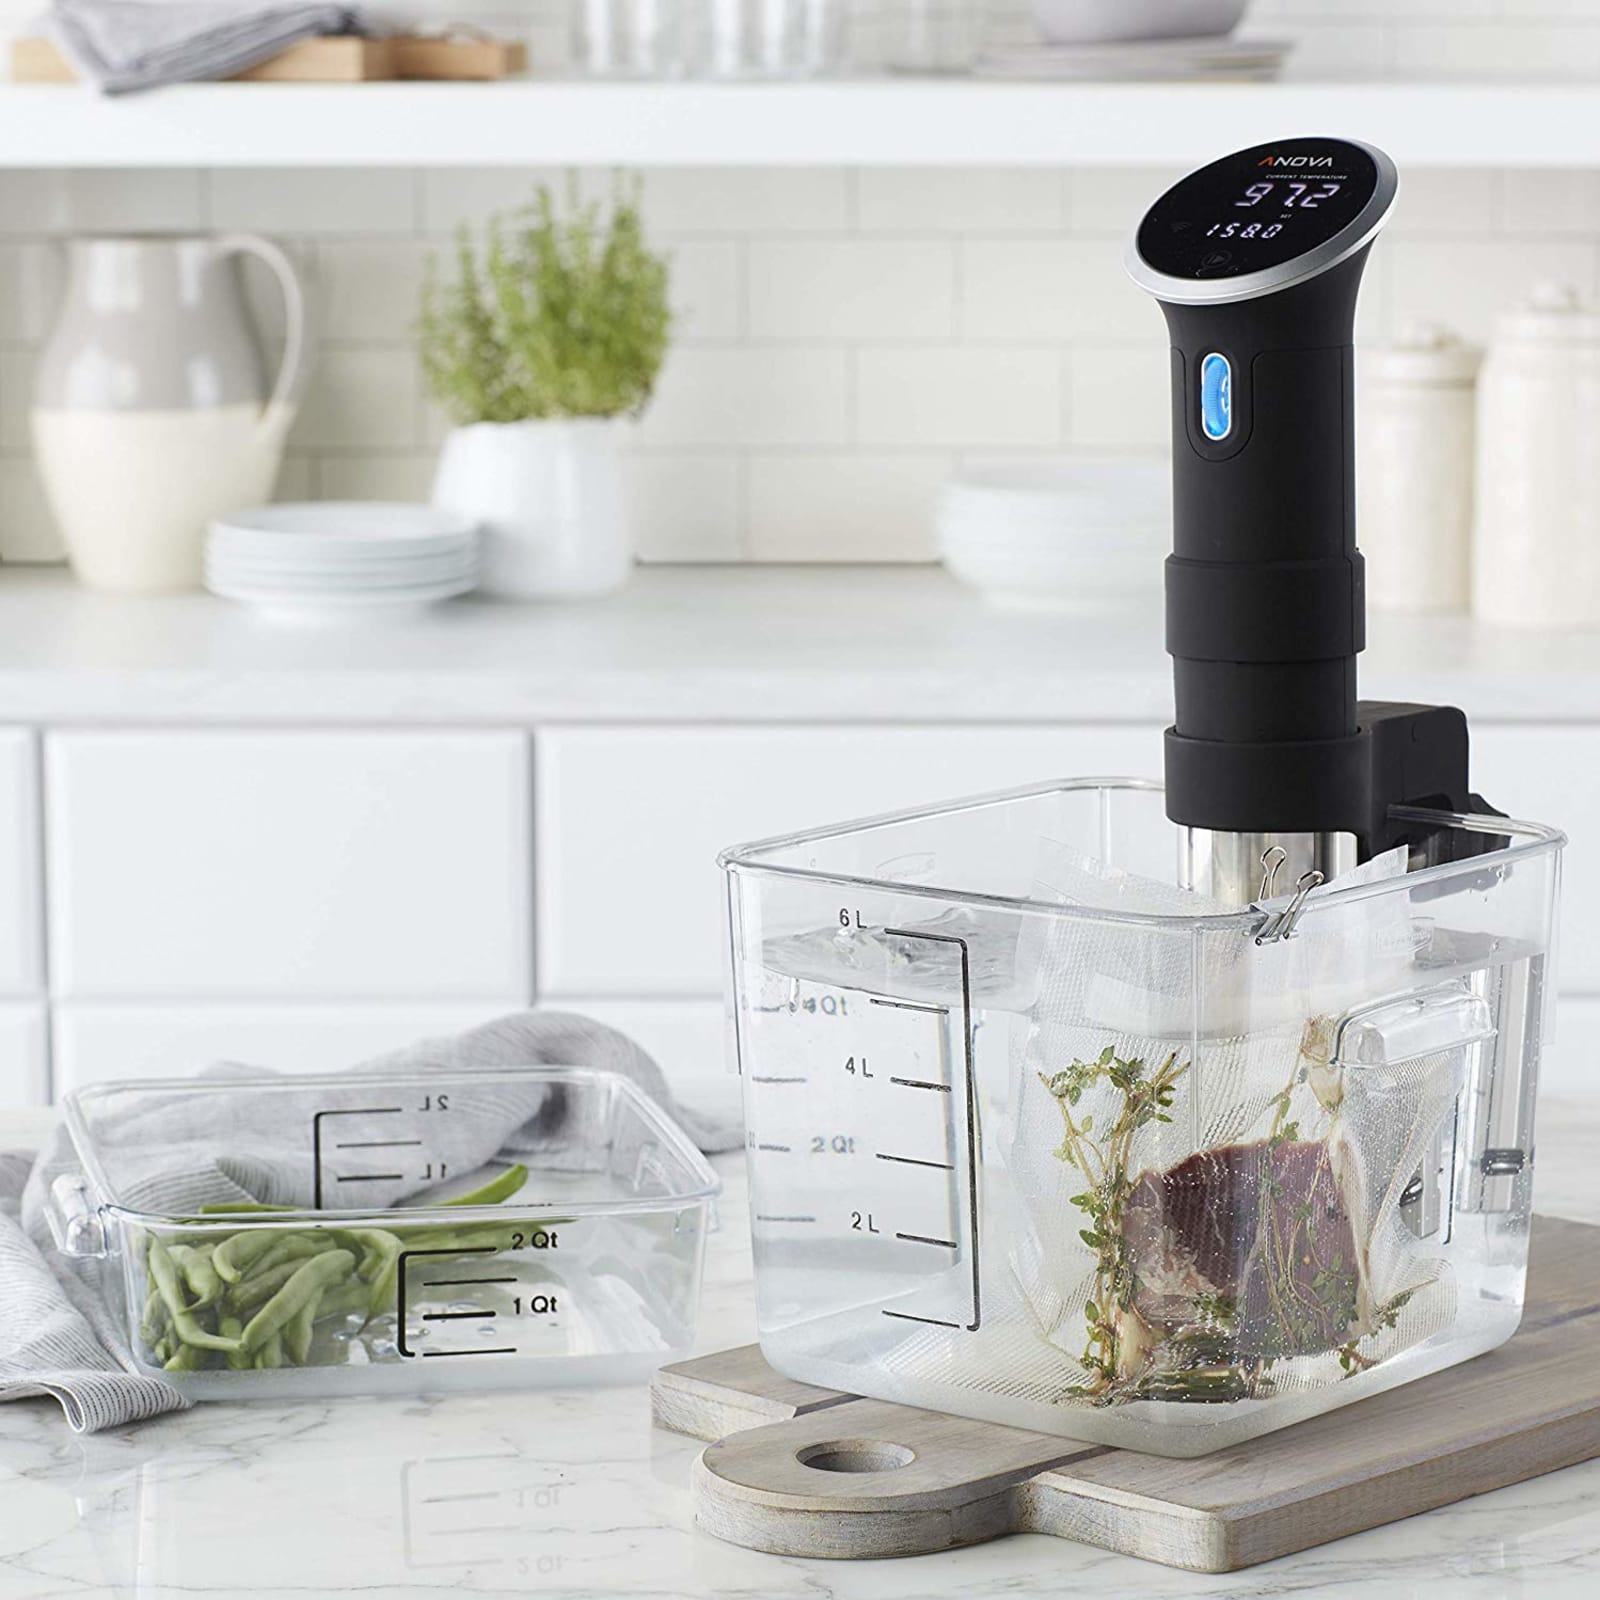
Several Engadget staffers tend to prefer the sous vide devices from Anova, as the company has a strong track record for precision and the interface is intuitive. Anova offers several different models at varying power levels (and price points). The lower-end Nano, for example, won’t heat up water as quickly and doesn’t have an adjustable clamp, but it’s only $129 and will likely suit most home cooks. If you’re a little more ambitious or see yourself cooking a lot of things via sous vide , upgrading to the higher-end Precision Cooker or Precision Cooker Pro might make sense.

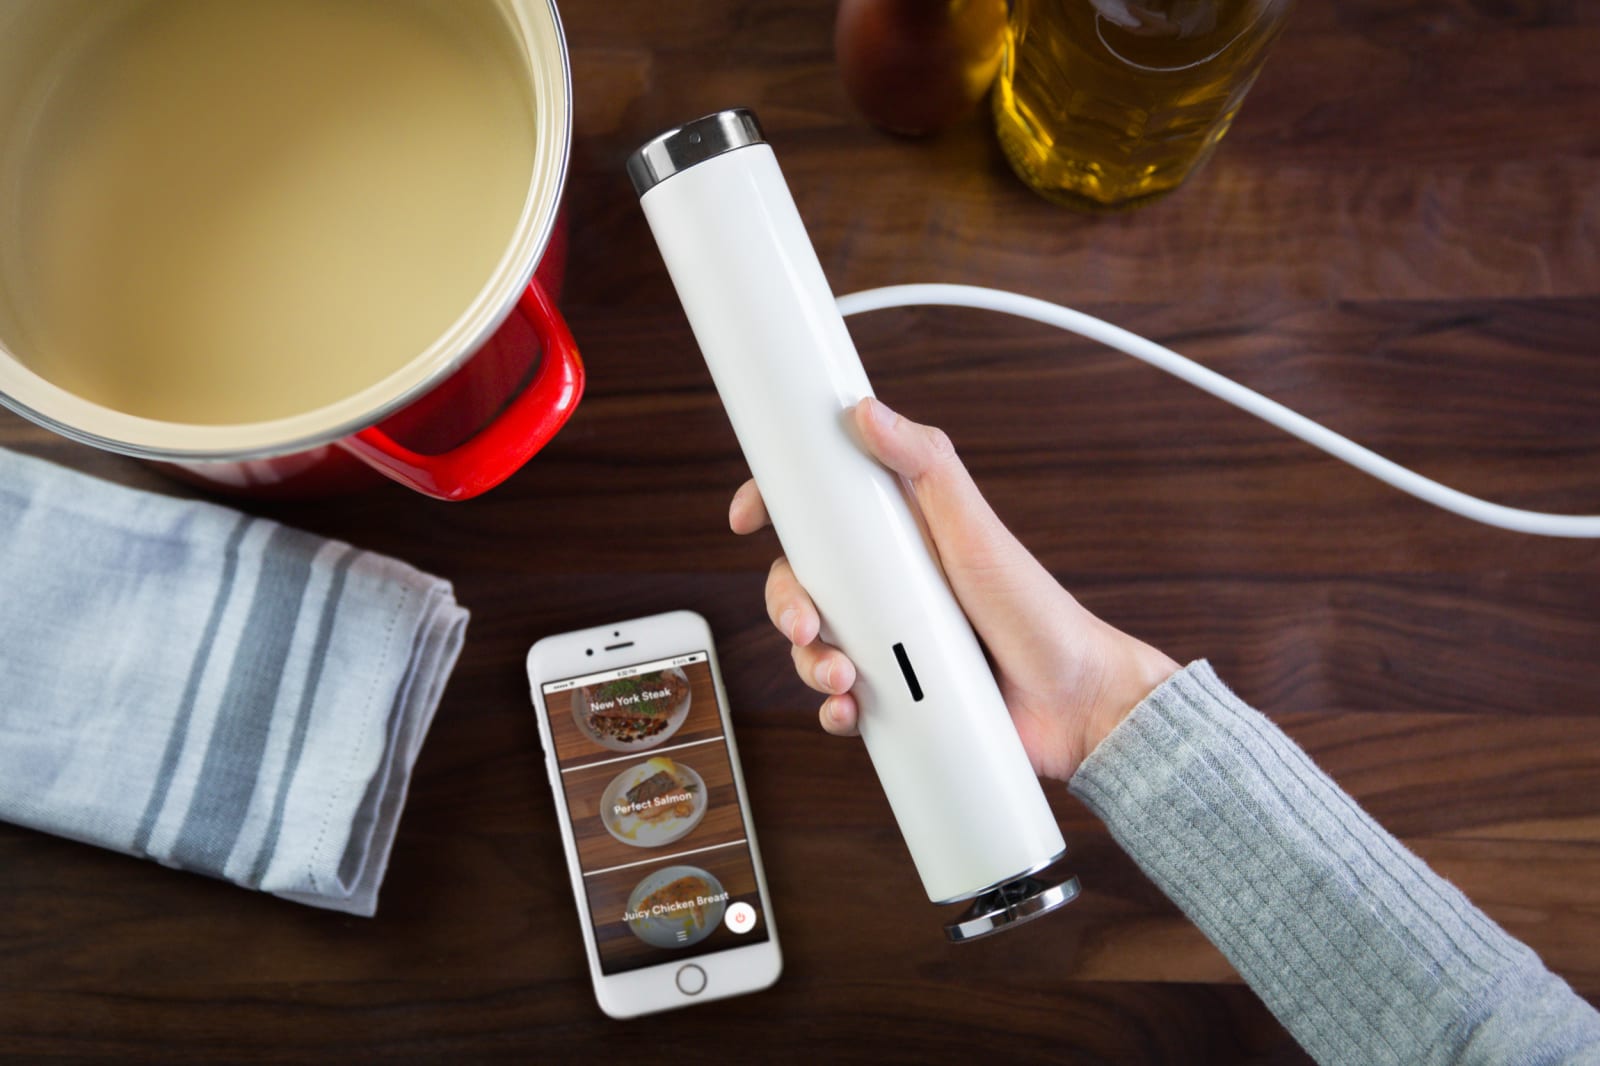
We’d recommend the Anova Precision Cooker Nano for most people on account of its affordable price, compact size and intuitive controls. The companion app is helpful as well, as it comes with hundreds of recipes that will get you started on your sous vide journey. The Breville Joule is our runner-up because, while it lacks onboard controls, it’s a little more compact than the Anova, while the companion app has a “visual doneness” guide that lets you know what the food should look like when it’s cooked.
Joule

Another popular choice is the Breville Joule (formerly known as the Chefsteps Joule, until Breville acquired the brand), which is a personal favorite of mine due to its small size. It’s a little more powerful than the aforementioned Nano and can heat up water a few minutes faster. I also like that it has a magnetic base, making it easier to attach to certain pots. The one downside is that it lacks onboard controls; the only way to use it is via the companion app. I personally don’t find this to be a problem, but if you simply need to be able to see the temperature at a glance and dial it up or down with ease, this might not be for you.

It’s also worth mentioning the Monoprice Strata, which is the cheapest of the lot at only $70. There’s no WiFi or Bluetooth connectivity here, but it gets the job done all the same.

What else to consider

At a minimum, the other items you need to cook sous vide are a large metal pot (big enough to fill with water) and zipper-lock freezer bags to put the food in. Alternatively, you can use reusable silicone bags such as these from Stasher. Rather than using a vacuum sealer to get rid of air, you would use the water displacement method: Immerse the bagged food in the water while partially unsealed, and water pressure will push the air through the opening. Once everything is mostly underwater, you can seal the bag and it’ll stay submerged.

If it still floats, you can stick one or two spoons in the bag, and that will hopefully weigh things down. (J. Kenji Lopez-Alt from Serious Eats also suggests using a large binder clip attached to the bottom of the bag along with a heavy spoon.) If you’re concerned about water getting in the bag, you can attach the bag tops to the pot with binder clips, thus keeping the bag upright.

If you’re really serious about sous vide, you might want to invest in some specialty equipment. Instead of pots, for example, you could opt for large restaurant-grade plastic containers by Cambro or Rubbermaid. Not only is plastic a better insulator than metal, but there’s generally more space for more food, which is handy when you’re cooking for a crowd.

Whether you use a pot or a plastic container, it’s best to cover the vessel with plastic wrap when cooking for long periods, to keep evaporation to a minimum. Some companies, like Chefsteps, offer custom silicone pot lids that are made specially to accommodate their sous vide cookers. Alternatively, Lopez-Alt offers a much cheaper and more ingenious solution: cover your water in ping pong balls. They’ll slow down evaporation.
Rubbermaid

Additionally, while zipper-lock bags work well for most tasks, it’s still not a bad idea to get a vacuum sealer along with thicker plastic bags designed specifically for sous vide. For one, this lets you sous vide vegetables or braised meats, which typically require a higher temperature. (Zipper-lock bag seams might fail when it’s that hot.) This also lets you freeze a bunch of food, vacuum seal them and sous vide packets straight from the freezer, which is convenient for batch cooking.

You likely already have this at your disposal, but another handy tool is a good skillet to sear your meat. That sous vide device might be able to cook your steak to medium rare, but it won’t be able to brown it. A cast iron skillet, on the other hand, will. You could also consider a torch like the Bernzomatic TS8000, and we’ve seen others use a Searzall — but a cast iron skillet is far more affordable than either option. Of course, if you have a grill, you can use that too.

There are other miscellaneous items that could prove useful. Lopez-Alt likes having a pot lid organizer immersed in the container to help separate several submerged bags. If you want to make custard, yogurt or breakfast cups with your sous vide cooker, you should get yourself some mason jars too.

One more indispensable item worth considering: a trivet to rest your water vessel on so you don’t destroy your countertop.

Sous vide recipe resources

Since affordable sous vide cookers have been in the market for a few years now, there’s no shortage of recipes and guidelines online to help you figure out what to do with your newfangled kitchen gadget. The links below are some of our favorites, though bear in mind that a lot of this is based on personal taste. Your mileage may vary.

Anova

It only makes sense that the maker of one of the most popular sous vide machines also has a deep library of sous vide recipes. If you’re ever at a loss as to what to make via sous vide, simply peek at this website, where you can search for recipes from professionals and amateurs alike.

Serious Eats

We’ve mentioned it several times here already in this guide, but Serious Eats truly is a remarkably useful resource for all things sous vide. Its guide to sous vide steak is a favorite among Engadget staffers, as is its take on slow-cooked sous-vide style eggs, which results in some of the best eggs I’ve ever had.

Chefsteps

Years before making the Joule, Chefsteps made a name for itself as a cooking school with a heavy emphasis on food science, tech and molecular gastronomy. That’s probably why the sous vide recipes from Chefsteps are some of the more creative ones we’ve seen. One recipe, for example, teaches you how to make that perfect chicken breast along with the perfect accompaniment for said chicken breast — perhaps a crunchy apple fennel salad and a buttery carrot puree. Other favorite recipes include wonderfully tender salmon filets, juicy pork chops and Chefsteps’ own interpretation of the “sous vide egg bites” you sometimes find in certain Starbucks shops.

Sous Vide at Home

This is actually a cookbook from the people behind the Nomiku WiFi sous vide machine (which has since been discontinued), but the recipes in it will work with any sous vide device. Not only does it have beautiful photographs, but it also offers fantastic recipes like jerk chicken wings, duck confit and chocolate pots du creme.

Other noteworthy recipes:

Sous vide alternatives

Instant Pot Smart WiFi
Instant Pot / Best Buy

Aside from immersion circulators like the ones mentioned here, you could also opt for multi-purpose appliances that offer sous vide-like functions. Several Instant Pots, for example, offer such a feature. They include the Instant Pot Pro, Duo Plus, Pro Plus, Duo Crisp and Max. Unfortunately, however, they do not circulate the water like the aforementioned immersion circulators, and the temperatures aren’t quite as precise (which is a definite downside if you need something cooked to a specific temperature). But if you don’t really care about that, or you just want to dabble occasionally in sous vide, this might be a viable option.

If you’re dead set on a multi-tasking appliance and you have the money to spend, consider the Anova Precision Oven. Thanks to its use of steam, you can indeed use it to cook foods via sous vide but without the need for plastic bags. It also uses a fan to circulate the moist air around the food and a probe thermometer helps keep foods at a precise temperature. And, of course, the Precision Oven can be used as a regular oven as well, and is great for baking breads and bagels. It is, however, quite expensive at $600 and takes up a lot of counter space.

Images: Will Lipman for Engadget (Anova / holiday light background)

How to make the most of that Instant Pot you just bought

Few kitchen appliances have reached the same cult status as the Instant Pot. Years after its initial rise to fame, it’s as popular as ever, with new and improved models coming out every year. There always seems to be additional functions like customizable buttons, sous vide cooking or air frying. With more than 100 fan-created online groups, over 140,000 reviews on Amazon and accolades from the likes of The New York Times, it’s no question that this kitchen marvel is a hit.

It’s a winner with the Engadget staff, too; not only have a few of us bought it for ourselves, we’ve recommended it in past gift guides. Sure, it’s not a tech gadget per se (although there is a WiFi-connected version with an app), but it does have a lot of crossover appeal thanks to its promise of all-in-one efficiency.

But what do you do when you get one? With so many recipes on the internet and so many different things you can do with it, where do you even start? In this guide, I’ll attempt to give you a primer on the first steps you should take when you get one, some tips and tricks on how to use it and a few favorite recipes and source links. A lot of this comes from personal experience; I’ve been an Instant Pot owner for a few years. I’ll also note that the listed recipes reflect my own taste, but hopefully this guide will provide a good start for your own culinary adventures.

How Instant Pots work

Should you own multiple Instant Pots? These women do

For the uninitiated, the Instant Pot is an “all-in-one” kitchen gadget that promises to replace a rice cooker, a yogurt maker,a slow cooker and more. But the real reason the Instant Pot has risen to fame is that it’s also a very good electric pressure cooker. This lets you cook food at an accelerated rate; imagine pulled pork in an hour instead of five or a chicken curry done in 10 minutes. And because it’s electric, you just press a few buttons and walk away. Unlike a stovetop pressure cooker, there’s no need to keep a constant eye on it.

There are several Instant Pot models to choose from. Some of the lower-end ones lack the yogurt mode, and a couple of the higher-end models have extra features like sous-vide cooking and canning, but all of them have the pressure cooker function, and indeed, much of this guide focuses on that.

Which Instant Pot model is right for you?

  • The 6-quart Instant Pot is ideal for most people, but if you’re a singleton or a student, then the 3-quart model is best. For large families, or simply those who like to make a lot of food, the 8-quart model is a good choice.

  • If you’re interested in trying sous vide but don’t want to make an investment in a standalone device, then the Instant Pot Pro, the Duo Plus, the Pro Plus, the Duo Crisp or the Max are good choices.

  • If you’re really into pressure-canning and preserving foods, then the Instant Pot Max is the one for you. It’s the only one that’s capable of reaching 15 PSI, which is needed for pressure-canning.

  • Making yogurt with the Instant Pot is really easy because it can maintain the same temperature for hours. Models that have this feature include the Duo, Duo Nova, Smart WiFi, Ultra and Duo Plus.

A brief word on other Instant Pot models: 

  • The Duo Plus (starting at $100) is an upgraded version of the Duo Series. It has two additional functions: sous vide (for temperature-controlled cooking) and sterilizer (a steam shortcut for sterilizing items like baby bottles). There’s also a cooking progress status bar plus an anti-spin design that keeps the inner pot in place when you’re sautéing.

  • The Pro (starting at $150) is designed for enthusiasts, offering an assortment of upgrades over existing Instant Pots. The inner pot has an extra thick bottom that can go on the stove, plus it has handles so it’s easier to lift. It comes with 28 customizable programs for different foods, and there are five favorites buttons that you can assign to frequently cooked meals. The steam release switch has been upgraded to reduce noise and splatter, and there are even steam release reminder alerts with 5- and 10-minute pre-sets. The Pro is also one of a few Instant Pots that’s compatible with an optional QuickCool lid, which helps you release pressure faster.

  • The Pro Plus ($200) includes many of the same features as the Pro, except it has WiFi connectivity as well, which allows it to pair with a companion app. This lets you release the steam remotely, or program when you want to do it after the cook is done.

  • The Duo Crisp + Air Fryer ($200) is basically an Instant Pot that comes with an additional Air Fryer Lid, which adds dry-heat cooking methods like baking, broiling, dehydrating and of course air frying. There’s also a $200 Pro version that pairs the air fryer lid with the Pro model mentioned above.

  • The Star Wars Instant Pots ($100) are a great choice for avid Star Wars fans or anyone who appreciates novelty appliances. They’re really just rebranded versions of the Duo, with the same exact functionalities and features. They come in five iterations: Little Bounty, Darth Vader, Stormtrooper, BB-8 and R2-D2.

Getting started

The Instant Pot has three parts: the housing with the cooking element at the bottom; the stainless steel inner pot; and the lid, which comes with a sealing ring plus a steam-release valve. Setup is as easy as putting the inner pot inside the housing and plugging it in. You’ll also want to attach a tiny condensation collector on the back if the instructions call for it.

The first thing to do is a “water test,” which not only helps familiarize you with the basic pressure cooker features, but confirms your appliance is in proper working order.

Instant Pot Super Bowl cookoff

To do a water test, put three cups of water in the pot, twist the lid on — it’ll make a sound when it’s locked in place — and set the pressure cooker on high for two minutes. The way to do this varies from model to model; on the Duo machines, you’ll have to press Manual, select High, then dial down the time to two minutes. On something like the Ultra, you just need to go to the Pressure Cooker menu, dial it to two minutes and select High.

Then make sure your valve is set to “Sealing” so that the Instant Pot can build pressure. On the Duo machines, this means rotating it so the arrow points up, while on the Ultra, the valve will automatically be set to Sealing.

Then press “Start.” From there, the Instant Pot will build up that pressure to High, maintain it for the set two minutes, and then stop. In some cases, you’ll hear hissing and see steam coming out of the Instant Pot. This is totally normal. You’ll know the Instant Pot is under pressure when the float valve pops up and the hissing quiets down.

The lid cannot be opened when the Instant Pot is under pressure; you must depressurize it first. Once the cooking is done, you can let the pot naturally depressurize (also known as “Natural Release”), which simply means leaving it alone for 20 or so minutes until the float valve comes down.

Or you can do a manual release (also known as “Quick Release”) by switching the valve to “Venting.” To do that on the Duo models you rotate the valve; on the Ultra, press the steam release button on top. This method will release a lot of steam, so I suggest doing this under a range hood if you have one. Again, once the float valve comes back down, you’ll know the Instant Pot has been depressurized.

Doing the water test teaches you the basics of sealing the Instant Pot, setting it and depressurizing it. Plus, if anything goes wrong along the way — especially if it doesn’t seal the pressure — you can call the retailer or manufacturer to troubleshoot or ask about a return or exchange. It’s a step that many people skip, but I recommend it for beginners.

Instant Pot accessories

Instant Pot accessories

The Instant Pot is ready to use right out of the box, but if you want to get even more functionality out of it, then you might want to consider some accessories. The following are just a few suggestions that we think will elevate your Instant Pot experience.

Tempered glass lid

The main reason to get an Instant Pot is to use it as a pressure cooker, but it has other functions too. If you want to use it as a slow cooker or you simply want to keep your food warm, you’ll want to invest in a tempered glass lid like our Editor-In-Chief Dana Wollman did. This lid will also keep your food covered if you want to transfer the inner pot to the table or the fridge.

Buy glass lid at Amazon – $18

Steamers/PIP

Steaming food in the Instant Pot is quick and easy, but you’ll want specific equipment to get the job done right. Instant Pot makes two styles of silicone steamers; one is a stacking model that you can use for dumplings or fish, and another is a collapsible one that is ideal for batch-cooking vegetables. If you need even more capacity, we recommend this Hatrigo mesh steamer basket.

Along your Instant Pot discovery journey, you might come across a phrase called “PIP cooking.” This stands for Pot-in-Pot and involves putting another vessel inside the Instant Pot. This method is great if you’re cooking foods that don’t contain liquid (such as cheesecake) or you simply want to cook in smaller quantities. One of our favorite accessories for this is the Aozita Stackable Steamer, which not only acts as a steamer, but also contains tiered containers so that you could cook multiple foods at once.

Buy stackable steamer basket at Amazon – $13Buy Hatrigo steamer basket at Amazon – $23Buy Aozita stackable steamers at Amazon – $30

Sealing ring

If you use your Instant Pot for both savory and sweet applications, then we suggest getting extra sealing rings so that the odor of one doesn’t affect the other. You don’t really want your cheesecake to smell like pulled pork or vice versa. 

Buy sealing rings at Amazon – $14

Air fryer lid

As the name suggests, the Instant Pot Air Fryer Lid essentially turns your Instant Pot into an air fryer. It’s a good option if you don’t want two appliances taking up space on your kitchen counter, and this add-on does a decent job of “air frying” foods. Still, the Lid really only works for small batches as well as smaller pieces of food. Even a hot dog is too large to fit inside the air fryer basket.

If you’re going to use the air fryer lid to add roasting and broiling capabilities to the Instant Pot — so you can brown a roast chicken or melt the cheese on a lasagna, for example — then it’s not a bad option. But as far as air frying goes, I’d recommend saving up and investing in an actual air fryer instead.

Tips and tricks

Instant Pot with Air Fryer Lid

Let’s go over a few tips and tricks on how to best use the Instant Pot. This is not an exhaustive list, as different people might have different takeaways from their usage of the Instant Pot, but these insights are what work best for me.

Don’t worry about all the buttons

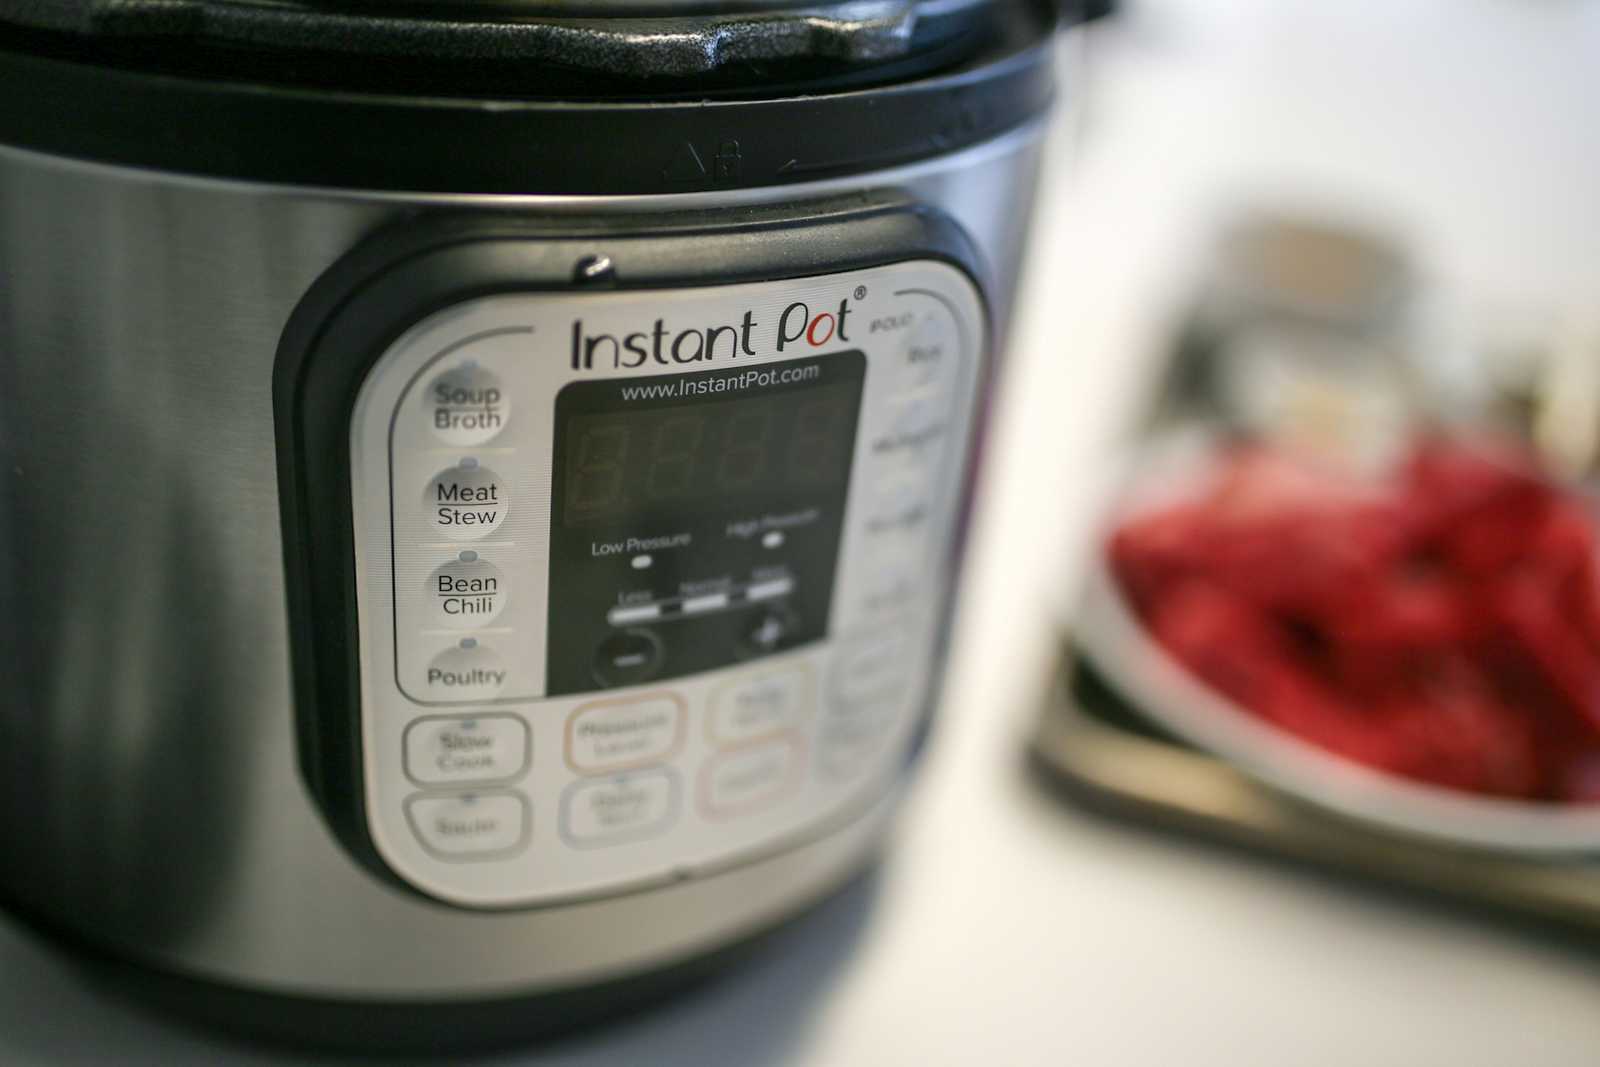
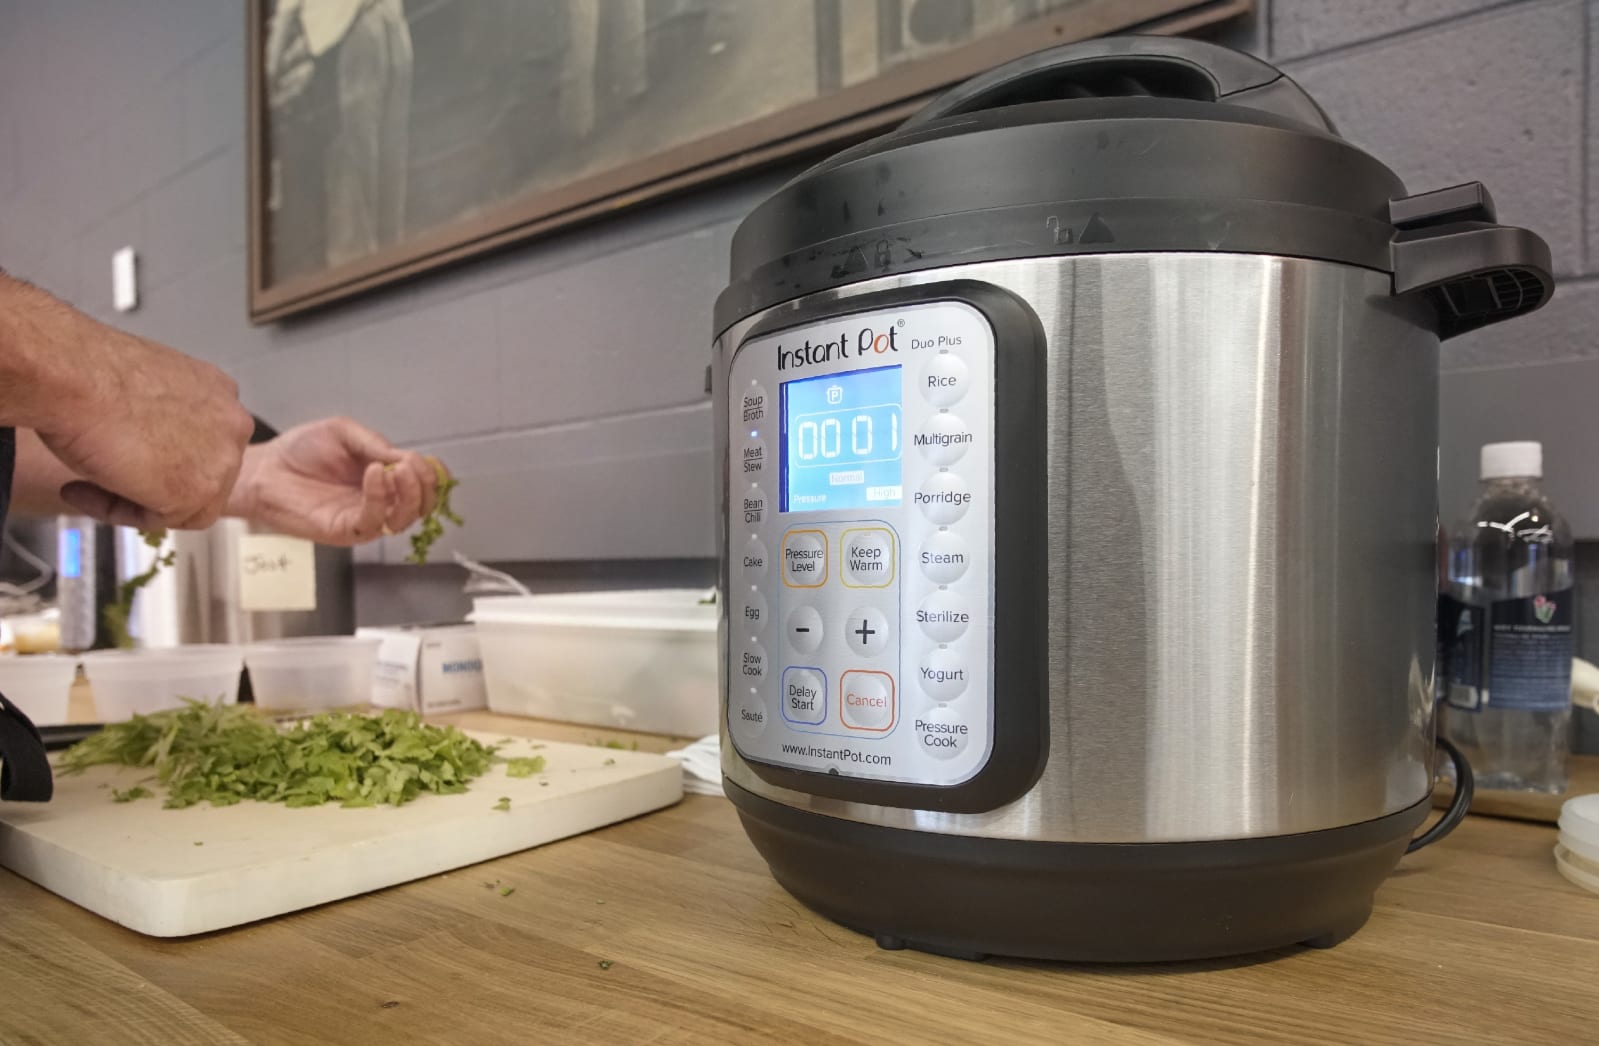
When you first get the Instant Pot, you might be overwhelmed by all of the different buttons on the front of it. There are ones that say “Meat/Stew,” “Chili/Beans,” “Multigrain,” “Egg” and even “Cake.” With the exception of a few, most of these are simply shortcuts that Instant Pot programmed ahead of time. You might never need to use them.

The most important buttons to know are “Sauté,” which (as you might expect) lets you sauté things in the pot, and the aforementioned “Manual” or “Pressure Cooker” function. The rest are pretty superfluous, with the exception of “Keep Warm,” “Cancel” and non-pressure cooker functions like the “Slow Cooker” or “Yogurt” (which helps maintain the cultured milk at a specific temperature).

Add at least half a cup of liquid, and don’t go over the maximum

One of the things you’ll learn about pressure cooking is that you don’t need to add as much liquid as you would in regular recipes. But you’ll still need to add some because the pressure cooker requires moisture to build that pressure. Otherwise, the Instant Pot could overheat and show an “OvHT” or “BURN” error on the display. On the other hand, you shouldn’t fill it up beyond two-thirds capacity, which is handily marked on the inside of the inner pot. The Instant Pot probably won’t explode on you — it has a lot of safety features to prevent that — but you probably shouldn’t test its boundaries.

Cooking times aren’t always accurate

Setting the pressure cooker timer for two minutes doesn’t mean the entire cooking time is two minutes. You have to take into account the amount of time the Instant Pot needs to come to pressure and the time it’ll need to depressurize. The more stuff you have in the pot (and the colder it is), the longer it takes. Because of that, a “five-minute” chicken curry could really be more like 10 or 15 minutes from start to finish.

Clean it carefully and frequently

The inner pot is dishwasher safe, which is convenient, but the rest has to be cleaned by hand. Also, don’t make the same mistake I did and accidentally spill something hot directly on the cooking element. The outer shell is hard to clean because you can’t put it in the sink — electricity and water don’t mix, after all — and you risk damaging the appliance. As for the lid, hand wash it after every use. You’ll also notice after a while that the sealing ring — the rubber/silicone gasket on the inside of the lid — might develop an odd smell as it absorbs the scent of the food you’re cooking. I recommend soaking it in a vinegar solution, or you could also put it on the top rack of your dishwasher.

Consider a separate sealing ring

If you find yourself cooking desserts in addition to savory meals — it’s great for making cheesecakes and puddings — I recommend a separate sealing ring just for that. You probably don’t want your cheesecake to smell like pulled pork, unless you’re into that sort of thing.

You can’t cook everything with it

Sure, you can cook everything from dog food to jam in the Instant Pot, but it’s not a miracle worker. You can’t deep fry in it. You can’t bake a pie in it. Don’t be ridiculous.

Recipes and guides

This is a wide angle photograph of an African American father in his 40s preparing food for cooking dinner with his 17 year old daughter in their home kitchen in Miami, Florida.

Now you’re all ready to cook, and you’re probably dying to know what to make in it. Due to the popularity of the Instant Pot, you’ll find no shortage of cookbooks and recipe tutorials online. The Facebook group I mentioned is a good place to start, and there are countless YouTube tutorials as well. Here are just a few of my favorite resources:

Pressure Cook Recipes

Amy and Jacky are part of the OG Instant Pot community, and their site is great for beginners. Not only will you get the low-down on the aforementioned water test, but you’ll also get great recipes for bone broth, “fail-proof” rice, yogurt, cheesecake and more.

Nom Nom Paleo

Whether or not you’re into the “paleo” lifestyle, you’ll like Michelle Tam’s list of Instant Pot recipes. Pressure cookers are great for shortening the amount of time for cooking braised meats, and she has a lot of recipes that cater to your inner carnivore. Her Instant Pot pulled pork recipe is still my go-to, and the short ribs are great as well.

Serious Eats

My personal favorite site for pressure-cooker recipes is probably Serious Eats. All of these recipes are fantastic. I’ve tried the chicken stock, the mushroom risotto, the chicken pho, the chicken and chickpea masala, and they’ve all been outstanding.

The New York Times

Another personal favorite is The New York Times’ Cooking section, which has a list of wonderful pressure-cooker-friendly recipes. My favorites are from Melissa Clark, who has written two Instant Pot cookbooks: Dinner In an Instant and Comfort in an Instant. There’s a recipe in Comfort in an Instant for spaghetti and meatballs that I was hugely skeptical of but turned out to be one of the most remarkable things I’ve ever made. I also love the recipes for chicken korma and shrimp biryani.

Other sources

Here are a few other guides that I found very useful in my own Instant Pot journey, and they contain links to many more recipes and sites than I have space for here:

With all of this information in your arsenal, you should have no fear in picking up an Instant Pot. Thankfully, not only is the base model pretty affordable at less than $100, Amazon frequently puts it on sale either on Prime Day or on Black Friday. So if you haven’t bought one just yet, it’s not a bad idea to wait until one of those times of year to get one at a deep discount. And when you do, come on back here, read through the guide once more and venture off on your own pressure-filled culinary adventures.

Images: Detroit Free Press via Getty Images (First Instapot); Portland Press Herald via Getty Images (Instapot / chopping board); Boogich via Getty Images (cooking)