
Not all users of Apple technology are aware of the possibilities and hidden features of the iCloud service. We have already talked about all the paid and free features of the Apple cloud, and now we will analyze in detail the most obscure option.
It will be useful to all owners of smart homes who want to organize simple video surveillance without advanced options. We will tell you in detail about the settings and features of the chip. Protected HomeKit Videoso that everyone understands its usefulness for their use cases.
What is HomeKit Protected Video
This is one of the features of a paid subscription to Apple services, which allows you to store recordings from home surveillance cameras in iCloud. At the same time, the data will not occupy paid space in the cloud.
You can connect compatible cameras to the HomeKit smart home system and use them online without this service. It is only needed to store the records archive. Storage supported last 10 daysall videos are end-to-end encrypted.
Any user who is invited to manage in the application can view the data House. You can do this with iPhone, iPad, iPod Touch, Mac and even on the console Apple TV.
In addition to storing the archive, Apple’s algorithms will analyze the data and be able to capture the specified types of activity. So, for example, with the help of neural networks, it will be possible to detect the movement of people, pets or vehicles.
The number of cameras available to work with protected HomeKit video and the list of models is limited.
How many cameras can be connected to iCloud
The number of cameras that can be connected to this chip depends on the subscription used iCloud+ or Apple One.
◉ iCloud+ plan 50 GB behind 59 rubles/month or Apple One Individual Subscription behind 365 rubles/month allows you to connect to the cloud one camera.
◉ iCloud+ plan 200 GB behind 149 rubles/month or Apple One Family Subscription behind 525 rubles/month allows you to connect to the cloud up to five cameras.
◉ iCloud+ plan 2 TB behind 599 rubles/month or Apple One Premier Subscription behind 995 rubles/month allows you to connect to the cloud unlimited cameras.
Keep in mind that subscriptions can be combined, but only if the amount of space in the iCloud+ subscription is greater than the amount provided under the Apple One subscription.
It makes no sense to consider the option of two maximum subscriptions, you will already get an unlimited number of connected cameras. But if you combine the basic individual tariff Apple One and middle package iCloud+ 200 GByou will be able to connect 6 cameras (5 at the cloud rate and 1 at the single subscription rate).
At the same time, you can always connect an unlimited number of cameras to the application Housebut they will not be available for operation in the mode Protected video.
What is needed for this option to work in a smart home
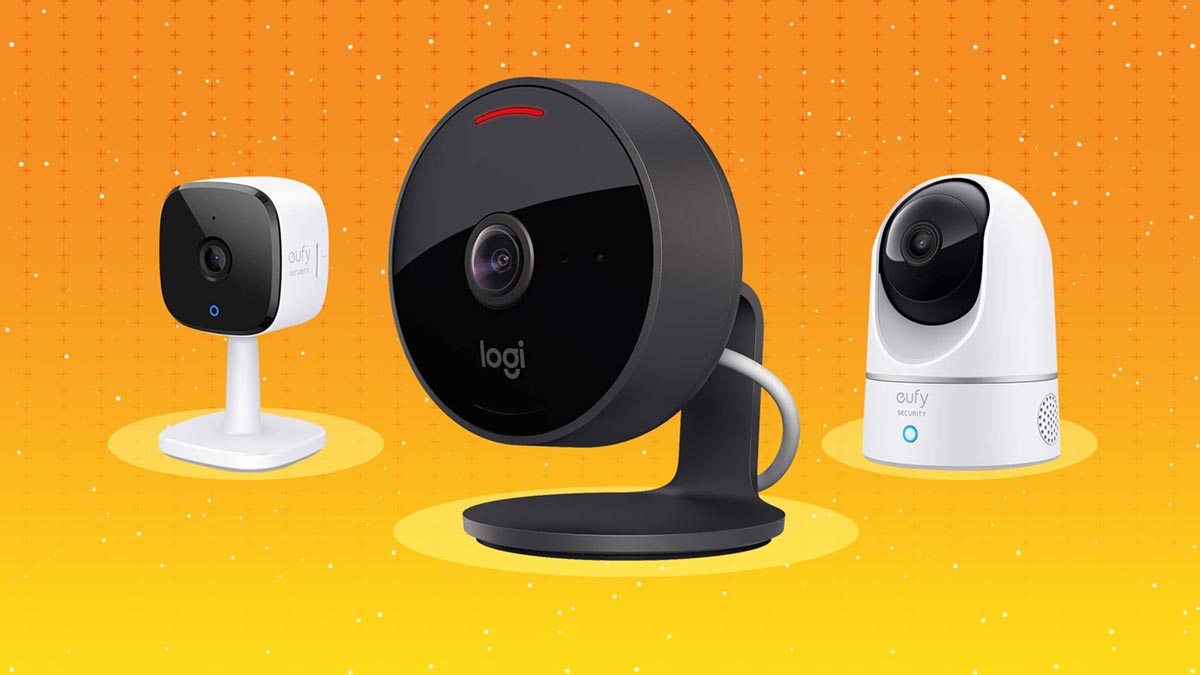
▣ You must have one or more cameras that are HomeKit certified and support the Protected video.
An up-to-date list of HomeKit-enabled surveillance cameras can be found here. view here, but remember that HomeKit support out of the box does not guarantee that the Protected Video option will work. To do this, the camera must support special encryption and data transmission protocols. Before choosing a model, be sure to check the specifications on the manufacturer’s website.
▣ You must pay for any subscription plan iCloud+ or Apple One. The available number of cameras, the records from which will be uploaded to the cloud, will depend on the selected tariff.
▣ Your home must have at least one of the gadgets that will be set as home center. This will be the hub for HomeKitwhich is useful for the interaction of gadgets, the triggering of automation scripts and the transfer of video to the cloud.
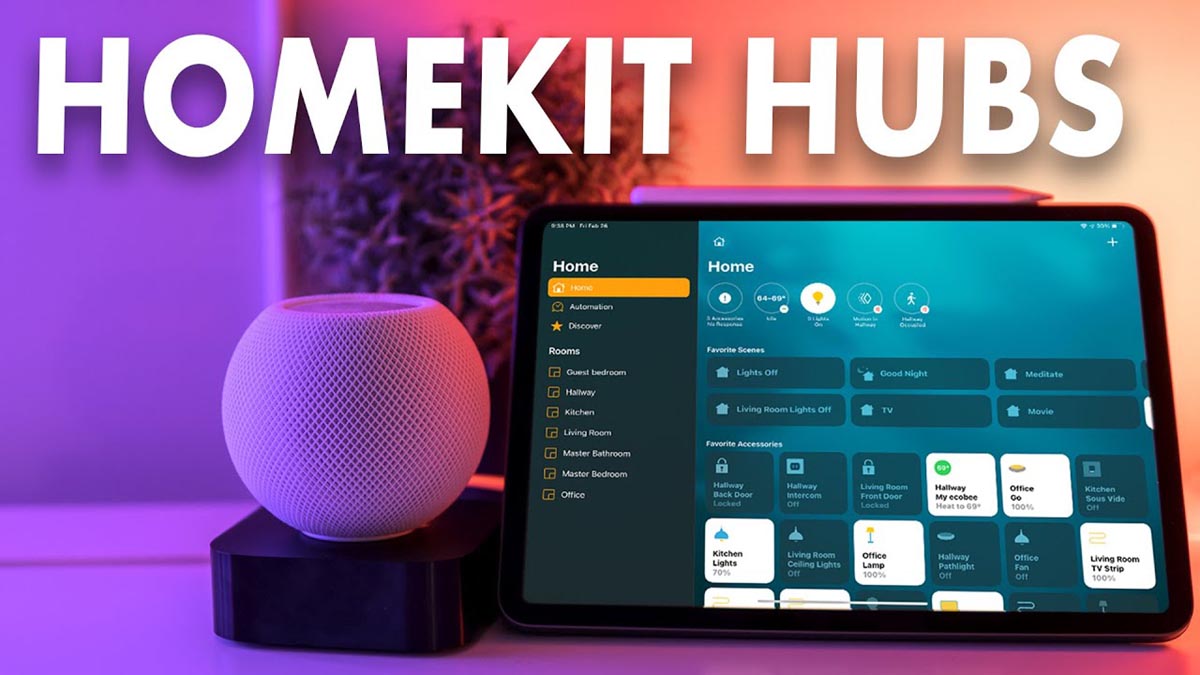
The camera itself will not be able to communicate with iCloud, this can only be done with the home center (hub). It can be any HomePod or HomePod mini speaker, Apple TV 4th generation (2015) or newer, and any current iPad.
I strongly do not recommend using a tablet as a hub, it will not provide a constant and stable connection of gadgets and cameras to the network to execute scripts or send video to the cloud. The iPad may be loaded with other processes, fall off Wi-Fi, go into a reboot during a software update, or run out of battery.
So if you have a compatible camera, an connected iCloud + or Apple One subscription, and a gadget suitable for the role of a hub, you can organize a basic video surveillance system.
How to set up protected video in HomeKit
one. Add all necessary devices to the application House (camera and hub).
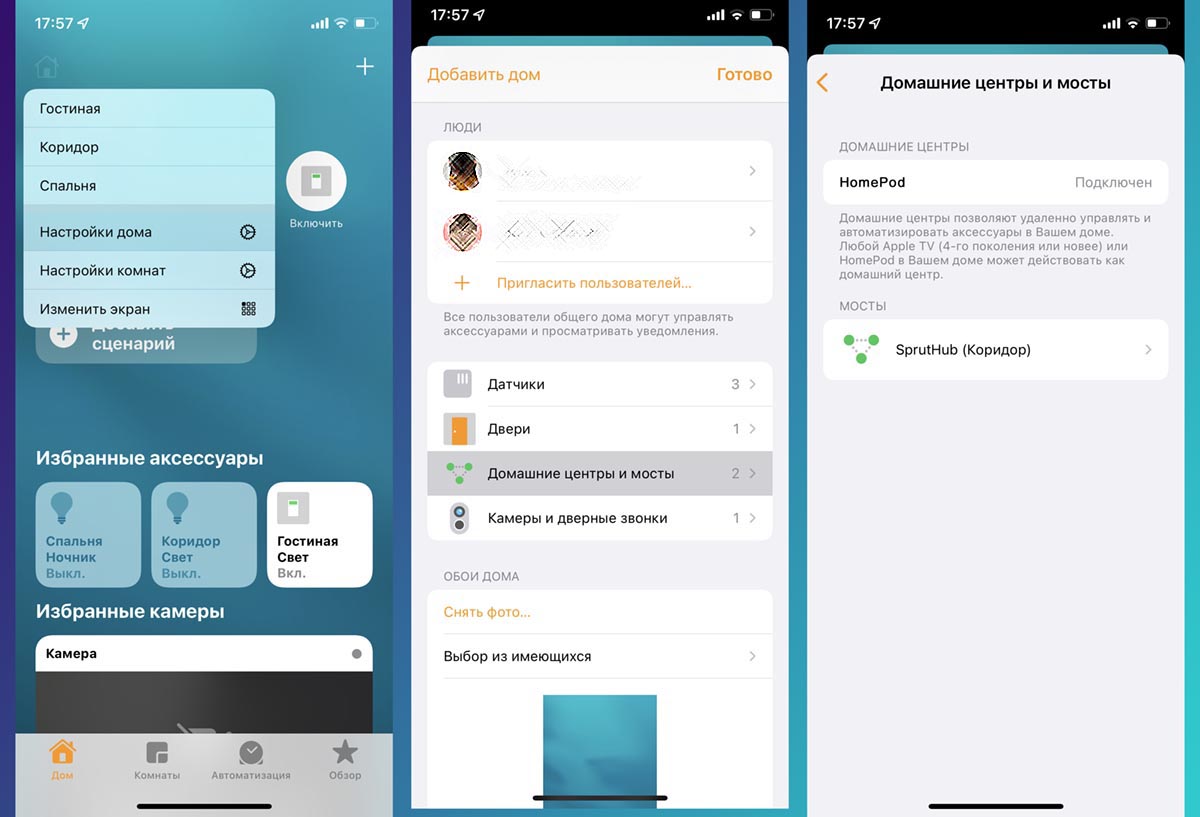
2. In the application House follow the path Home (icon in the upper left corner) – Home settings – Home hubs and bridges and make sure the hub you are using is selected as the home hub.
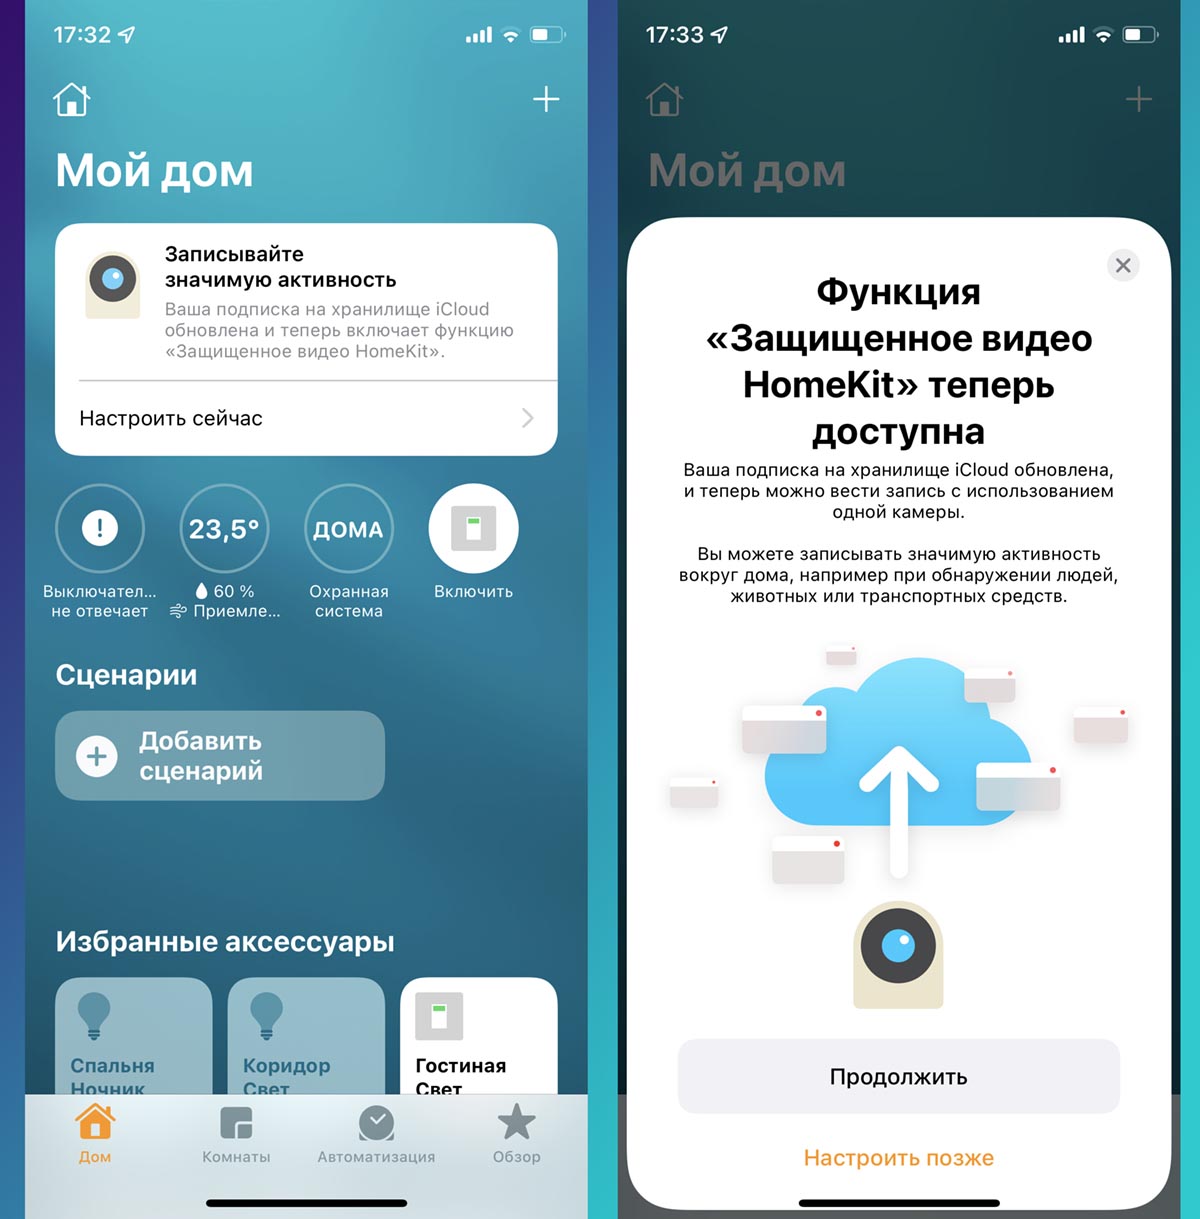
3. If you have a connected camera that supports the option Protected video and an active subscription, you will see a banner for setting chips on the main screen of the application House. Click the Configure Now button to start the wizard.
If there is no start settings banner, you can enable the feature on the camera settings page in the application House.
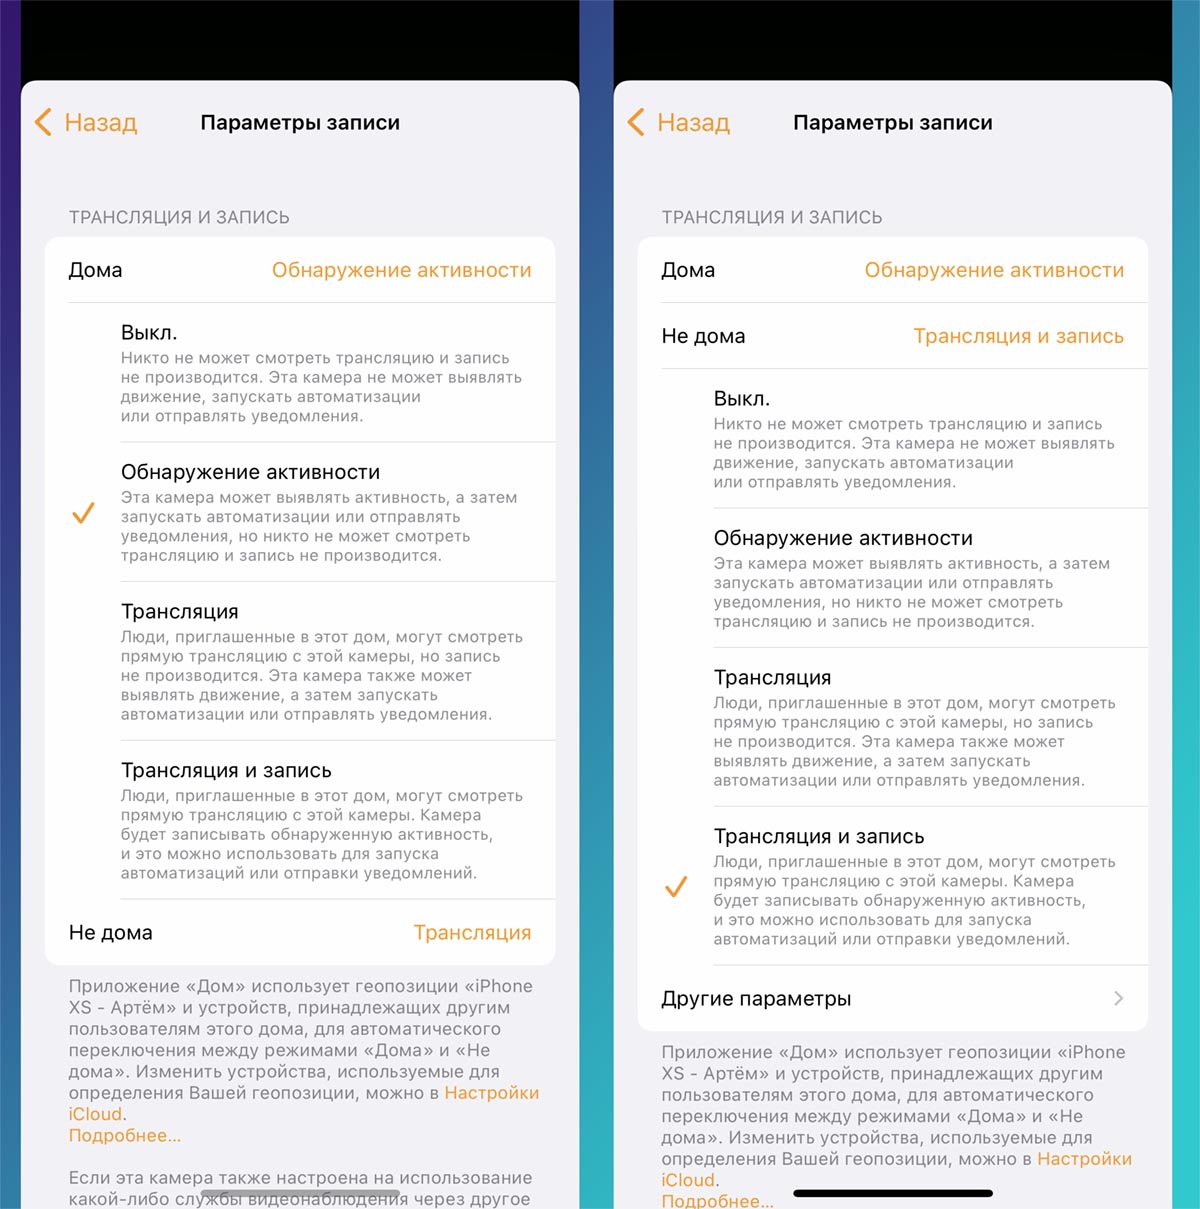
4. Select the operation mode of broadcasting from surveillance cameras. There are two modes of operation: when someone is at home and when no one is home.
For each of the modes, you can set your own parameters for broadcasting and recording. There are four presets to choose from:
Off. In this mode, the camera will be turned off when someone is at home. It will not be possible to remotely view the broadcast, recording to the cloud will be disabled. Presence detection will be carried out on the main gadget of each family member.
Activity detection. In this mode, the camera will exclusively record activity (act as a motion sensor). This will allow you to run automation scripts or activate other devices. Broadcasting and recording, as in the previous case, will not be conducted.
Broadcast. The ability to view the broadcast for all users invited to the smart home is added to the capabilities of the previous mode. Recording to the cloud will also not be carried out.
 Broadcast and recording. A mode that will capture everything that happens, capture movement, broadcast a picture from the camera and record everything in the cloud.
You can choose different behaviors when there are users and when they are not. Optimal is motion detection when someone is at home and broadcast recording when no one is there.
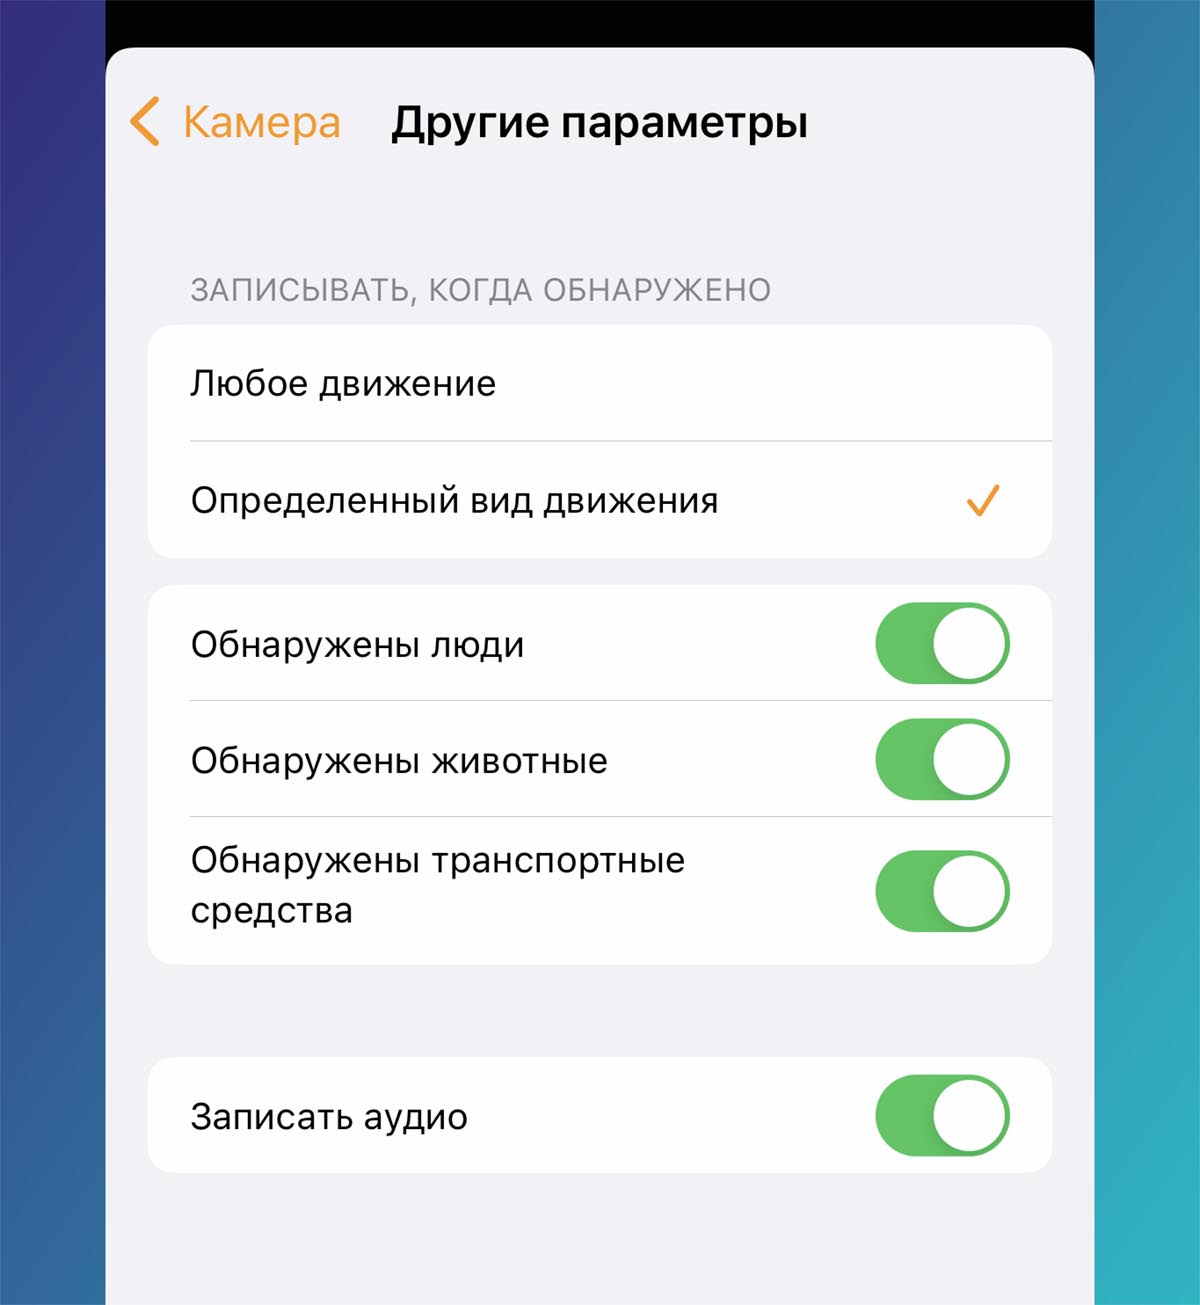
When the mode is turned on Broadcast and recording an additional settings section appears, which allows you to select the type of objects to fix.
This can be the fixation of any movement, the detection of people, animals or vehicles. Audio recording is enabled and disabled separately (if the camera is equipped with a microphone).

5. In the camera settings, you can set activity notifications. This is done in the app. House (Home settings – Cameras and doorbells).
Here you can specify the time for notifications to fire, determine the presence of users at home and the type of activity detected.
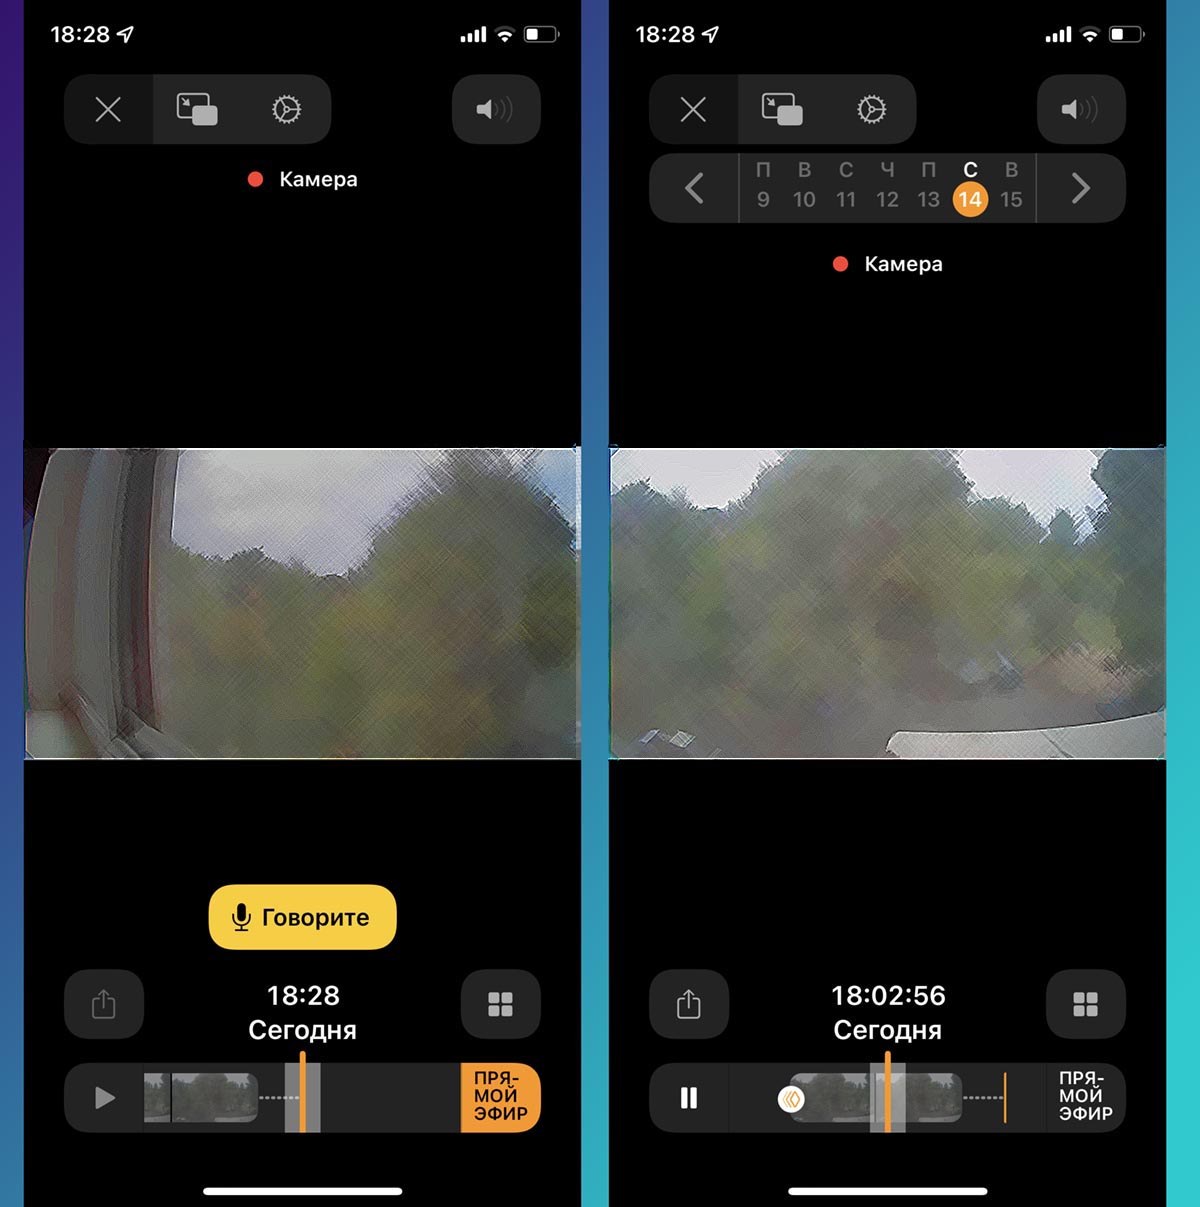
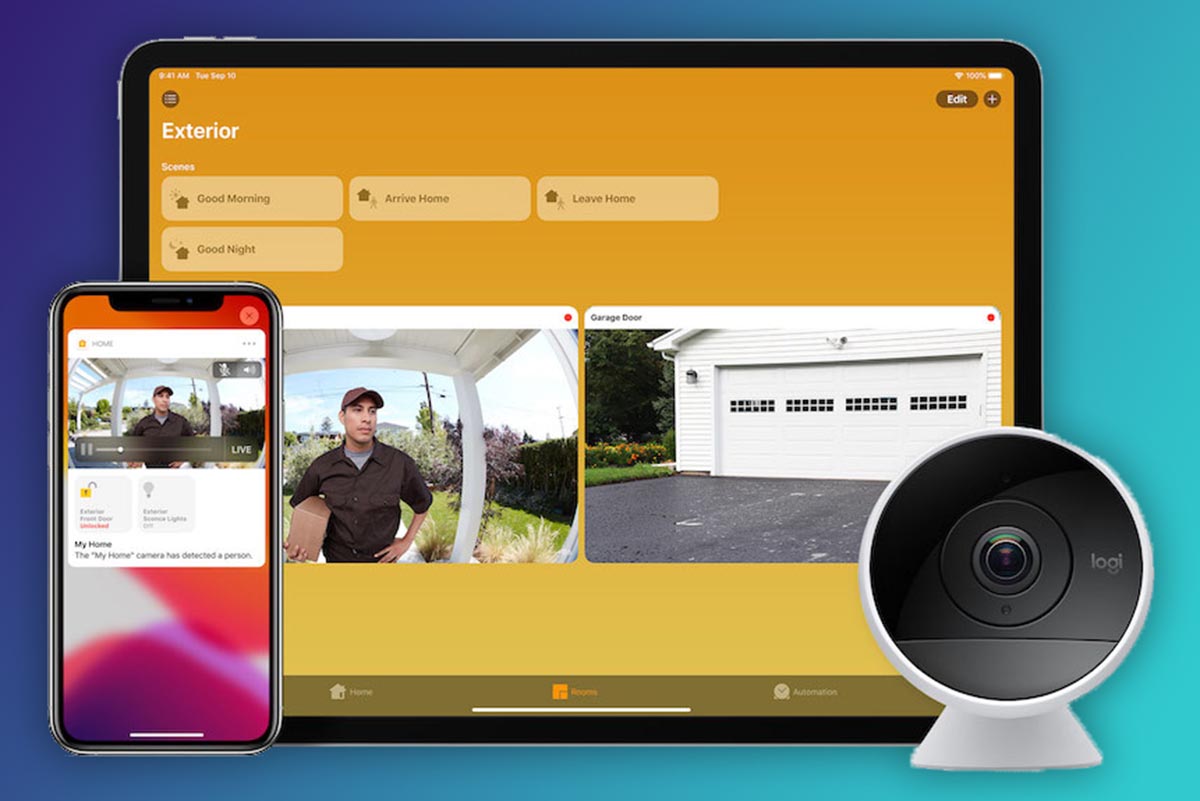
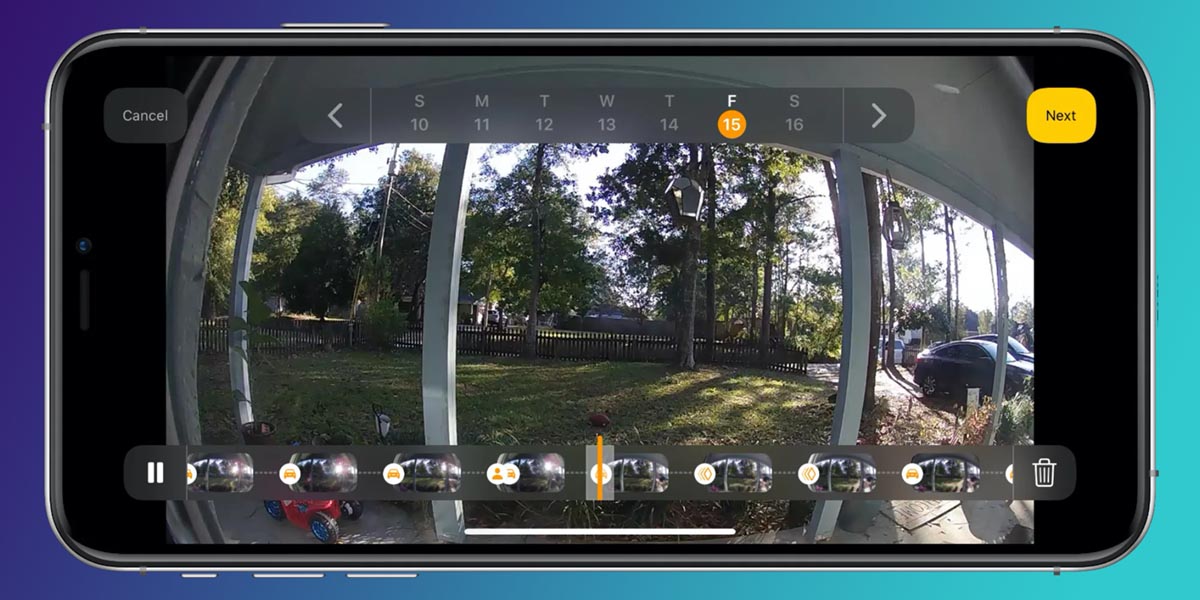
After that, when viewing the surveillance camera, you will see not only the live broadcast, but also the recorded video fragments. The top panel will display a date switcher, and the bottom panel will display fragments with recorded activities.
Any fragment can be selected for viewing, saved locally to the device or sent in any convenient way, or even deleted from the timeline and from the cloud.
Who and what is this feature for?
Do not think that in this way you can set up a full-fledged video surveillance or security system. Protected video provides only basic surveillance capabilities with simple setup and a range of options for the “housewife”.
First of all, the system is not protected from external influences. Nothing will work without an internet connection. Unless your router has a multi-provider connection configured to failover in case of loss of connection.
No offline storage is provided during the absence of a connection. Everything that happened during the disconnection from the network will remain outside the system’s visibility.
The situation is similar with power outages. Even if you take care of an uninterruptible power supply for the router and the camera (the latter can even work from PowerBank), the home hub (speaker or set-top box) will not work.
Secondlysystem does not have the ability to save videos on local media. HomeKit will not be able to attach a drive to record videos, they will not be able to be uploaded to a NAS server or computer.
Only cloud storage and viewing with the ability to download the desired fragments manually. On the one hand, this facilitates the system, but on the other hand, it makes it extremely dependent on the company’s services.
Thirdlysuch an observation cannot be connected to a third party control system. If you decide to use another video surveillance service, it will not be able to integrate with HomeKit Protected Video, you will have to disconnect the cameras from the Home application and configure them in a third-party application.
As a result, we get an auxiliary chip for a smart home, a tool for monitoring children, elderly relatives, and pets. With this feature, you can set up more thoughtful automation scripts and use more complex activation triggers.
The system is useful to track a parked car, an entrance group to a yard or a personal plot. There are no options for a full-fledged security system or surveillance tool in Apple’s secure video.
 Want more? Subscribe to our Telegram.

 To bookmarks
 iPhones.ru
Necessary option or useless feature?
Artyom Surovtsev
@artyomsurovtsev
I love technology and everything connected with it. I believe that the greatest discoveries of mankind are yet to come!
- Before ←
15 products of the week from AliExpress. Mi Band 6 for 2 thousand and more
.
The post How to set up video surveillance in a smart home from Apple. Overview of HomeKit Protected Video appeared first on Gamingsym.