
このガイドでは、Ubuntu/DebianシステムにSensuエージェントをインストールする方法について説明します。 Sensuエージェントをインストールするために、特にこのセットアップでUbuntu22.04とDebian11を使用しています。
Ubuntu/DebianにSensuAgentをインストールする
Sensu Goサーバーを使用して監視するためのリモートシステムメトリックの収集を開始するには、監視対象のホストにSensuエージェントをインストールする必要があります。
DebianにSensuエージェントをインストールする
SensuエージェントをDebianにインストールするには;
- SensuAPTリポジトリをインストールします。
curl -s https://packagecloud.io/install/repositories/sensu/stable/script.deb.sh | sudo bash- Debian11にSensuAgentをインストールします
リポジトリがインストールされたら、以下のコマンドを実行して、Debian11にSensuエージェントをインストールします。
sudo apt install sensu-go-agentUbuntu22.04にSensuエージェントをインストールします
UbuntuにSensuエージェントをインストールするには;
- SensuAPTリポジトリをインストールします。
curl -s https://packagecloud.io/install/repositories/sensu/stable/script.deb.sh | sudo bashUbuntu 22.04の場合、この記事の執筆時点ではUbuntu22.04のSensuAPTリポジトリがないため、Ubuntu20.04のリポジトリを使用する必要があります。
wget https://packagecloud.io/install/repositories/sensu/stable/script.deb.shos=ubuntu dist=focal bash ./script.deb.sh- UbuntuにSensuAgentをインストールする
リポジトリがインストールされたら、以下のコマンドを実行して、UbuntuにSensuエージェントをインストールします。
sudo apt install sensu-go-agentSensuAgentの構成と実行
Sensuエージェントは、構成ファイルを定義して、または定義せずに実行できます。
構成ファイルを定義せずに実行するには、以下のコマンドを使用します
sudo -u sensu sensu-agent start --backend-url <sensu-server-web-socket-url>SensuバックエンドWebソケットはポート8081でリッスンします。エージェントが接続できるように、サーバーでこのポートが開いていることを確認してください。 プロトコルはWSまたはWSSです。
sudo -u sensu sensu-agent start --backend-url ws://127.0.0.1:8081また
sudo -u sensu sensu-agent start --backend-url ws://192.168.56.124:8081構成ファイルを使用してSensuエージェントを実行するには、サンプル構成をダウンロードしてインストールします。
sudo curl -sL https://docs.sensu.io/sensu-go/latest/files/agent.yml -o /etc/sensu/agent.ymlこれは、サンプル構成がどのように見えるかです。
---
# Sensu agent configuration


##
# agent configuration
##
#name: "hostname"
#namespace: "default"
#subscriptions:
#  - example
#labels:
#  example_key: "example value"
#annotations:
#  example/key: "example value"
#agent-managed-entity: false
#allow-list: /etc/sensu/check-allow-list.yaml
#assets-burst-limit: 100
#assets-rate-limit: 1.39
#backend-handshake-timeout: 15
#backend-heartbeat-interval: 30
#backend-heartbeat-timeout: 45
#backend-url:
#  - "ws://127.0.0.1:8081"
#cache-dir: "/var/cache/sensu/sensu-agent"
#config-file: "/etc/sensu/agent.yml"
#deregister: false
#deregistration-handler: "example_handler"
#detect-cloud-provider: false
#disable-assets: false
#keepalive-critical-timeout: 0
#keepalive-handlers:
#  - slack
#  - email
#keepalive-interval: 20
#keepalive-warning-timeout: 120
log-level: "debug" # available log levels: panic, fatal, error, warn, info, debug
#user: "agent"
#password: "[email protected]!"
#redact:
#  - password
#  - passwd
#  - pass
#  - api_key
#  - api_token
#  - access_key
#  - secret_key
#  - private_key
#  - secret
#require-fips: false
#require-openssl: false


##
# api configuration
##
#api-host: "127.0.0.1"
#api-port: 3031
#disable-api: false
#events-burst-limit: 10
#events-rate-limit: 10.0


##
# socket configuration
##
#socket-host: "127.0.0.1"
#socket-port: 3030
#disable-sockets: false


##
# statsd configuration
##
#statsd-disable: false
#statsd-event-handlers:
#  - example_handler
#statsd-flush-interval: 10
#statsd-metrics-host: "127.0.0.1"
#statsd-metrics-port: 8125


##
# tls configuration
##
#cert-file: "/path/to/tls/agent.pem"
#trusted-ca-file: "/path/to/tls/ca.pem"
#key-file: "/path/to/tls/agent-key.pem"
#insecure-skip-tls-verify: false
デフォルトのSensuバックエンドURLは ws://127.0.0.1:8081。
Sensuバックエンドの削除を使用している場合。
sudo vim /etc/sensu/agent.ymlからバックエンドURLを更新します。
#backend-url:
#  - "ws://127.0.0.1:8081"
に (
backend-url:
  - "ws://<sensu-backend-IP>:8081"
少なくとも、SensuエージェントはバックエンドのURLを定義する必要があります。
次に、Sensuエージェントサービスを開始して有効にし、システムの起動時に実行します。
sudo systemctl enable --now sensu-agentステータスを確認してください。
systemctl status sensu-agent● sensu-agent.service - The Sensu Agent process.
Loaded: loaded (/lib/systemd/system/sensu-agent.service; enabled; vendor preset: enabled)
Active: active (running) since Sat 2022-05-07 01:17:26 EAT; 3s ago
Main PID: 4246 (sensu-agent)
Tasks: 7 (limit: 1133)
Memory: 8.3M
CPU: 62ms
CGroup: /system.slice/sensu-agent.service
└─4246 /usr/sbin/sensu-agent start -c /etc/sensu/agent.yml
May 07 01:17:27 debian11 sensu-agent[4246]: {"component":"agent","header":"Accept: application/octet-stream","level":"debug","msg":"setting header","time":"2022-05-07T01:1>
May 07 01:17:28 debian11 sensu-agent[4246]: {"component":"agent","level":"info","msg":"successfully connected","time":"2022-05-07T01:17:28+03:00"}
May 07 01:17:28 debian11 sensu-agent[4246]: {"component":"agent","header":"Accept: [application/octet-stream application/json]","level":"debug","msg":"received header","ti>
May 07 01:17:28 debian11 sensu-agent[4246]: {"component":"agent","format":"protobuf","level":"debug","msg":"setting serialization/deserialization","time":"2022-05-07T01:17>
May 07 01:17:28 debian11 sensu-agent[4246]: {"component":"agent","header":"Content-Type: application/octet-stream","level":"debug","msg":"setting header","time":"2022-05-0>
May 07 01:17:28 debian11 sensu-agent[4246]: {"component":"agent","level":"debug","msg":"maxSessionLength is 0s, agent won't periodically disconnect","time":"2022-05-07T01:>
May 07 01:17:28 debian11 sensu-agent[4246]: {"component":"agent","content_type":"application/octet-stream","level":"info","msg":"message received","payload_size":143,"time>
May 07 01:17:28 debian11 sensu-agent[4246]: {"component":"agent","level":"debug","msg":"received an entity config from the backend","time":"2022-05-07T01:17:28+03:00"}
May 07 01:17:28 debian11 sensu-agent[4246]: {"component":"agent","level":"debug","msg":"successfully received the initial entity config","time":"2022-05-07T01:17:28+03:00"}
May 07 01:17:28 debian11 sensu-agent[4246]: {"check":"keepalive","component":"agent","entity":"debian11","event_uuid":"14a4c0f8-301c-4fe2-9db3-119c8a53274a","level":"info
問題が発生した場合は、journalctlコマンドを使用してログを確認してください。
journalctl -u sensu-agentSensuバックエンドサーバーとの非常にSensuエージェントの接続
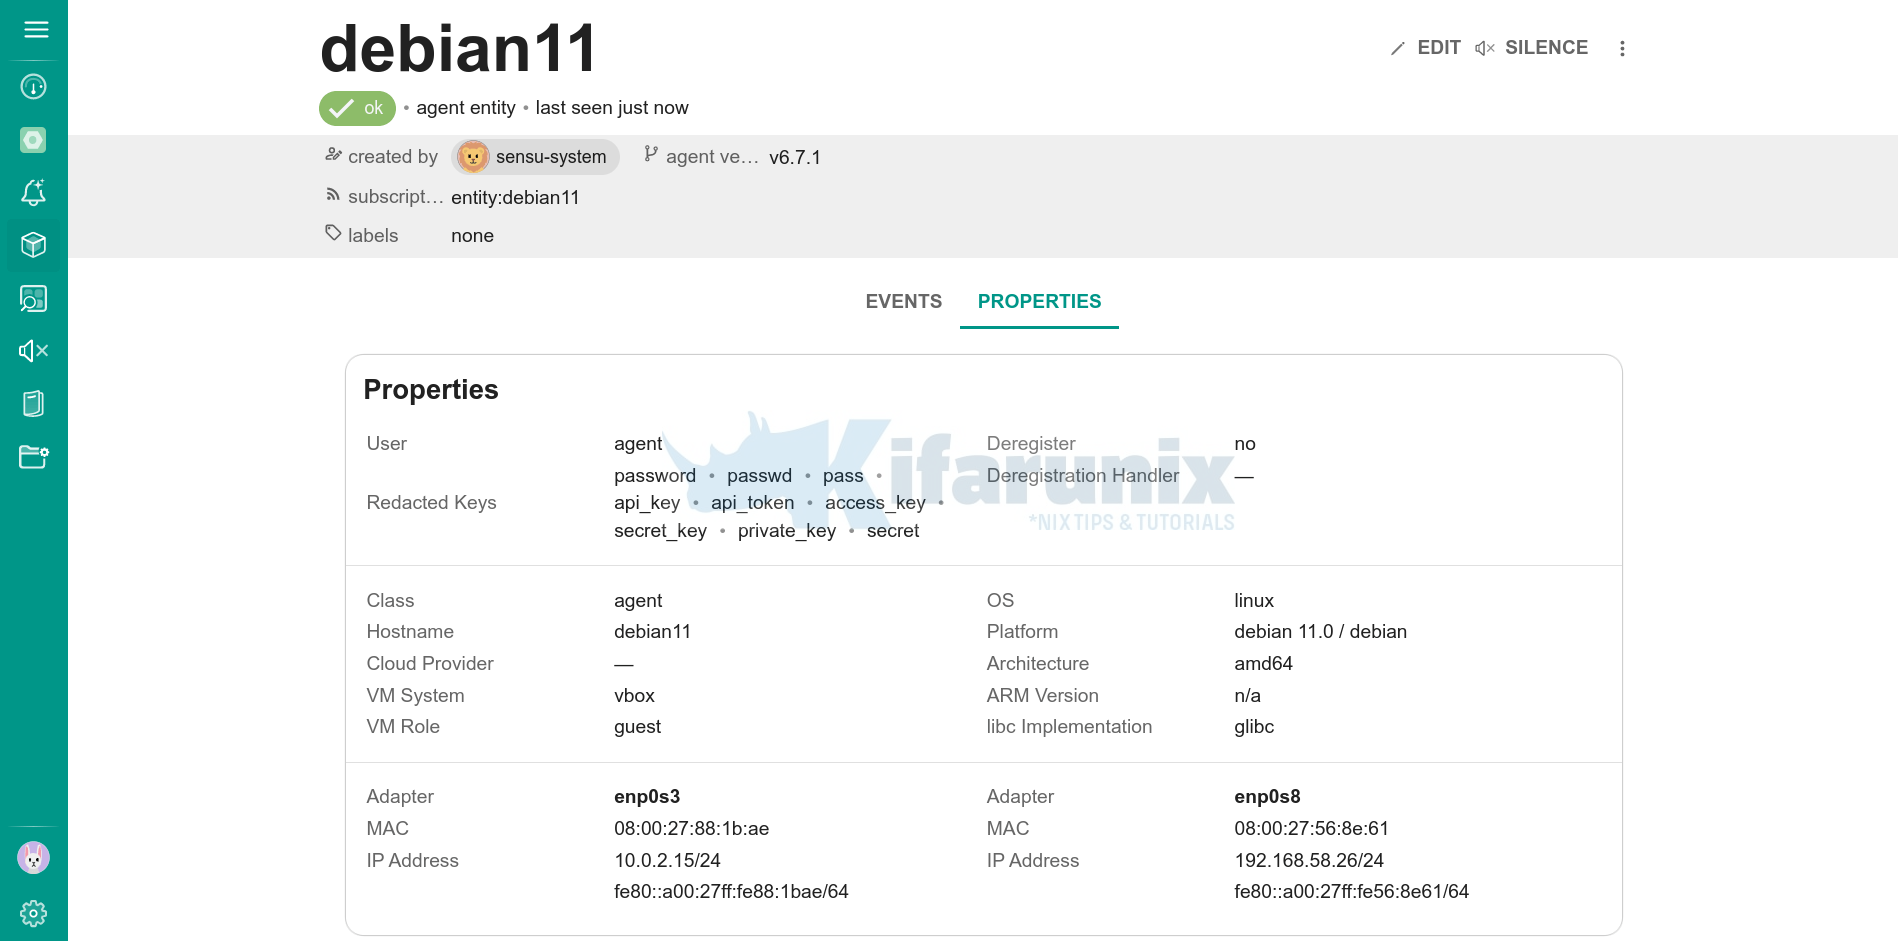
Sensuバックエンドに再度ログインして、エージェントのステータスを確認します。
いずれかのエンティティをクリックすると、詳細が表示されます。
これが、Ubuntu/DebianにSensuAgentを簡単にインストールする方法です。
参照
その他のチュートリアル;
Ubuntu 22.04 /Ubuntu20.04にNagiosNRPEエージェントをインストールします
LinuxのFleetManagerにElasticAgentをインストールして登録する
RockyLinux8にWazuhAgentをインストールします
The post Ubuntu/DebianにSensuAgentをインストールする appeared first on Gamingsym Japan.