Previously, we have already done reviews of routers. For example, the TP-Link Archer AX73 AX5400 turned out to be a very cool solution – a kind of “combine” that not only distributes Wi-Fi, but can also become the center of a multimedia system. The Mercusys Halo H50G AC1900 proved to be a good mesh system designed for home use without much pretension.
However, these are not the cheapest devices. But what about a person who just needs a high-quality router for a relatively small apartment? Which device to choose if you don’t need the latest ones? At the same time, if you don’t want to suffer because of excessive savings, but you also don’t want to overpay for unnecessary characteristics. In general, I decided to pay attention to the TP-Link Archer C64, the cost of which at the time of writing is slightly more than three thousand rubles.
Design and equipment
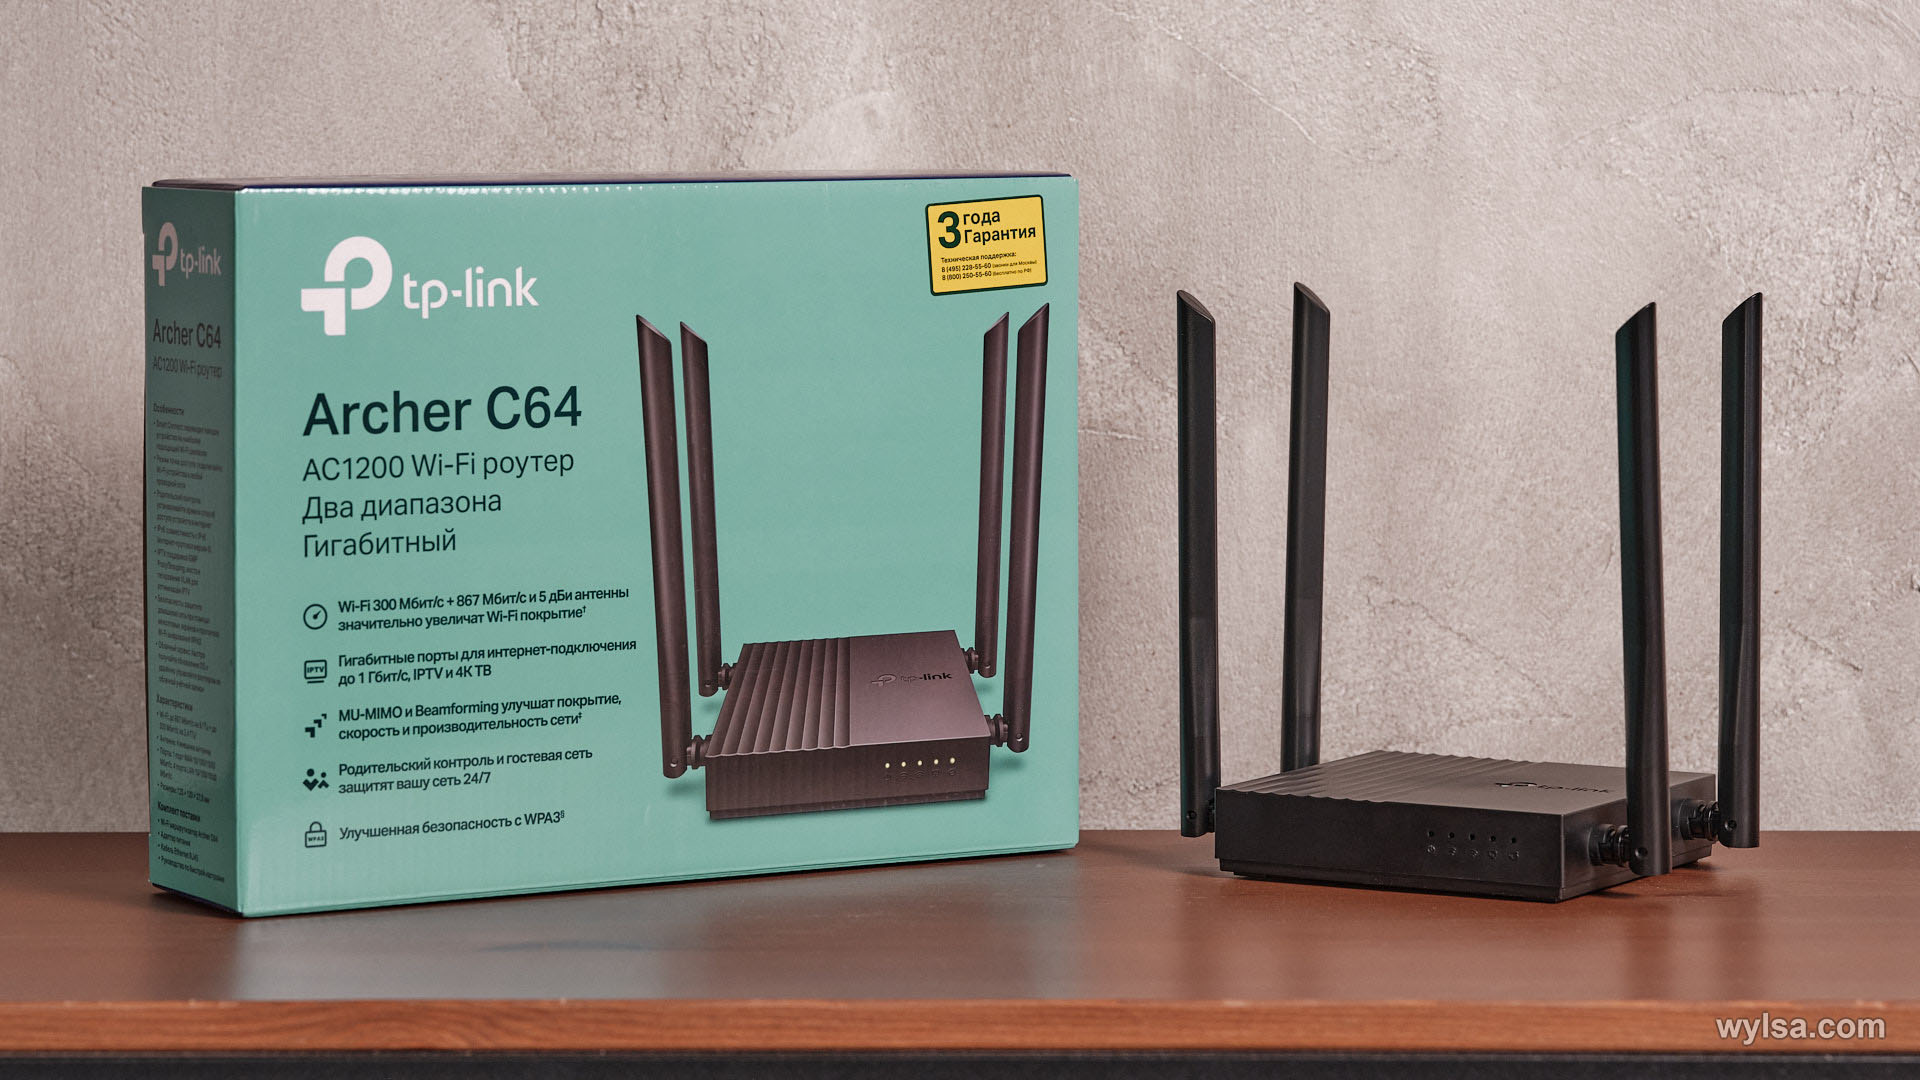
As always, we start with the box. It is an illustration of product continuity as all TP-Link products are boxed in the same azure purple color scheme:
In the kit, in addition to the router itself, you will find a power supply and a neat Ethernet cable:
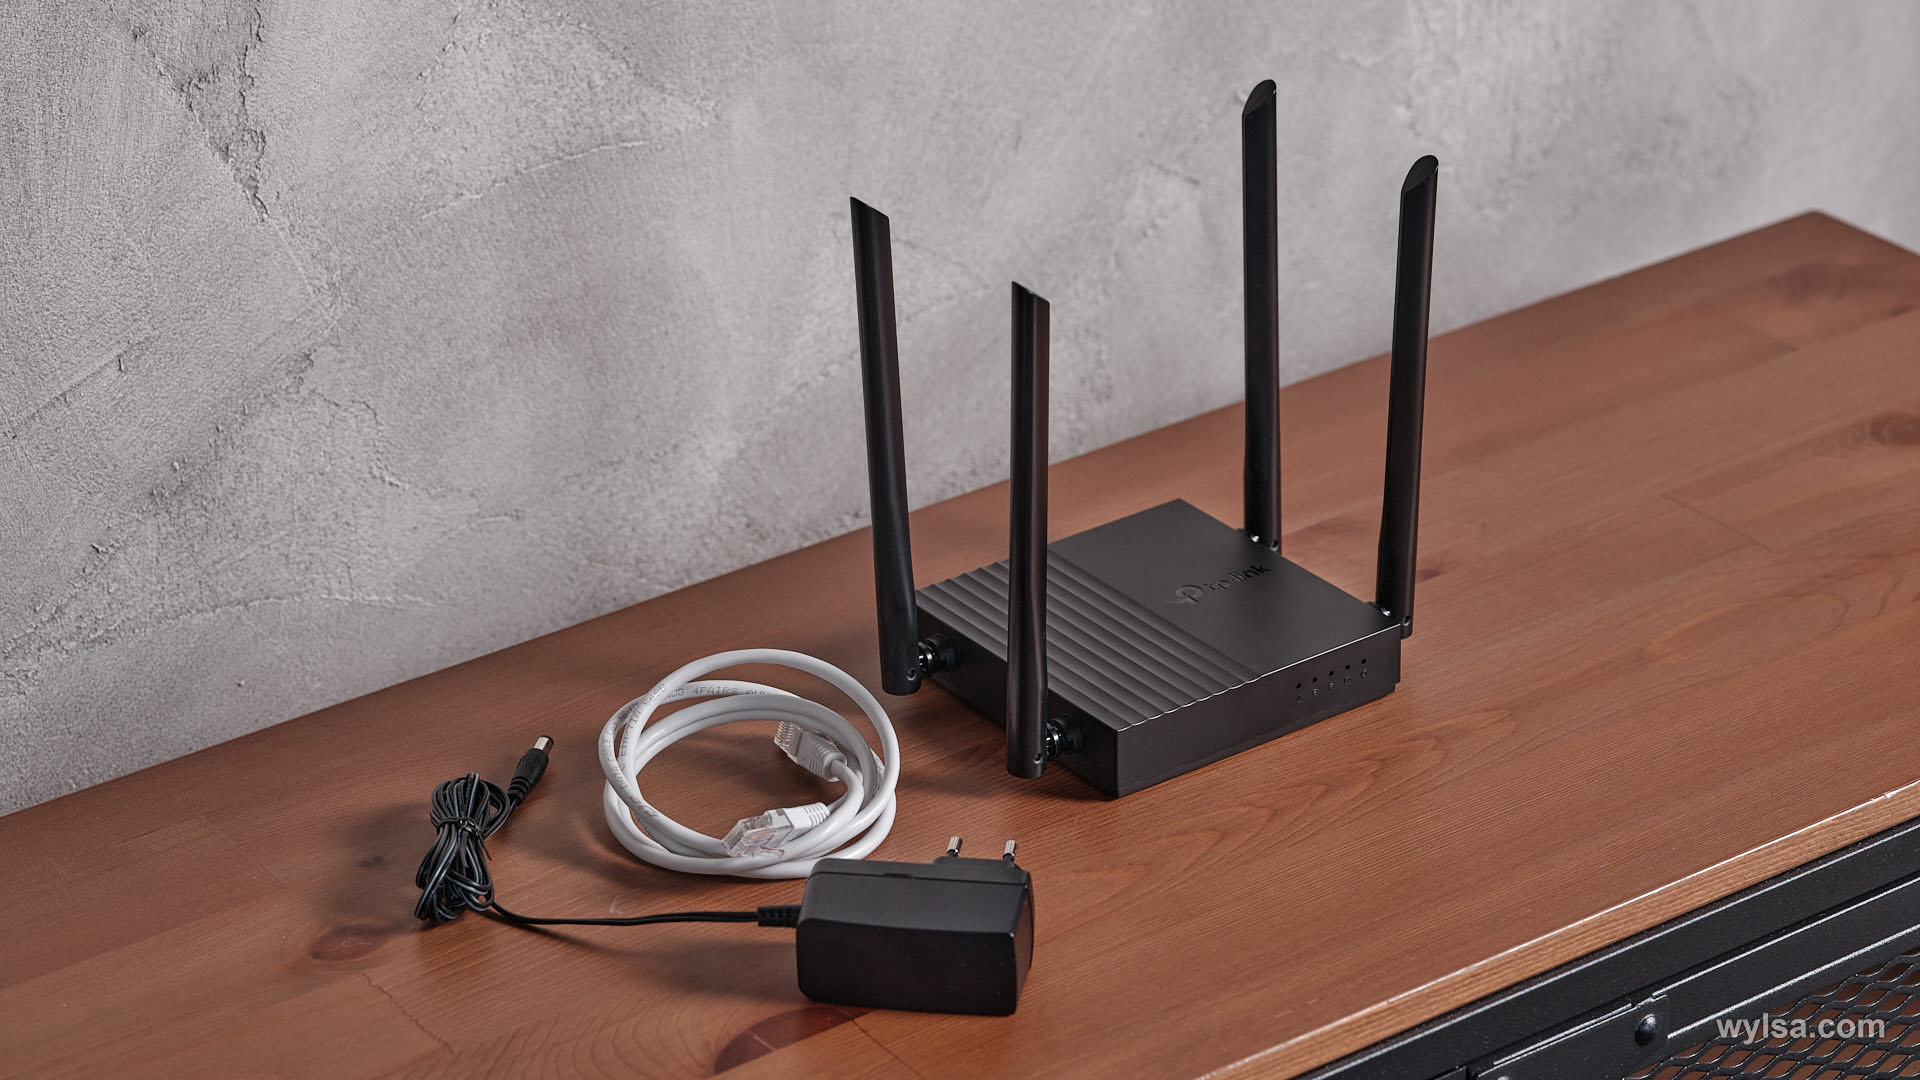
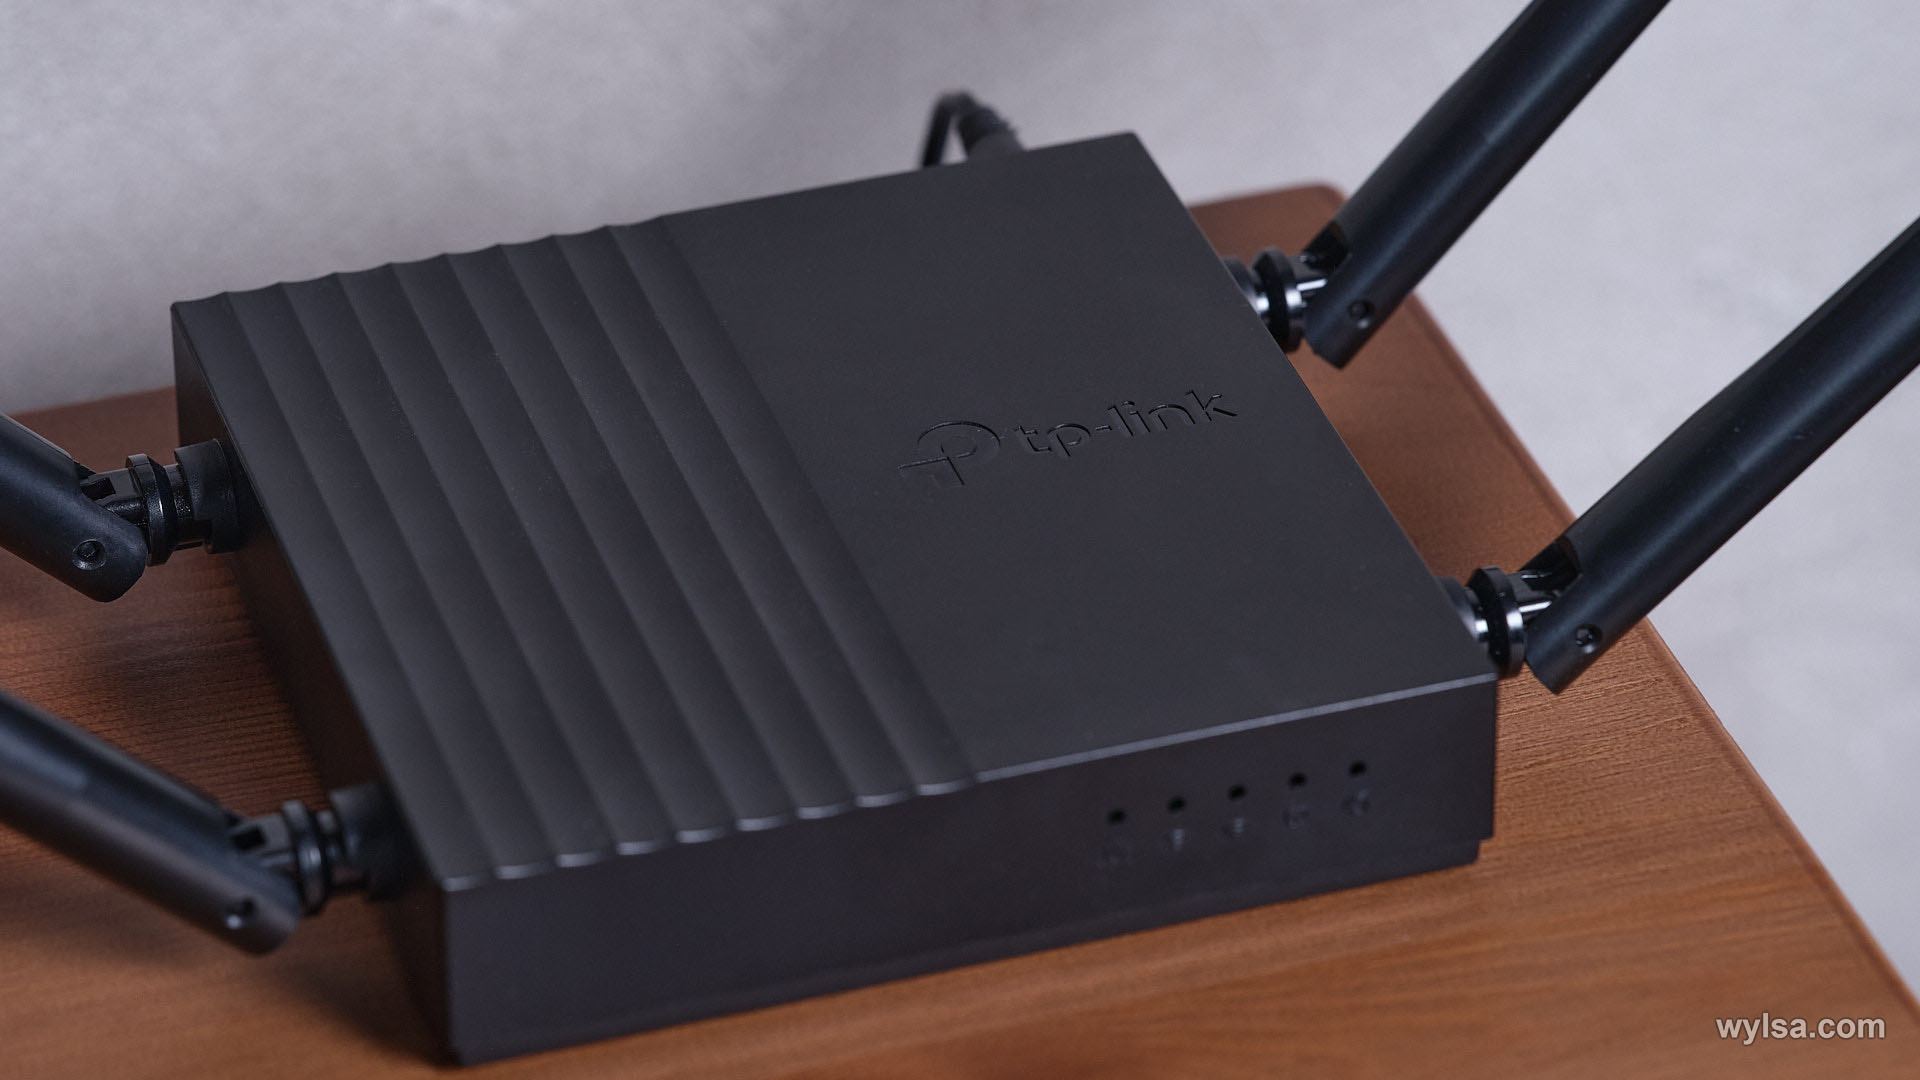
The router itself is very compact. Without antennas, its dimensions would be 120 × 120 × 28 mm. Weight – 230 grams.
Below, like many competitors, there are holders for mounting the device to the wall:
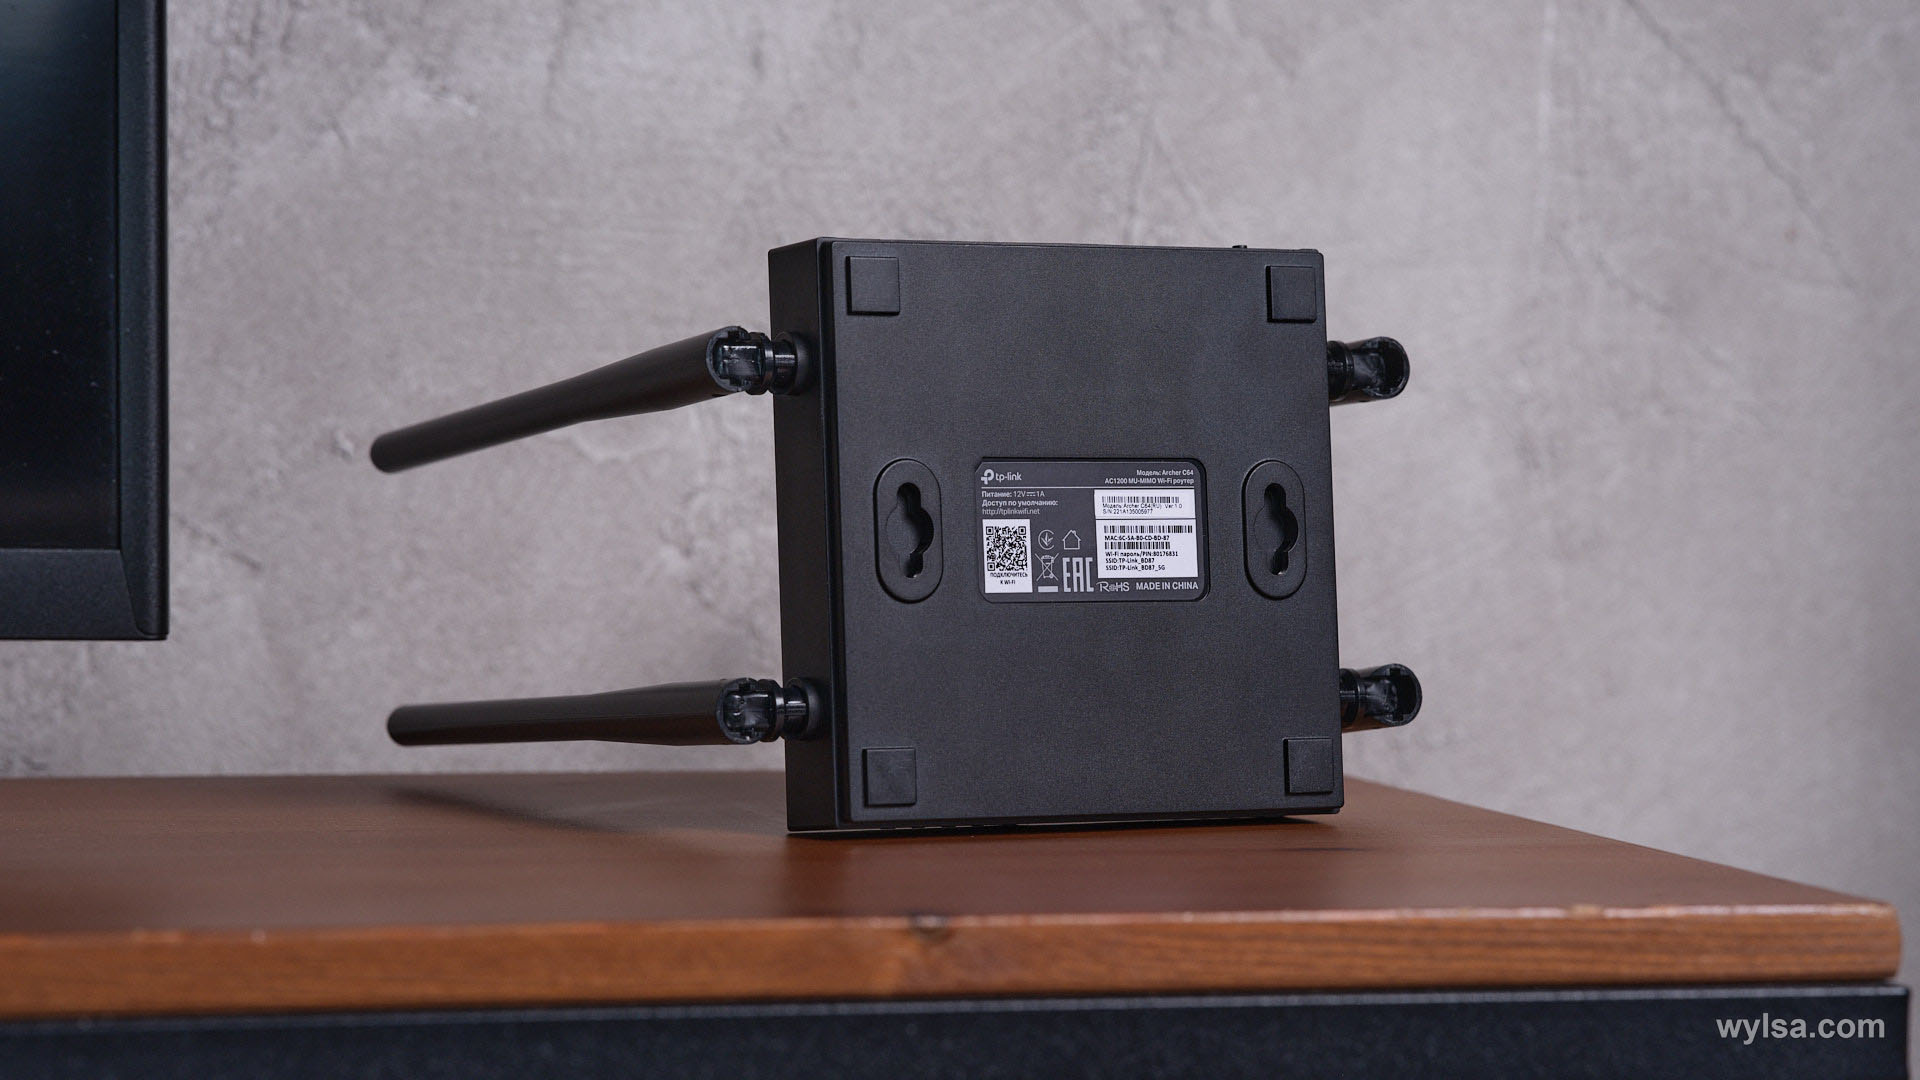
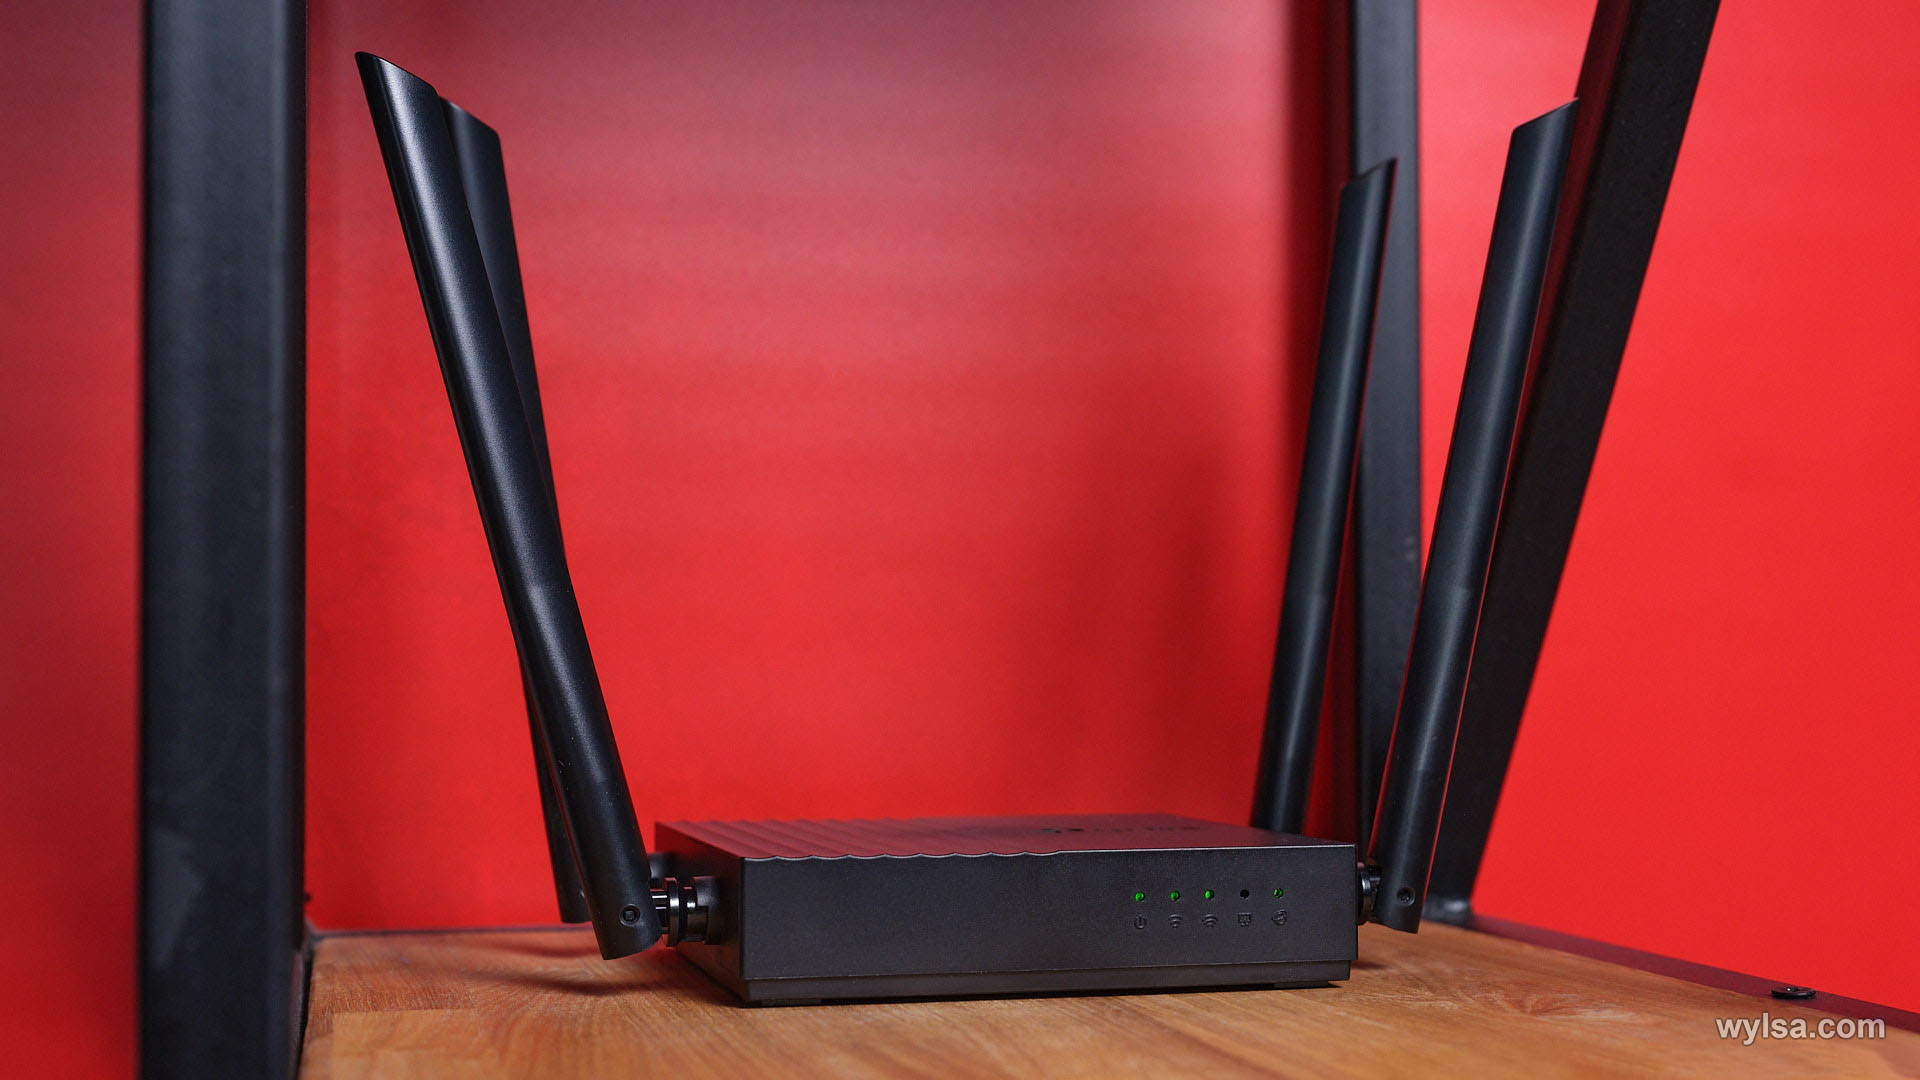
The antennas are non-removable, but it is possible to adjust them by about 180 ° along the router itself, as well as by 45 ° from it.
On the back is a power connector, a WPS activation/reset button, and five Ethernet ports. Blue is the main one. Here you need to connect a cable with an incoming gigabit signal. The remaining four yellow ones are used to connect various devices, be it a computer, TV or set-top box. They are also gigabit.
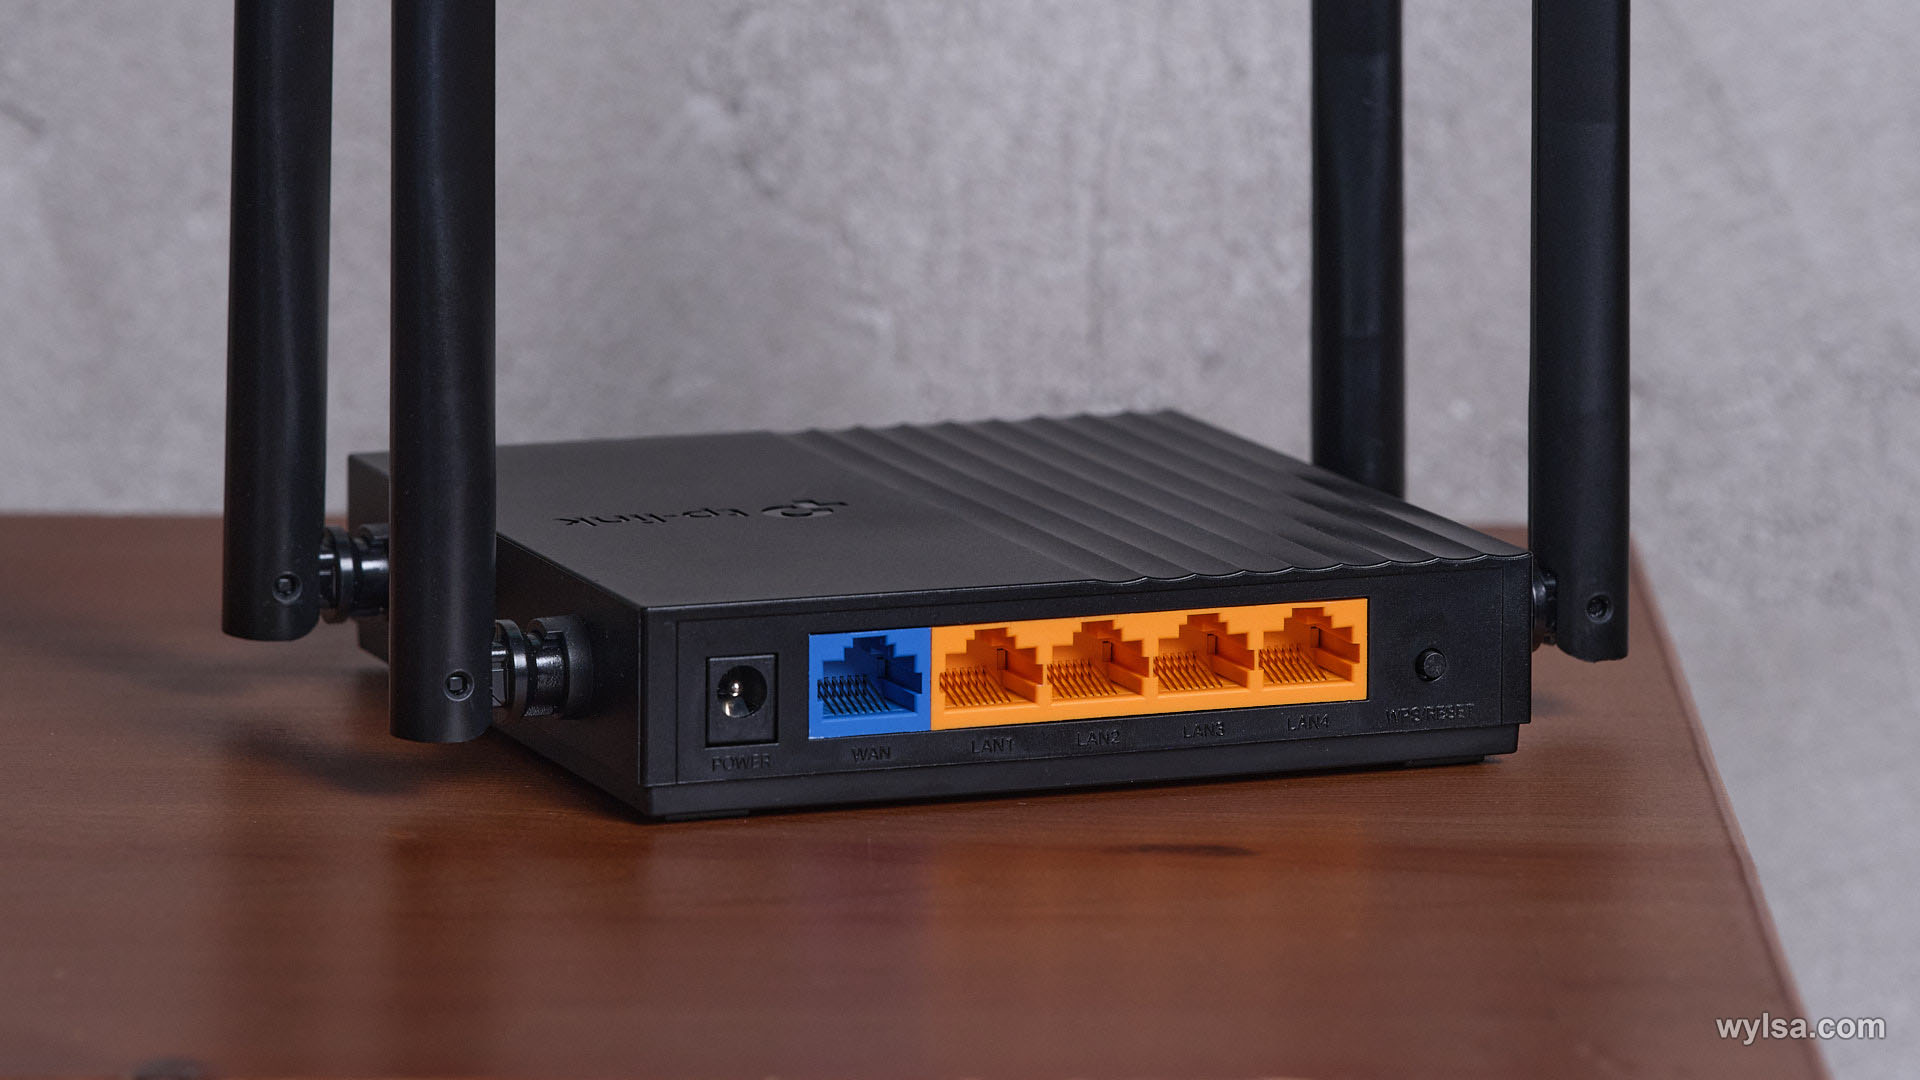
Unlike the more expensive Archer AX73, the Archer C64 doesn’t shine with piano gloss. It’s purely utilitarian matte plastic without any vent holes.
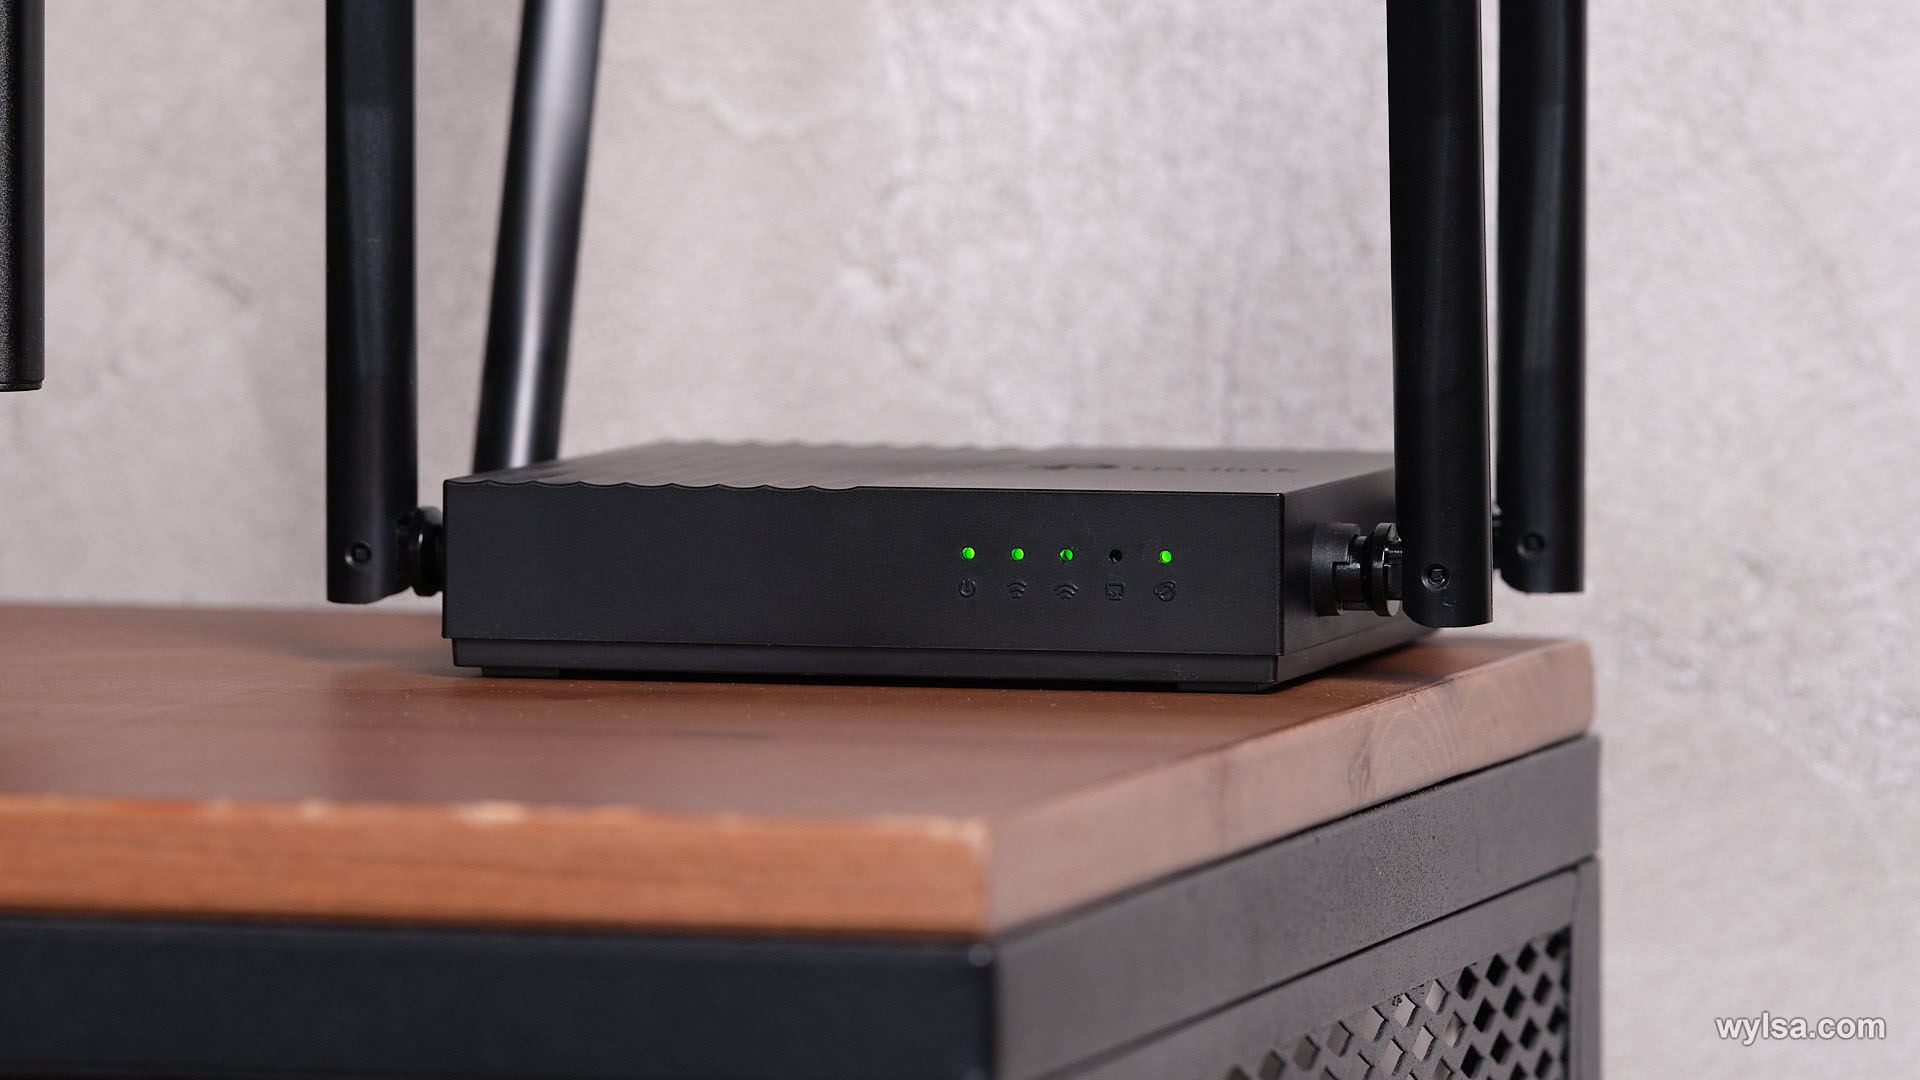
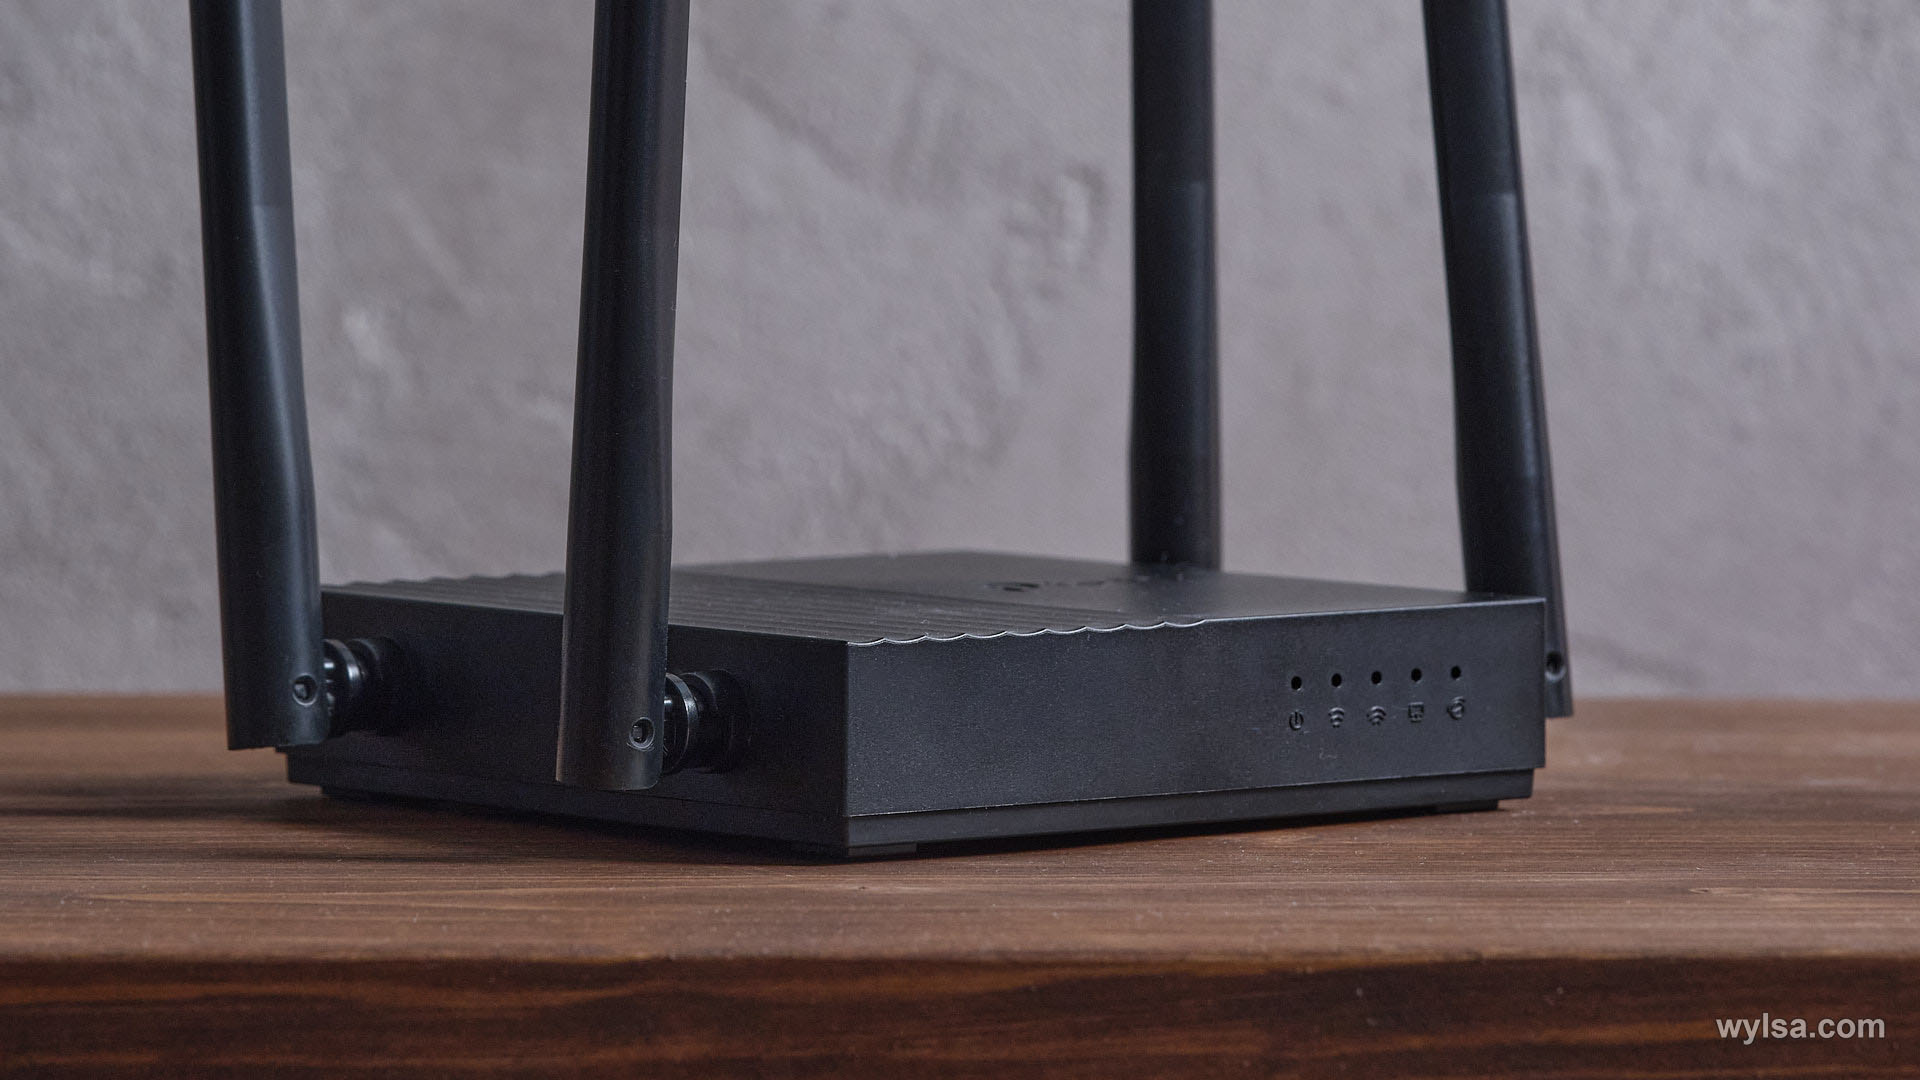
There are several LEDs on the front panel that display the status of the network and the router itself:
Opportunities
TP-Link Archer C64 received a single-core dual-threaded processor with a clock frequency of 1.2 GHz. Actually, this is an absolutely normal solution, which is most often used in budget routers.
The router works with AC1200 Wi-Fi class. This means that for two wireless channels, the maximum speed will be close to 1200 Mbps. Of these, 300 Mbps at a frequency of 2.4 GHz, and at 5 GHz – 867 Mbps.
One of the key ones was Beamforming, a function by which the router detects the location of connected devices. This allows you to redirect the signal in their direction.
Encryption is carried out according to the WPA3 certification program, which also protects against brute force attacks. Also, this protocol has received simplified integration with IoT devices.
Available in Archer C64 and MU-MIMO. This protocol creates three wireless connections that can work simultaneously. It allows you to avoid situations in which you ask your roommates to stop downloading content in order to urgently resolve some issue.
Setting
Settings can be managed both through the browser and through the TP-Link Tether application, available on iOS and Android. I will show the process in the browser.
After you connect the router to the network, you need to connect to the created Wi-Fi network. After that, go to the tplinkwifi.net website and set a password for your account:

Then you will need to take a few quick setup steps. Here you have to select the region where you use the router. There will also be a long list of providers – in this case, the router will apply all the necessary specific settings.
Here you can create your network name and password. Right during quick setup:

In principle, most users will not go further. However, for them, the web interface screen will look like this:

The second tab is “Internet”, where the IP and MAC addresses will be configured:

“Wireless Mode” will give you the opportunity to rename the network, set a new password, choose which WPA option to use, and also disable one of the networks:

Pay attention to the Smart Connect feature. If you activate it, then your Wi-Fi networks operating at 2.4 and 5 GHz are combined into one. There will be no cluttering of the channel: the router itself will determine which devices need to be connected to 2.4 GHz and which to 5 GHz.
Everything else went into the “Advanced Settings” section:

During the setup, I got a notification that it was time to update the firmware of the router:

Speed
Nothing has changed since last time in our studio: the same tariff for legal entities with a maximum speed of 300 Mbps. I am far from the access point, so my Internet does not really shine with speeds:
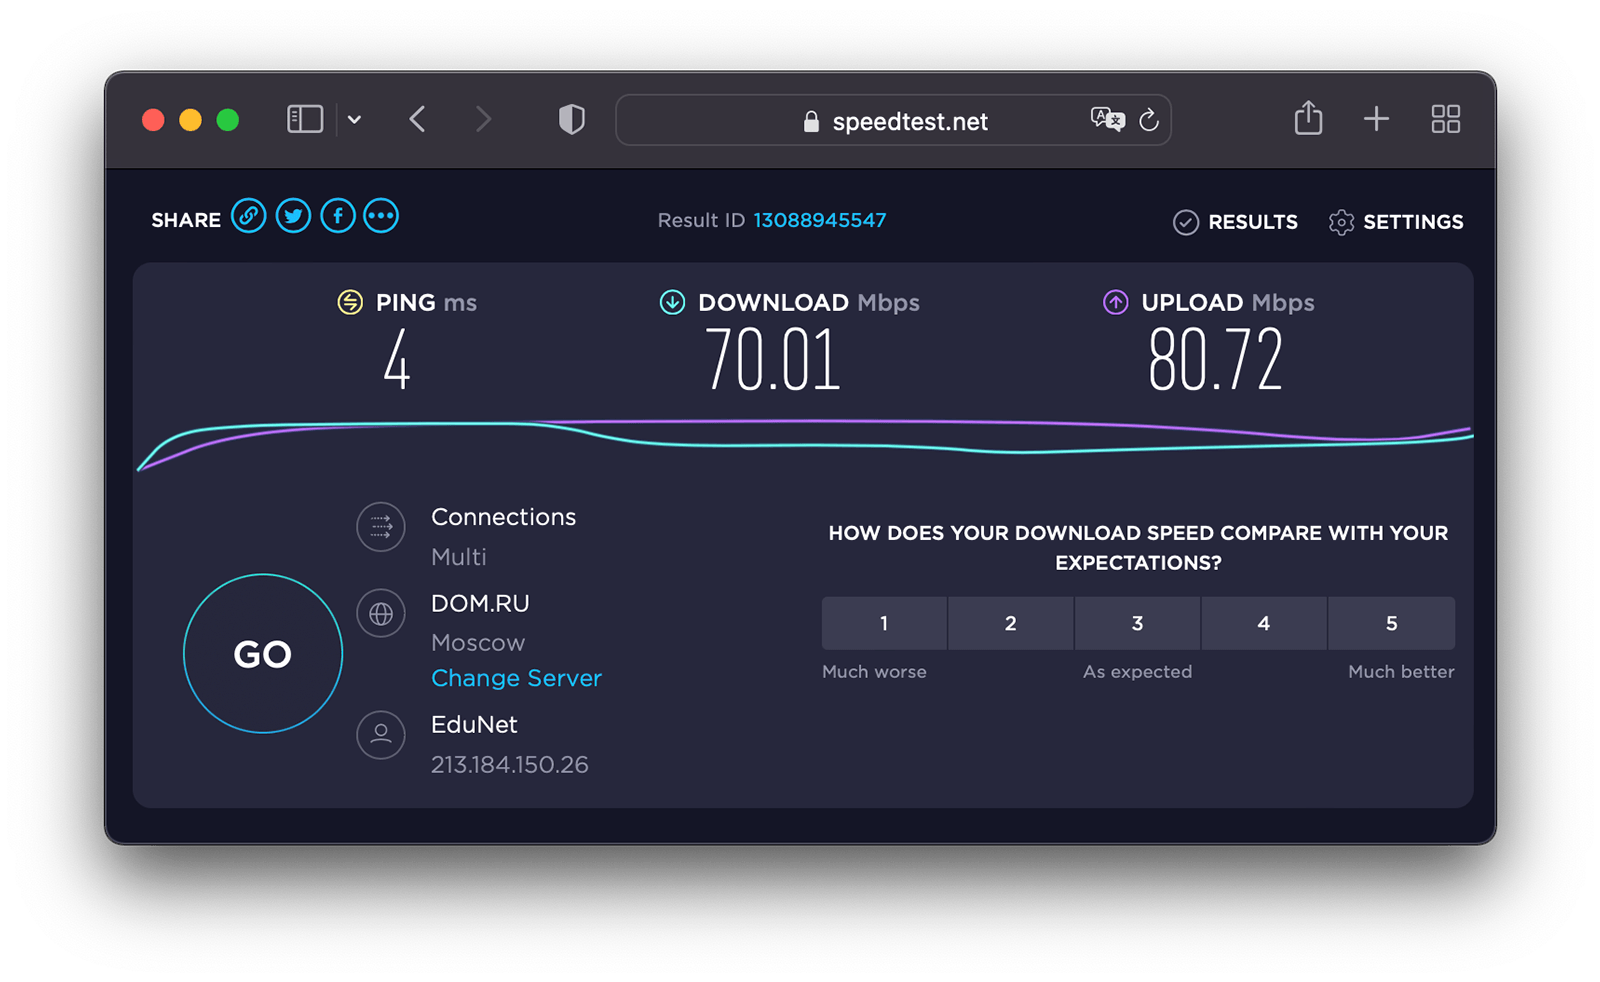
I turn on the router, create a network, and then connect my work iMac Pro from it with a cable:
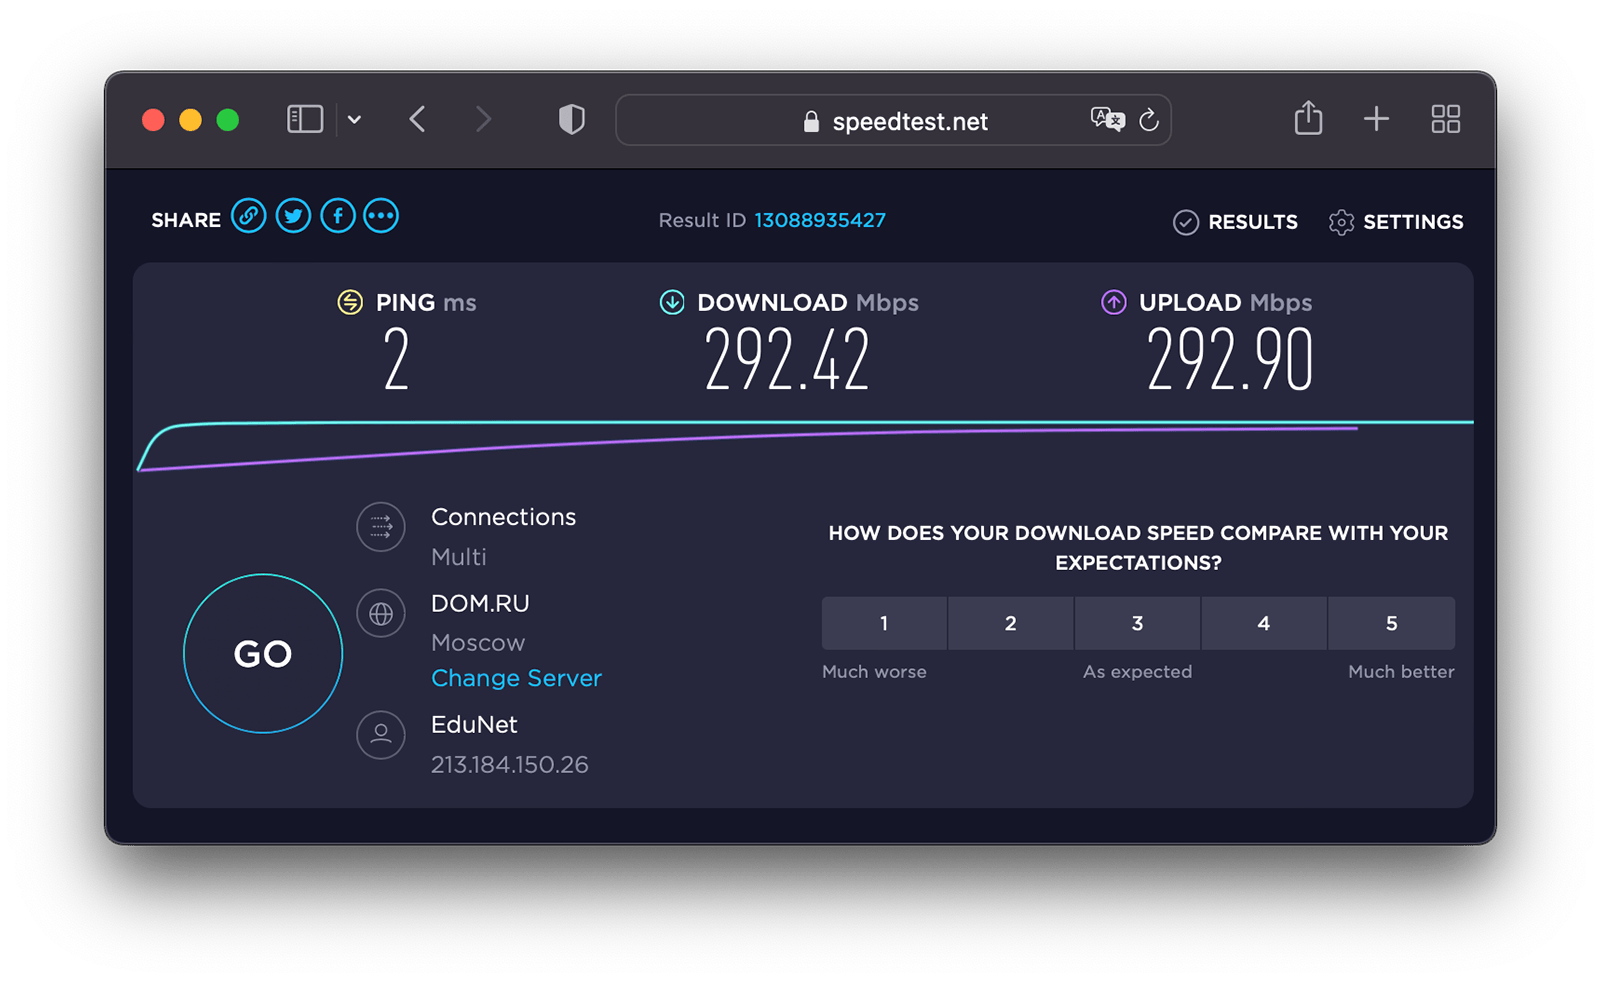
Then we measured the speed on another poppy, which is in the same room:
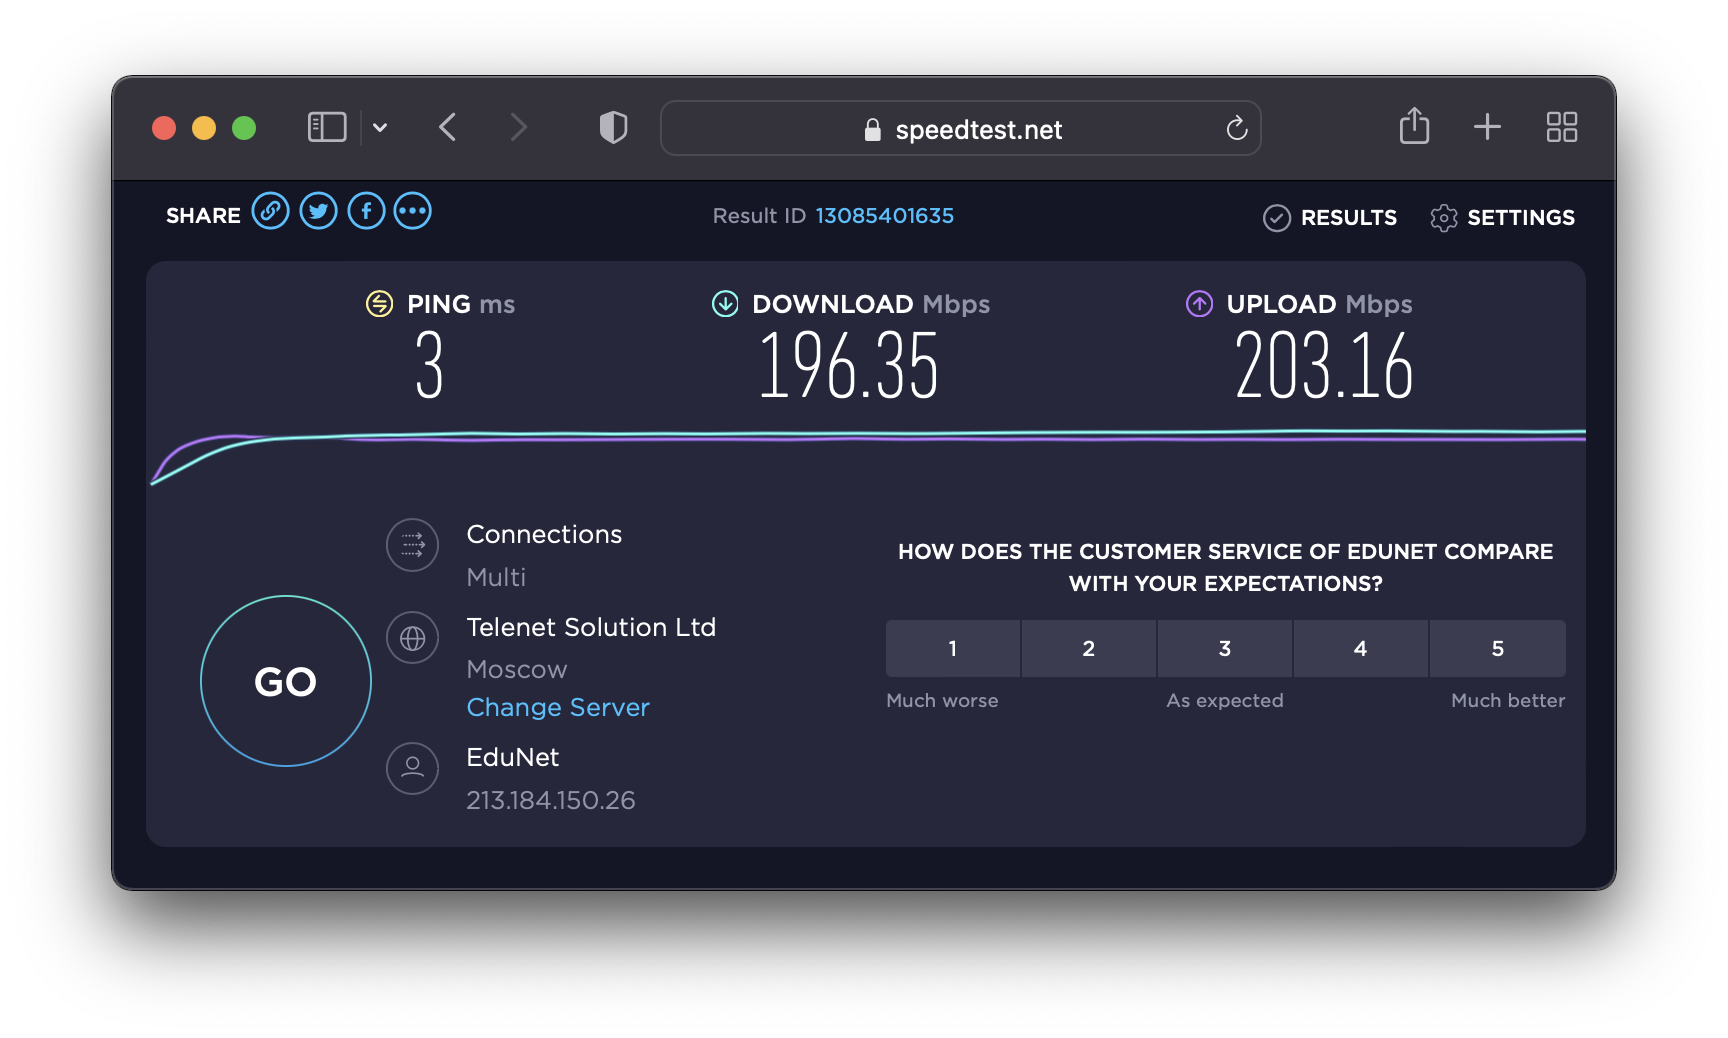
One of the latest iPhones gave better speeds:
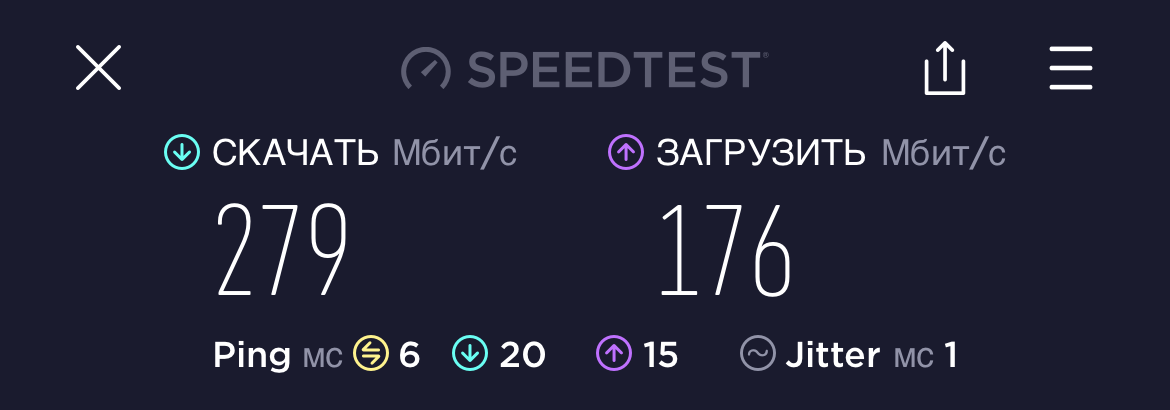
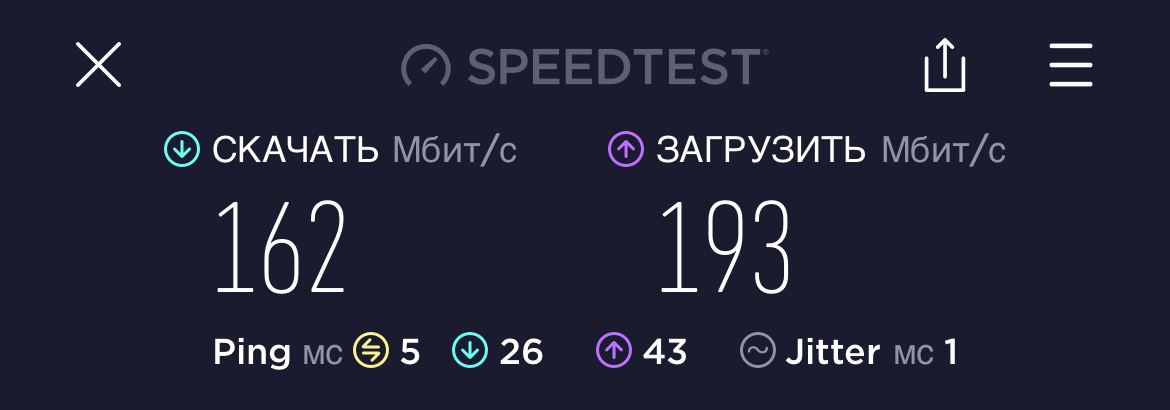
And here is a speed measurement through a very thick wall:
Additional settings
By tradition, I describe the process of setting up “Parental Control”. It is named so for obvious reasons to prevent children from accessing content that is dangerous for them. The ability to configure it is both in the browser web interface and in the application.

Click “Add”, where you enter any name, family ties, or whatever comes to your mind:

In the next section, you will need to enter the resources to which you want to restrict access:

Next, it is proposed to set time limits for the specified resources:

Click Save. After that, you will update the list of users whose device traffic is controlled:

To add a device to this entry, click on the Edit icon. In the window that opens, you can rename the user account, add blocked content, and change time limits. But now we want to add devices, so in the window that opens, click on the plus:

Here you will be prompted to add devices to the custom list:

There are similar settings in TP-Link Tether:
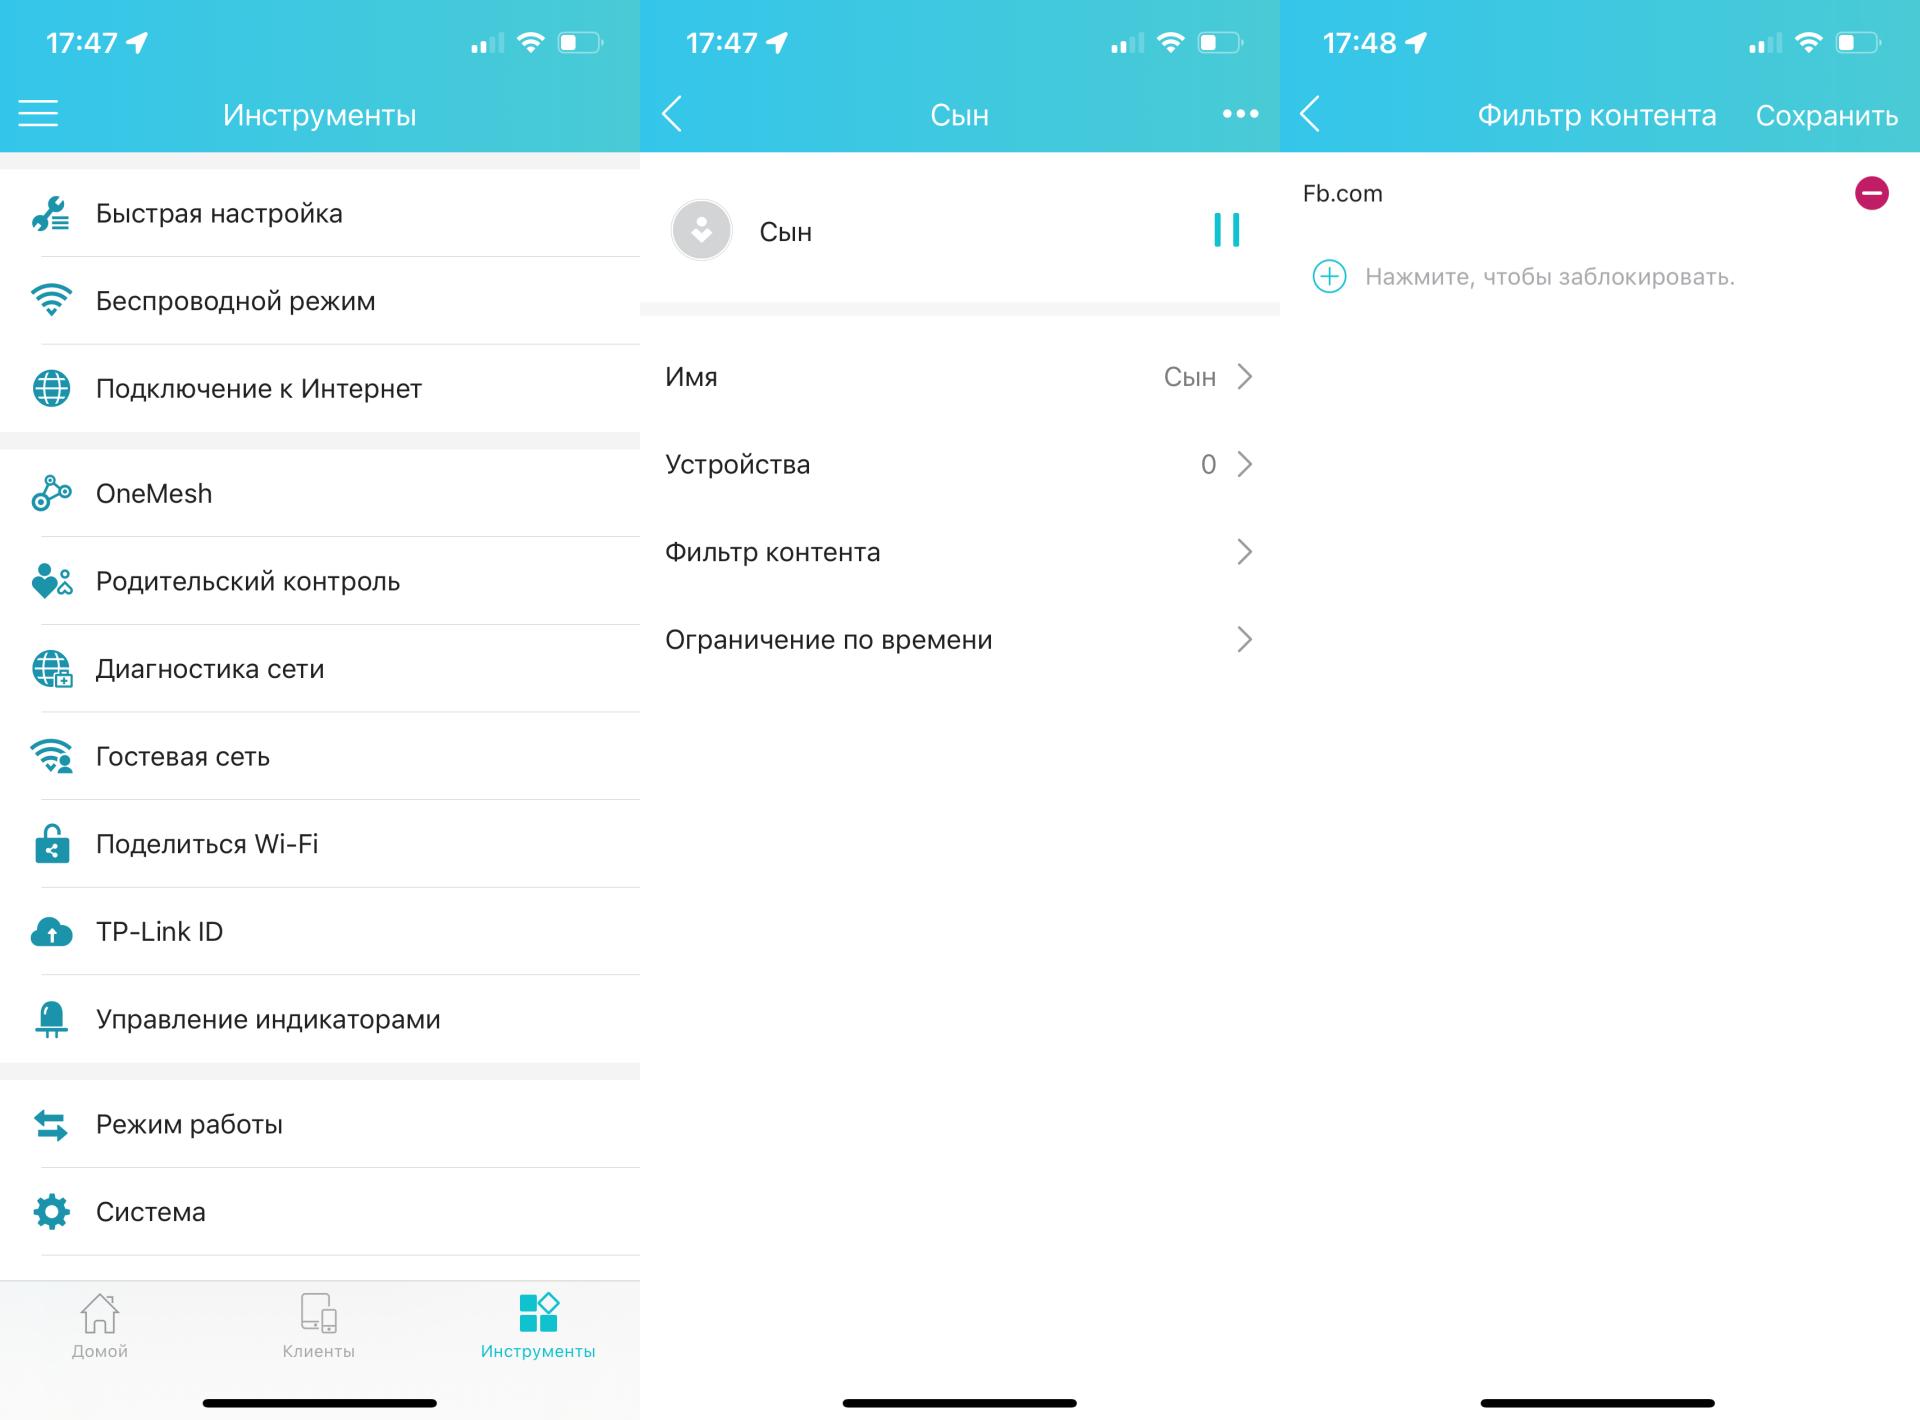
The functionality of the application is similar to the web version of the router interface.
Outcome
The total area of our office is 230 m². And the power of TP-Link Archer C64 is not enough to cover it – the signal simply does not reach the far corners of the studio. In normal times, we use an expensive Mesh system, which, due to thick walls, problems with switching, and other related factors, does not really pull out straight away – speeds drop by three to four times.
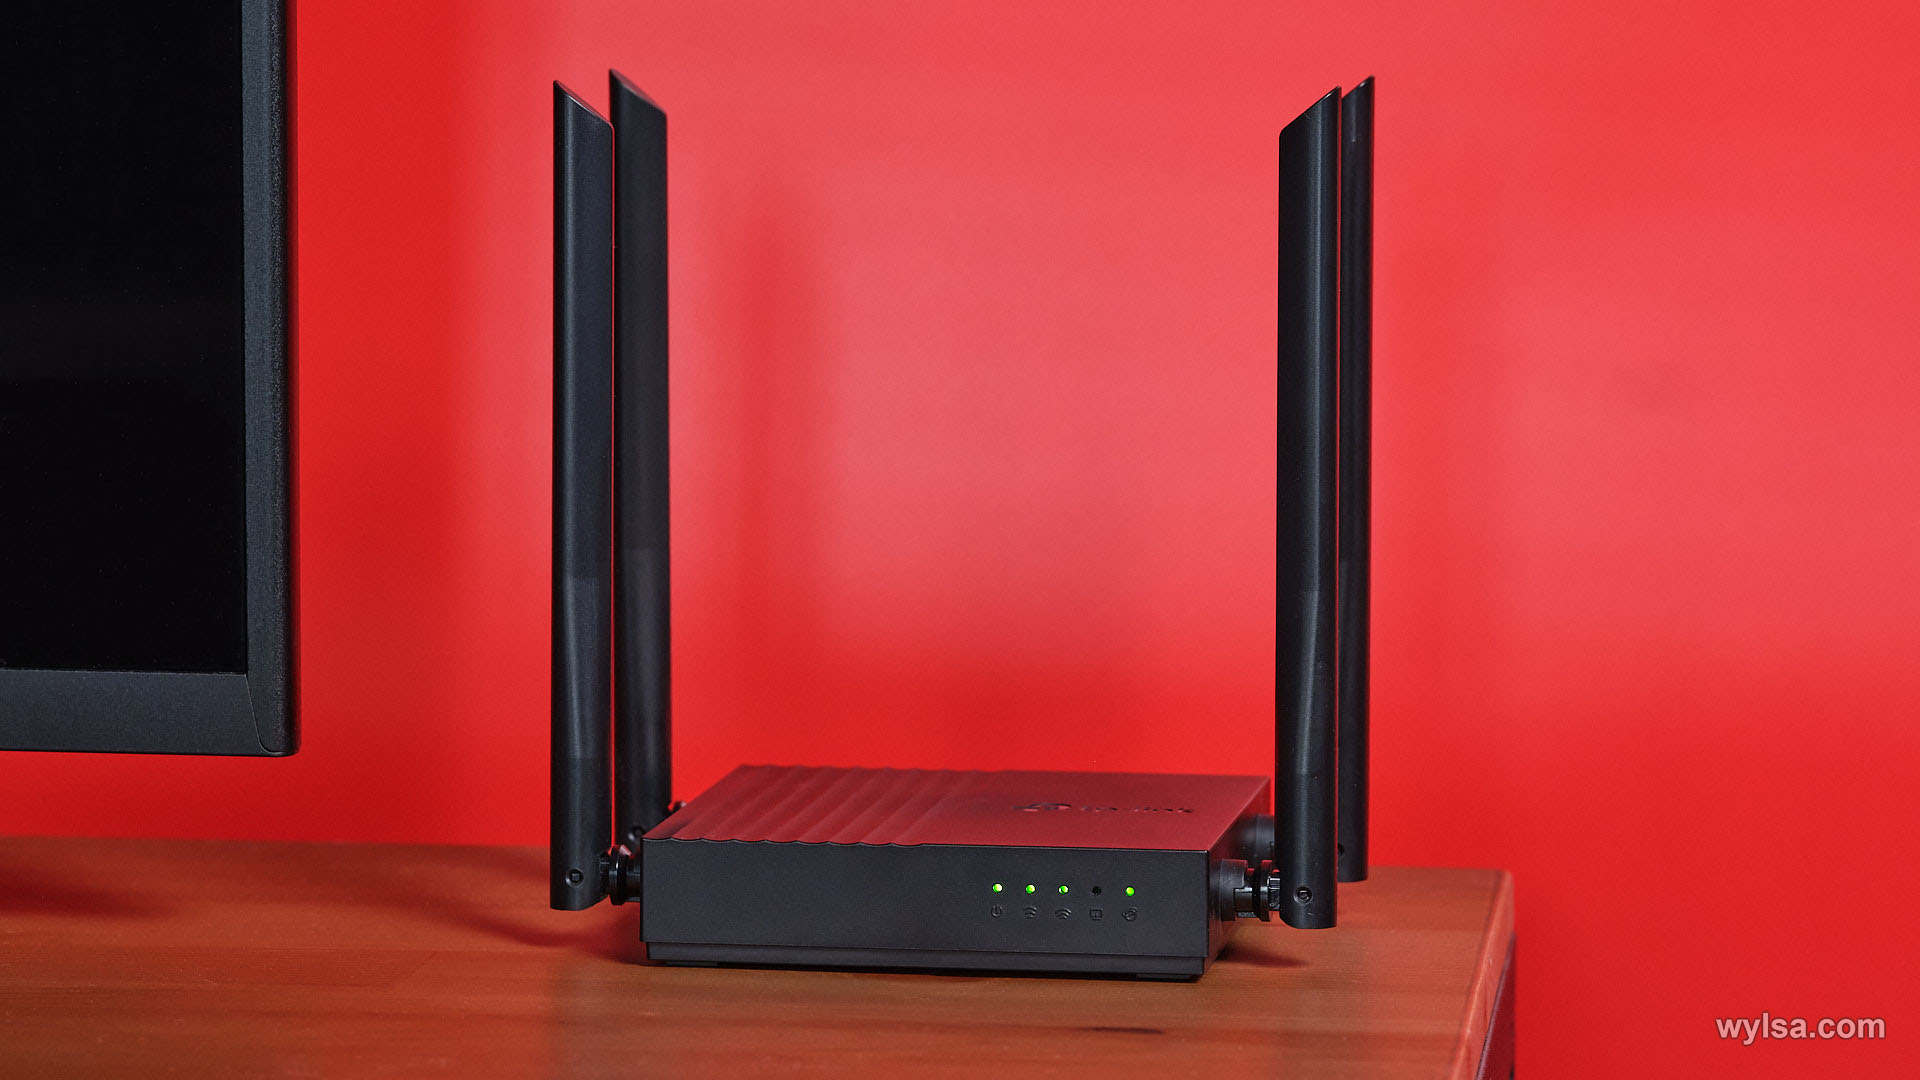
Archer C64 is not suitable for such premises, which is not surprising. The halo of his “habitat” – apartments in Khrushchev and panels of different years of construction. Probably, for more than two-room apartments with an area of more than 60-70 m², I would not advise buying it – here we need more powerful solutions and, accordingly, more expensive. For example, the same Archer AX73, the review of which was released earlier. Or Archer C64, but with Wi-Fi amplifiers. One option is TP-Link RE305. Our Archer will connect to it using the OneMesh function. In this case, there will be no “dead” zones in your house where the signal weakens or disappears altogether.
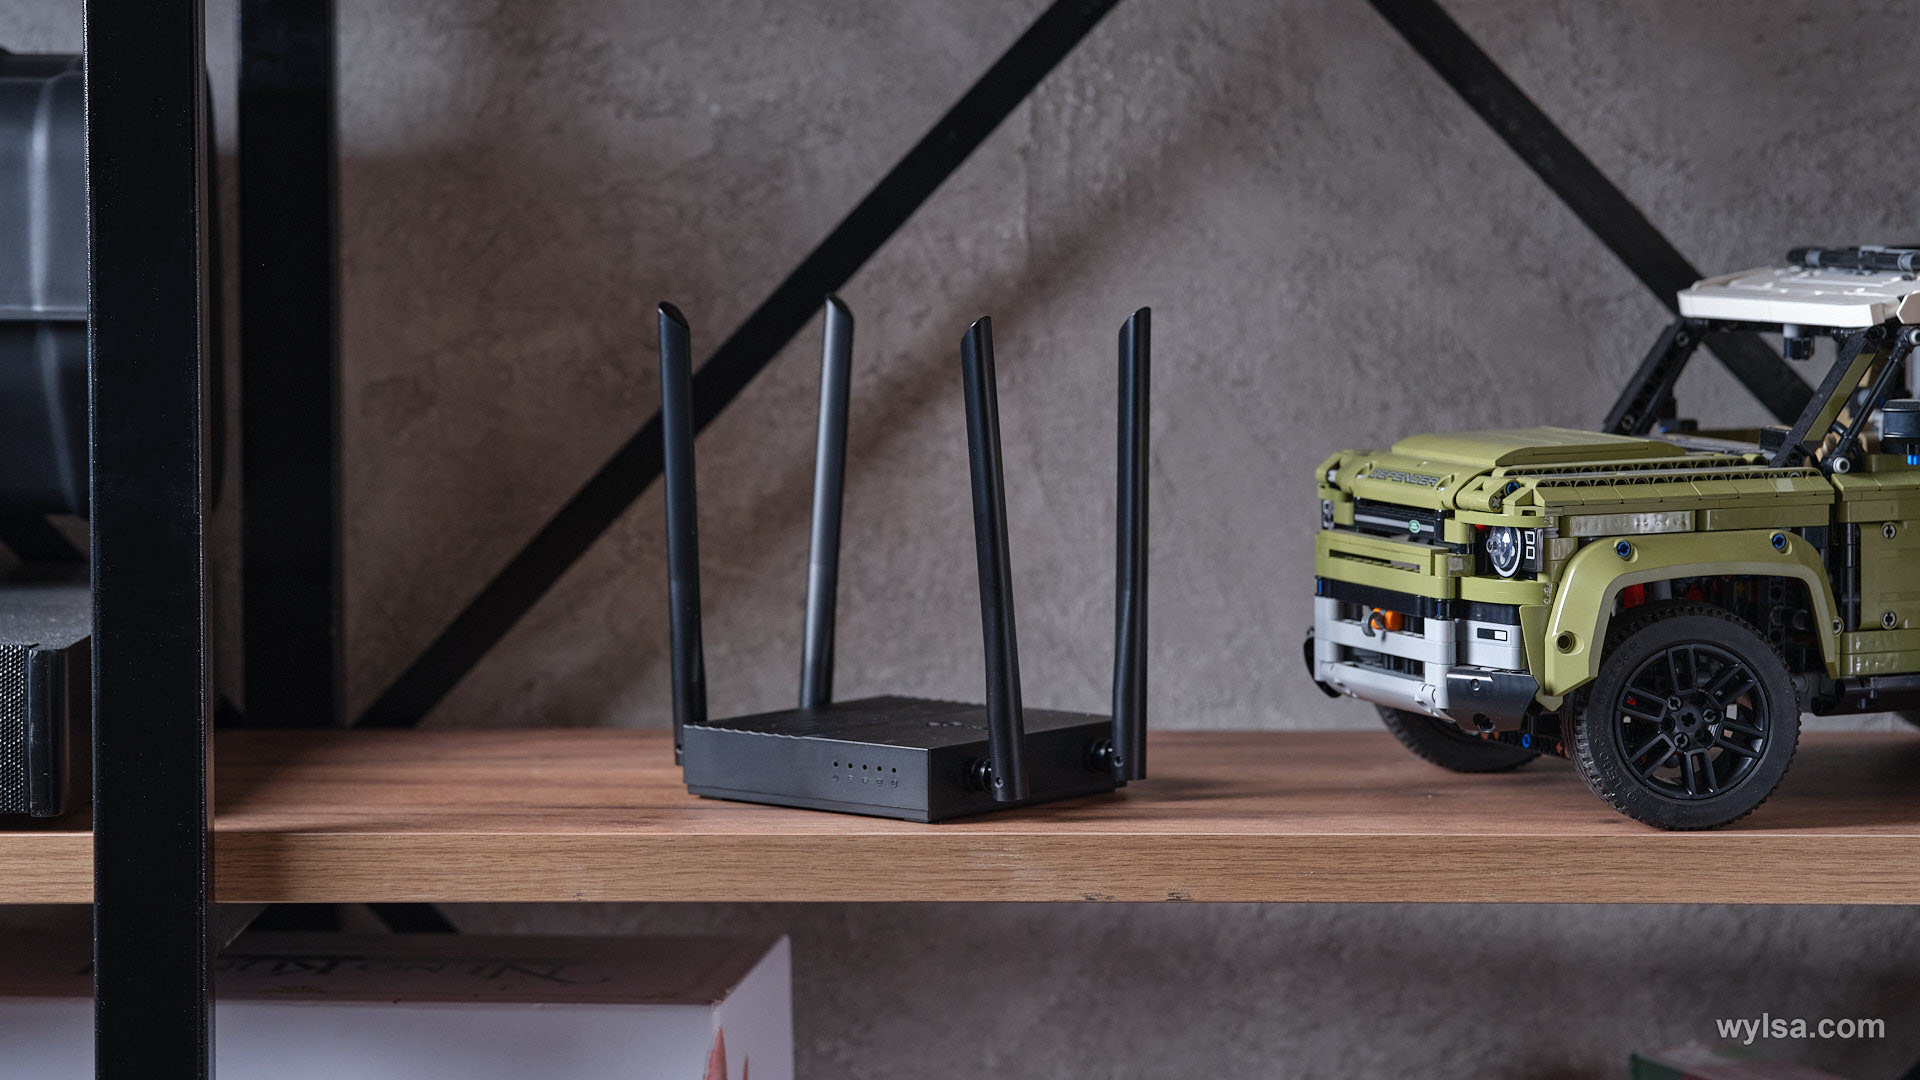
Archer C64 buyers do not want to overpay for unnecessary features, but they are not going to suffer from the desire to save money either. Archer C64 is suitable for unpretentious users who, oddly enough, also need a router. They don’t need Wi-Fi 6 as there won’t be very many devices connected to the network. Probably, the compactness and accuracy of the router itself are more important to them. And all this is supported by the well-known name TP-Link, which is highly trusted in our country.
The text is published as advertising.
.
The post router for those who do not want to overpay – Wylsacom appeared first on Gamingsym.
