
Your Mac won’t turn on? No panic! Do not rush to drop everything and carry your favorite computer to the nearest service. It is quite possible that the built-in macOS tools will be enough for “resuscitation”, which anyone can use.
BY TOPIC: Terminal on Mac (macOS): what it is, commands, syntax – a clear guide for beginners.
Booting in Safe Mode on Mac
When Safe Mode is activated, macOS will scan your hard drive and fix any errors it finds.
“Safe” Boot starts only essential components (i.e. only what is needed to start the computer). As a result, third-party extensions, login elements (logins-passwords) will not be launched, and the cache in certain sections will be cleared.
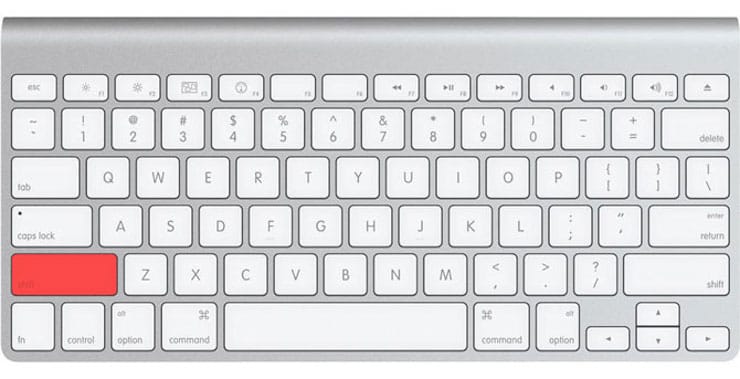
To start your Mac in Safe Mode, turn it off, then turn it on and hold down the ⇧Shift key on your keyboard at the same time as the startup sound. If your Mac freezes when you turn it on, turn it off first (to do this, hold down the physical power button on the case or keyboard for 10 seconds).
If the Mac has booted the system, restart it and turn it on as usual. If the computer freezes again, put it into Verbose Mode – to do this, turn off the Mac, turn it on and, after the start signal, simultaneously press and hold ⌘Cmd+V. This way you can find out which system component is causing the problem. When the source is identified, you can reboot into Safe Mode (with the ⇧Shift key pressed) and remove the problematic extension, and then try a normal reboot.
BY TOPIC: How to display your contacts on the display of a missing Mac.
2. Recovery Mode and First Aid on Mac
If safe mode did not solve your problem, go to the next option called Recovery Mode. It “lives” in a separate part of the boot drive and allows you to restore the system, access the Terminal and the ability to reinstall your Mac’s operating system – macOS.
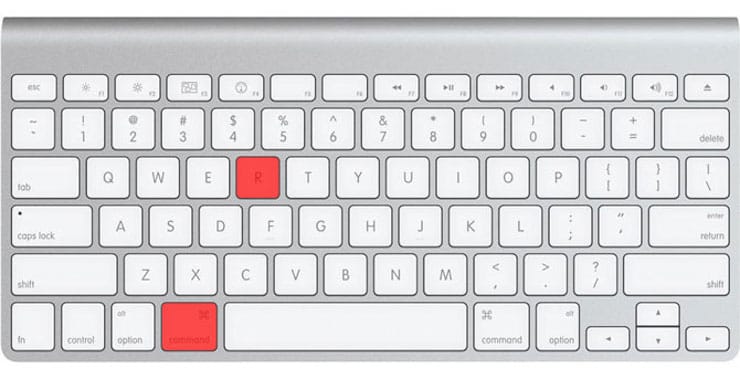
To enter Recovery Mode:
1. Turn off the computer;
2. Turn it on;
3. Immediately after the start signal, press and hold the key combination ⌘Cmd+R.
If you cannot switch to Recovery Mode (this happens if there are problems with the disk), you can start recovery mode via the Internet. The keyboard shortcut will be somewhat different – ⌘Cmd + ⌥Option (Alt) + R. This method requires an internet connection and will take much longer. macOS will download a multi-gigabyte system image from the web.
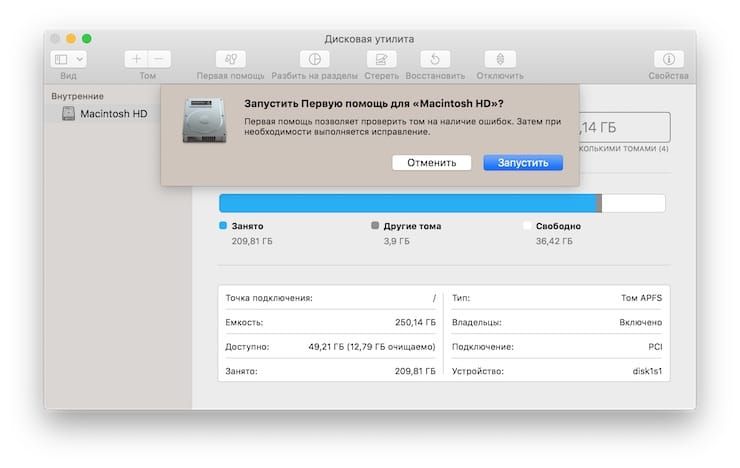
If the boot into Recovery Mode was successful, you will see several options. Run disk utility and find the boot drive that is causing the problem – most likely it’s called Macintosh HD. Select it in the window on the left and then click First Aid → Run.
BY TOPIC: How to remove duplicate files (photos, etc.) and free up space on Mac: the best free applications.
fsck check
File system consistency check (fsck, “file system integrity check”) is a good old Unix tool for checking and solving disk problems.
Depending on the size of the hard drive, its type, and the severity of the problem, the fsck check can take quite a long time. Just be patient.
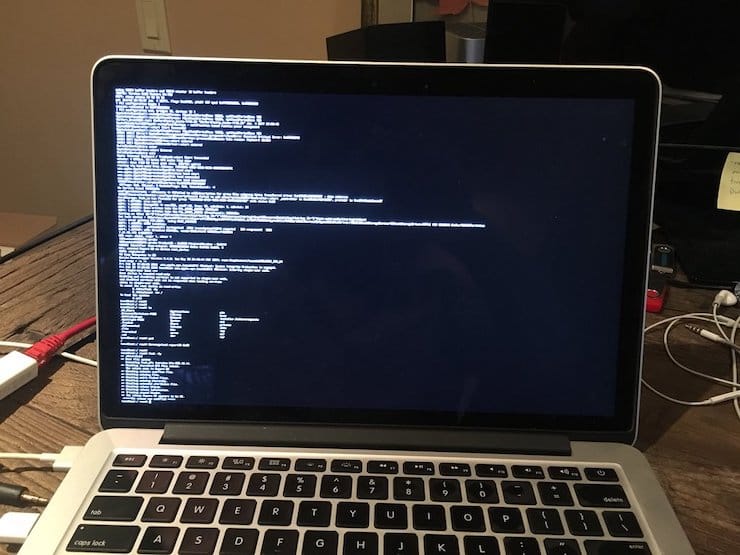
To run fsck, you must be in Single User Mode. It allows you to make changes to user shares on a computer. Single User Mode does not start macOS; it simply gives you access to the Unix command line.
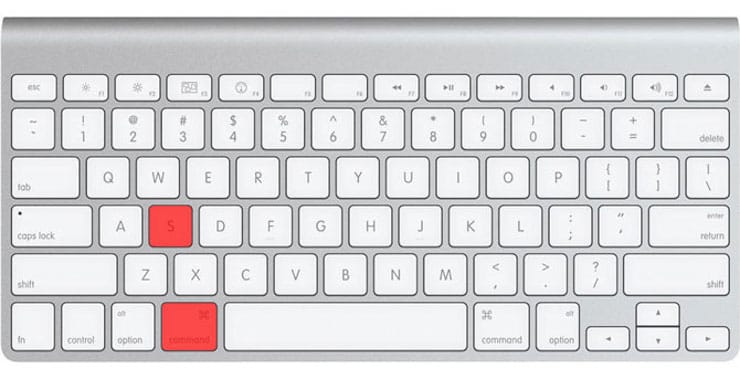
To switch to Single User Mode:
1. Turn off your Mac;
2. Turn it on;
3. Immediately after the start signal, press and hold the key combination ⌘Cmd+S.
You will soon see the command line. Dial in it fsck -fy to run the fsck procedure.
Note: if your drive is encrypted, select the appropriate user account and enter the decryption password. If you have a Mac firmware password set, you will not be able to launch Single User Mode.
It is important to wait for the fsck check to complete – if the process is interrupted, data loss is possible. When the scan is complete, you will see one of the following messages:
** The volume Macintosh HD could not be repaired.
*****The volume was modified *****
The system reports that the hard drive could not be repaired. It’s okay – just run fsck again. Same command: fsck -fy
** The volume Macintosh HD was repaired successfully.
*****The volume was modified *****
Already much better … but it’s too early to relax. Again, run the test again.
** The volume Macintosh HD appears to be OK.
And this is what we need. fsck checked the entire disk and didn’t find anything that needed fixing.
Now out Single User Mode you can go out. Exit command: exit.
BY TOPIC: How to find out where a file was downloaded from on Mac.
Apple Diagnostics
If the methods described above did not help you, then the problem is almost certainly very serious. And that means it’s time to use Apple Diagnostics!
This is a manufacturer-specific test for Mac computers. Based on its results, you will receive an error code and be able to understand what exactly is wrong with your Mac.
To run the Apple Diagnostics test:
1. Turn off your Mac;
2. Disconnect all connected devices from it, except for the keyboard, mouse, monitor, Ethernet cable (if any) and power cable. In other words, turn off flash drives, external hard drives, printers, scanners, etc.
3. Turn on your Mac;
4. Immediately after the start signal, press and hold on the keypad D.
5. Choose your language
As mentioned above, after passing the test, you will receive an error code at your disposal. Decoding codes:
- ADP001: No errors found.
- NDD001: Problem with USB devices. Make sure all unnecessary USB equipment is disabled;
- NNN001: No serial number found. Do you use Hackintosh? You’ve already been followed! (joke);
- PFR001: Software problem;
- PPM001-015: Problem with computer memory;
- PPR001: Processor problem;
- PPT001: Battery not found;
- VFD006: Video card problem;
- VFF001: Problem with sound card.
As you can see, the problems are divided into two categories – those that can be easily eliminated by an ordinary user (for example, USB-related errors), and those with which you need to immediately go to the service (for example, problems with video and audio cards, processor, memory, etc.).
BY TOPIC: How to properly set up Do Not Disturb mode on iPhone, iPad and Mac.
Restoring files from a damaged disk
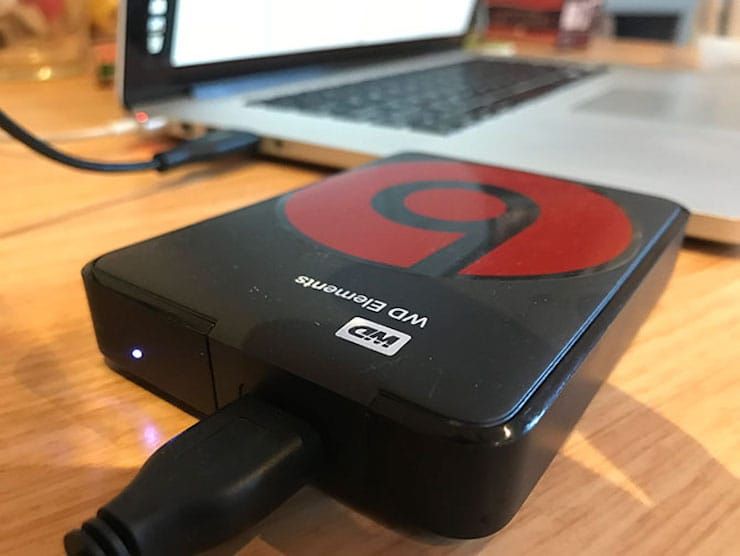
Damage to the hard disk, among other things, means the possible loss of data (or part of it). In order to avoid this, try to create an image of a “broken” disk. This will require an external hard drive of at least the same capacity.
1. Connect it to Mac, restart your computer,
2. Sign in Recovery Mode (⌘Cmd + R),
3. Run disk utility,
4. From the menu bar at the top, select File → New look → Macintosh HD Image and start the process. It will take some time to create the image, but in the end you will get a copy of the old disk in DMG format and will be able to mount it on the new system.
If the creation of the image for some reason fails, the files can be copied manually. To do this, return to recovery mode (⌘Cmd+R) and launch the Terminal app. To start copying your files to external media, use the command cp-r. Example:
cp -r /Volumes/Macintosh HD/Users/[username]/Documents/Volumes/Backup/
Don’t forget to change [username] to your username in the system.
Let’s break down the command: cp is the command to copy,r means that this command is executed recursively, i.e. the directories inside the directory you specified are copied first, and then the directories that are part of them, and so on.
The first path is the location of the files you want to copy. The second path specifies the location of the external drive, it will always be in /Volumes/, whatever name you give it.
The only difficulty with this method is that you have to remember exactly where your files were and write the path accordingly. Also, you can only hope that the files are not on the damaged part of the disk.
When the data copy is complete, you can in good conscience send your Mac in for repair or reinstall macOS.
… It is at such moments that people begin to understand the importance of backing up data. And indeed – with configured Time Machine copying, problems with data loss are not terrible. Set up data copying right now – and save yourself a lot of time, nerves and money in the future!
See also:
.
The post How to Check (HDD, SDD) on Mac appeared first on Gamingsym.