
このガイドでは、Ubuntu22.04にApacheGuacamoleをインストールする方法を学習します。 Apache Guacamoleは、クライアントレスHTML5 Webベースのリモートデスクトップゲートウェイであり、Webブラウザを介してサーバーとデスクトップへのリモートアクセスを提供します。 VNC、RDP、SSHなどの標準プロトコルをサポートしています。
Ubuntu22.04にApacheGuacamoleをインストールします
ワカモレは2つの部分で構成されています。
guacamole-server、これは、guacdプロキシと、Guacamoleがリモートデスクトップに接続するために必要なすべてのネイティブサーバー側コンポーネントを提供します。guacamole-clientこれは、通常はサーブレットコンテナによって提供されるクライアントを提供しますTomcat。
Apache Guacamole Webベースのリモートデスクトップクライアントをセットアップするには、これらのコンポーネントの両方をインストールする必要があります。
Guacamoleは、デフォルトのUbuntu22.04リポジトリで利用できます。 ただし、利用可能なバージョンは最新ではありません。
apt-cache policy guacdguacd:
Installed: (none)
Candidate: 1.3.0-1.1
Version table:
1.3.0-1.1 500
500 http://ke.archive.ubuntu.com/ubuntu jammy/universe amd64 Packages
Ubuntu 22.04で実行されているGuacamoleの最新リリースバージョンを入手するには、ソースからビルドする必要があります。
Ubuntu22.04でのGuacamole-Serverの構築
guacamole-serverをビルドするには、最新のソースアーカイブtarballをからダウンロードします。 ワカモレリリースページ。 Guacamole 1.4.0は、この記事の執筆時点での最新リリースバージョンです。 以下のコマンドを実行するだけです。
wget https://downloads.apache.org/guacamole/1.4.0/source/guacamole-server-1.4.0.tar.gzダウンロードが完了したら、ソースtarballを抽出します。
tar xzf guacamole-server-1.4.0.tar.gzguacamoleサーバーのソースコードディレクトリに移動します。
cd guacamole-server-1.4.0を実行します configure 必要な依存関係が欠落していないかどうかを確認し、Guacamoleサーバーをシステムに適合させるためのスクリプト。
Ubuntu22.04にはOpenSSL3.xが付属しており、Guacamoleを正常にコンパイルしてインストールするにはopenssl1.xが必要です。 これに関連する警告はエラーとして扱われるため、コンパイルプロセスは失敗します。 その結果、警告がエラーとして扱われないようにし、Ubuntu22.04でGuacamoleをコンパイルできます。
CFLAGS=-Wno-error ./configure --with-systemd-dir=/etc/systemd/system/その他の構成オプションについては、を実行してください。 ./configure --help。
------------------------------------------------
guacamole-server version 1.4.0
------------------------------------------------

   Library status:

     freerdp2 ............ yes
     pango ............... yes
     libavcodec .......... yes
     libavformat.......... yes
     libavutil ........... yes
     libssh2 ............. yes
     libssl .............. yes
     libswscale .......... yes
     libtelnet ........... yes
     libVNCServer ........ yes
     libvorbis ........... yes
     libpulse ............ yes
     libwebsockets ....... yes
     libwebp ............. yes
     wsock32 ............. no

   Protocol support:

      Kubernetes .... yes
      RDP ........... yes
      SSH ........... yes
      Telnet ........ yes
      VNC ........... yes

   Services / tools:

      guacd ...... yes
      guacenc .... yes
      guaclog .... yes

   FreeRDP plugins: /usr/lib/x86_64-linux-gnu/freerdp2
   Init scripts: no
   Systemd units: /etc/systemd/system/

Type "make" to compile guacamole-server.
の外に注意を払う configure 脚本。
コンパイルして、Ubuntu22.04にGuacamoleサーバーをインストールします。
make
make install
次に、を実行します ldconfig 必要なリンクを作成し、guacamoleサーバーディレクトリにある最新の共有ライブラリにキャッシュするコマンド。
ldconfig
Guacamole-Serverの実行
インストール後、起動時にguacd(Guacamole Daemon)を起動して実行できるようにします。
systemctl enable --now guacd
ステータスを確認するには;
systemctl status guacd
● guacd.service - Guacamole Server
     Loaded: loaded (/etc/systemd/system/guacd.service; enabled; vendor preset: enabled)
     Active: active (running) since Mon 2022-05-02 17:16:05 UTC; 8min ago
       Docs: man:guacd(8)
   Main PID: 27069 (guacd)
      Tasks: 1 (limit: 2241)
     Memory: 10.0M
        CPU: 11ms
     CGroup: /system.slice/guacd.service
             └─27069 /usr/local/sbin/guacd -f

May 02 17:16:05 jellyfish systemd[1]: Started Guacamole Server.
May 02 17:16:05 jellyfish guacd[27069]: Guacamole proxy daemon (guacd) version 1.4.0 started
May 02 17:16:05 jellyfish guacd[27069]: guacd[27069]: INFO:        Guacamole proxy daemon (guacd) version 1.4.0 started
May 02 17:16:05 jellyfish guacd[27069]: guacd[27069]: INFO:        Listening on host 127.0.0.1, port 4822
May 02 17:16:05 jellyfish guacd[27069]: Listening on host 127.0.0.1, port 4822
Tomcatサーブレットをインストールします
Apache Tomcatは、Webブラウザを介してguacamoleサーバーに接続するユーザーにguacamoleクライアントコンテンツを提供するために使用されます。 Tomcatをインストールするには、以下のコマンドを実行します。
apt install tomcat9 tomcat9-admin tomcat9-common tomcat9-user -y
Tomcat9が起動され、インストール時にシステムブートで実行できるようになります。
UFWが実行されている場合は、Tomcatを許可します。
ufw allow 8080/tcpUbuntu22.04へのGuacamoleクライアントのインストール
guacamole-clientには、サーバーに接続するユーザーにHTML5Guacamoleクライアントを提供するWebアプリケーションが含まれています。 次に、Webアプリケーションは、接続されたユーザーに代わってguacdに接続し、アクセスが許可されているリモートデスクトップをユーザーに提供します。
Guacamole構成ディレクトリを作成します。
mkdir /etc/guacamoleGuacamoleをダウンロード-クライアントバイナリ
Guacamoleクライアントは、ソースコードまたはレディバイナリからインストールできます。 このデモでは、バイナリインストールを使用します。 Guacamoleをダウンロード-クライアントから ワカモレリリースページ それぞれの最新バージョン(この記事の執筆時点ではv1.4.0)については、上記で作成した構成ディレクトリに保存してください。
wget https://downloads.apache.org/guacamole/1.4.0/binary/guacamole-1.4.0.war -O /etc/guacamole/guacamole.war
以下に示すように、グアカモーレクライアントからTomcatwebappsディレクトリへのシンボリックリンクを作成します。
ln -s /etc/guacamole/guacamole.war /var/lib/tomcat9/webapps/
Tomcatを再起動して、新しいWebアプリケーションをデプロイします。
systemctl restart tomcat9
guacdデーモンも再起動します。
systemctl restart guacd
Ubuntu22.04でApacheGuacamoleを構成する
Guacamoleには2つの主要な構成ファイルがあります。 /etc/guacamole によって参照されます GUACAMOLE_HOME 環境変数と /etc/guacamole/guacamole.properties これは、Guacamoleとその拡張機能によって使用される主要な構成ファイルです。
ワカモレ拡張機能とライブラリ構成もあります。 これらの構成のディレクトリを作成する必要があります。
mkdir /etc/guacamole/{extensions,lib}
guacamoleホームディレクトリ環境変数を設定し、に追加します /etc/default/tomcat9 構成ファイル。
echo "GUACAMOLE_HOME=/etc/guacamole" >> /etc/default/tomcat9
Guacamoleサーバー接続を構成する
Guacamoleがどのように接続するかを定義するには guacd、作成します guacamole.properties 下のファイル /etc/guacamole 次の内容のディレクトリ。
vim /etc/guacamole/guacamole.properties
guacd-hostname: localhost
guacd-port:     4822
user-mapping:   /etc/guacamole/user-mapping.xml
auth-provider:  net.sourceforge.guacamole.net.basic.BasicFileAuthenticationProvider
その後、構成ファイルを保存し、以下に示すように、Guacamole構成ディレクトリをTomcatサーブレットディレクトリにリンクします。
ln -s /etc/guacamole /usr/share/tomcat9/.guacamole
ワカモレ認証方式の設定
Guacamoleのデフォルトの認証方法は、と呼ばれる単一のファイルからすべてのユーザーと接続を読み取ります user-mapping.xml。 このファイルでは、を定義する必要があります GuacamoleWebUIへのアクセスを許可されたユーザー、 接続するサーバー と 接続方法。
したがって、以下のコマンドを実行して、以下の内容でこのファイルを作成してください。
vim /etc/guacamole/user-mapping.xml
必ず交換してください パスワード 強力なパスワードを使用します。
<user-mapping>

    <!-- Per-user authentication and config information -->

    <!-- A user using md5 to hash the password
         guacadmin user and its md5 hashed password below is used to
             login to Guacamole Web UI-->
    <authorize
            username="guacadmin"
            password="5f4dcc3b5aa765d61d8327deb882cf99"
            encoding="md5">

        <!-- First authorized Remote connection -->
        <connection name="CentOS-Server">
            <protocol>ssh</protocol>
            <param name="hostname">192.168.56.156</param>
            <param name="port">22</param>
        </connection>

        <!-- Second authorized remote connection -->
        <connection name="Windows 7">
            <protocol>rdp</protocol>
            <param name="hostname">192.168.56.122</param>
            <param name="port">3389</param>
            <param name="username">koromicha</param>
            <param name="ignore-cert">true</param>
        </connection>

    </authorize>

</user-mapping>
GuacamoleWebユーザーインターフェイスへのログインに使用されるユーザーのパスワードのMD5ハッシュを生成します。 それに応じてパスワードを置き換えます。
echo -n password | openssl md5
printf '%s' password | md5sum
ユーザー名とパスワードを明示的に定義する必要がある場合は、パラメーターを追加します。
<param name="username">USERNAME</param>
<param name="password">PASSWORD</param>
構成ファイルを保存して終了します。
GuacamoleOpenLDAP認証を有効にする方法を確認できます。
ApacheGuacamoleOpenLDAP認証を設定する
Tomcatとguacdの両方を再起動して、変更を有効にします。
systemctl restart tomcat9 guacd
必ずsyslogを確認してください。 /var/log/syslog また /var/log/tomcat9/CATALINA-* 問題がある場合。
ブラウズからApacheGuacamoleにアクセスする
Guacamoleがセットアップされると、アドレスを使用してWebブラウザーからGuacamoleにアクセスできます。 http://server-IP:8080/guacamole。
ログインに成功すると、Apache Guacamole Webダッシュボードが表示され、追加された接続を確認できるはずです。

名前を付ける接続をクリックして、リモートログインを開始します。 たとえば、CentOS-serveにSSHで接続すると、ユーザーをすでに定義しているため、パスワードプロンプトが表示されます。

RDP経由でWindows7にログインするには、Windows7をクリックするだけです。
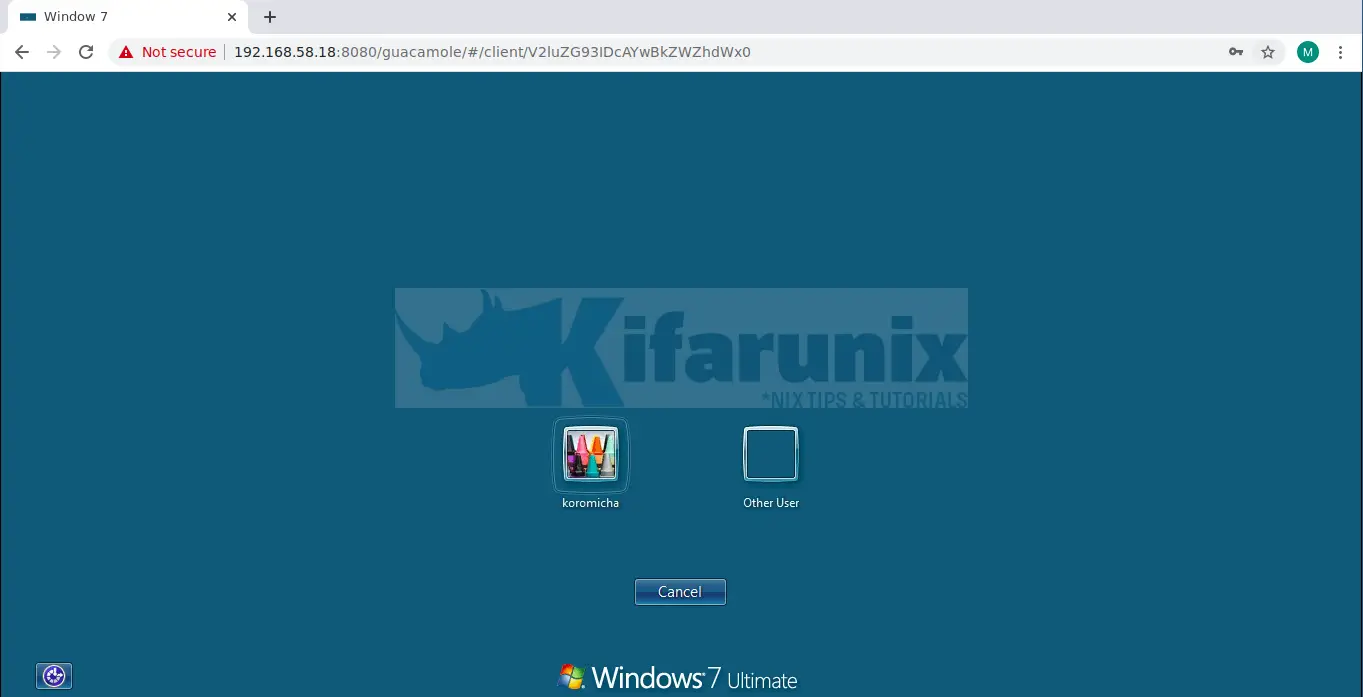
そして、あなたは行きます。 パスワードを入力して、デスクトップに進みます。
Windowsログインがエラーで失敗した場合。
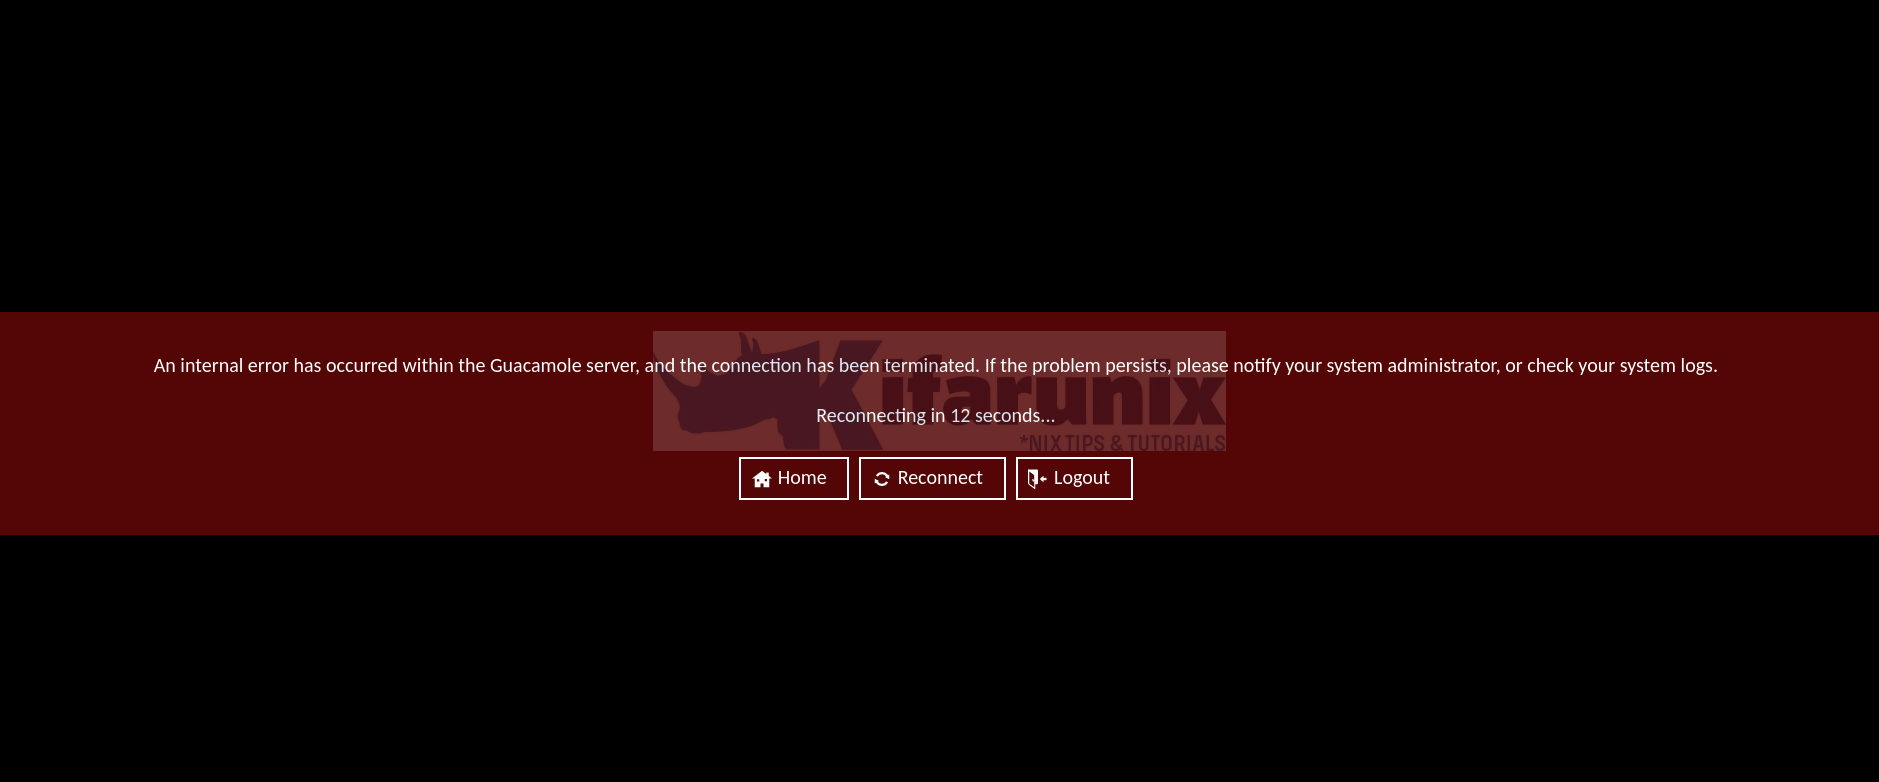
以下のガイドに従って修正してください。
Guacamole:RDPサーバーの閉じた/接続の拒否を修正する方法:セキュリティネゴシエーションが失敗しました(セキュリティタイプが間違っていますか?)
これで、Guacamoleに接続を追加できます。 これで、Ubuntu22.04へのApacheGuacamoleのインストールに関するガイドは終わりです。
ワカモレについてもっと読む。
ApacheGuacamoleでTOTP2要素認証を構成する
GuacamoleMySQLデータベース認証を構成する
The post Ubuntu22.04にApacheGuacamoleをインストールします appeared first on Gamingsym Japan.